filmov
tv
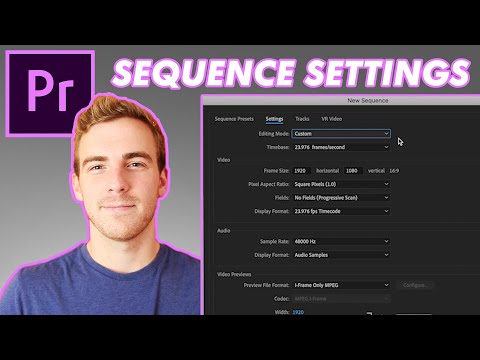
BEST SEQUENCE SETTINGS In Premiere Pro (1080P)

Показать описание
This is the BEST 1080P SEQUENCE SETTINGS In Premiere Pro
To create a 1080p sequence in Premiere Pro:
1. Open Premiere Pro and create a new project.
2. In the New Project dialog box, enter a name for your project and choose a location to save it.
3. Click "OK" to create the project.
4. In the Project panel, right-click and select "New Item" next "Sequence."
5. In the New Sequence dialog box, choose a preset that matches your footage settings. For 1080p, you can select "HDV" or "DSLR" presets.
6. Alternatively, you can customize your sequence settings by choosing "Settings" tab and adjusting the frame size to 1920x1080, the frame rate, and other settings accordingly.
7. Click "OK" to create the sequence.
8. Drag your video files to the Timeline panel to start editing in the 1080p sequence.
Now, your sequence is set to 1080p resolution in Premiere Pro.
Editing Mode: Custom
Timebase: 29.97 fps (or your preferred frame rate)
Frame Size: 1920x1080
Pixel Aspect Ratio: Square Pixels (1.0)
Fields: No Fields (Progressive Scan)
Display Format: 30fps Drop-Frame Timecode (or your preferred timecode)
Click "OK" to close the Custom Settings dialog box.
Click "OK" to create your new project
😍 LET'S CONNECT:
Hello, my name is Imoh King.
to learn Adobe Premiere Pro video Editing WhatsApp +2348154229098
+2348096944529
Other Tutorials
Other Tutorials
 0:02:16
Best Sequence Settings Premiere Pro (2024) - Watch Before Making The Settings!
 0:07:13
How To Choose The BEST Premiere Pro Sequence Settings
 0:09:10
Adobe Premiere Pro Tutorial (2023) - Sequence Settings and Export Settings
 0:00:38
BEST SEQUENCE SETTINGS In Premiere Pro (1080P)
 0:00:33
How To Create 4K SEQUENCE In PREMIERE PRO - BEST 4K SEQUENCE SETTINGS
 0:08:18
Adobe Premiere Best Sequence Settings
 0:01:28
BEST 1080p Sequence Setting's in Premiere Pro 2024 Setup
 0:07:35
Adobe Premiere Pro Tutorial - Sequence Settings and Export Settings
 0:11:35
Setup Your Sequence Settings Properly in Premiere Pro 2021
 0:04:15
Sequence Settings For Instagram Reels In Premiere Pro
 0:05:59
Adobe Premiere Pro Tutorial - 4k Sequence Settings and Export Settings
 0:08:57
CROP vs Sequence Settings in Adobe Premiere Pro
 0:06:21
Huge Sequence Presets Update in Adobe Premiere Pro
 0:04:12
Best Sequence Settings Premiere Pro For Youtube - 2022 - TheAnkushEver
 0:03:08
How to change sequence settings to match clip in Premiere Pro
 0:10:05
BEST SEQUENCE SETTINGS for Premiere Pro: match footage settings or create your own preset settings?
 0:00:45
How to save sequence settings in Adobe Premiere Pro
 0:07:13
The Secret for Better INSTAGRAM REELS - Sequence & Export Settings | Premiere Pro Tutorial
 0:03:40
Setup Your Sequence Settings Properly in Premiere Pro | 4K Export Settings Premiere Pro
 0:01:11
vertical video sequence settings premiere pro 2023
 0:00:26
Sequence Settings grayed out (Premiere Pro, Solution)
 0:01:00
BEST 4K Sequence Setting's in Premier Pro 2022 Setup #Shorts
 0:10:35
HOW TO EDIT VIDEOS: EP 3 - Starting New Projects & Best Sequence Settings (Adobe Premiere Pro)
 0:02:48
Best TikTok Video Export Settings in Premiere Pro 2023
Комментарии