filmov
tv
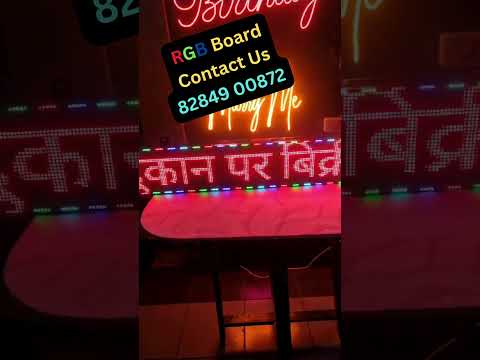
Neon RGB Led Strip Scrolling Board Using Arduino UNO 😎😁|| #electronics #arduino #diy #arduinoproject

Показать описание
Creating a Neon RGB LED Strip Scrolling Board using an Arduino Uno is a captivating and customizable electronics and programming project. This project involves designing a board with a programmable RGB LED strip that can display messages, animations, or various lighting effects. Here's a more detailed description of the project:
Project Description:
Objective: Design and build a dynamic scrolling LED display board using an Arduino Uno and RGB LED strip to convey messages or create captivating lighting effects.
Components You'll Need:
Arduino Uno: The brains of the project that controls the LED strip.
RGB LED Strip: Choose a Neopixel or WS2812B RGB LED strip.
Power Supply: To provide sufficient power to the LED strip, especially if it's a long one.
Breadboard and Jumper Wires: For connecting and prototyping.
Arduino IDE: To write and upload the code.
Optional: Smartphone or Computer: To program and control the Arduino.
Steps to Build the Scrolling LED Display:
1. Wiring the RGB LED Strip:
Connect the VCC of the LED strip to the 5V output on the Arduino.
Connect the GND of the LED strip to the GND on the Arduino.
Connect the Data In of the LED strip to a digital pin on the Arduino (e.g., D2).
2. Installing Required Libraries:
In the Arduino IDE, install the "Adafruit NeoPixel" library to control the RGB LED strip.
3. Writing the Arduino Code:
Develop the Arduino code to create your desired scrolling message, animation, or lighting effect. The code will specify the colors, speed, and content to display.
4. Uploading the Code:
Connect the Arduino Uno to your computer and upload the code via the Arduino IDE.
5. Power Supply:
Ensure the LED strip is powered adequately, especially for longer strips. Connect the strip's VCC and GND to an external power source, making sure to connect the GND of the external power source to the Arduino's GND.
6. Customization:
Tailor the code to your preferences. You can change the displayed message, colors, scrolling speed, or even create animations. The possibilities are limitless, and you can get creative with your designs.
7. Enjoy Your Neon RGB LED Scrolling Board:
Once everything is set up and running, you'll have your own neon RGB LED strip scrolling board that you can use for decorative lighting, displaying messages, or creating eye-catching animations.
Project Benefits:
Learn about Arduino programming and basic electronics.
Enhance your coding skills by creating custom lighting effects and animations.
Decorate your space with a unique and personalized scrolling LED display.
Project Tags:
#Electronics: Exploring the world of electronic components and microcontrollers.
#Arduino: Utilizing the popular open-source platform for microcontroller programming.
#DIY: Embracing the Do-It-Yourself spirit to create a customized project.
#ArduinoProject: Sharing and documenting your Arduino-based creations with the maker community.
This project is a great way to blend creativity, electronics, and programming, and you can use it to add a touch of personalization and flair to your environment. So, dive in, have fun, and enjoy the process of creating your own Neon RGB LED Strip Scrolling Board! 😎😁
 0:00:21
 0:00:14
 0:00:07
 0:00:47
 0:00:29
 0:00:51
 0:00:11
 0:00:15
 0:00:34
 0:00:39
 0:20:27
 0:00:11
 0:00:44
 0:00:14
 0:00:28
 0:00:17
 0:00:15
 0:00:14
 0:00:30
 0:00:39
 0:00:52
 0:13:36
 0:00:16
 0:01:00