filmov
tv
How I Scan & Edit Film

Показать описание
Jason Microsoft paints his way to success in this stunning reveal.
Instayams: @50_shades_of_jason
================
0:00 Intro
1:00 Scanning 35mm
4:31 Scanning 120
6:51 Scanning 8x10
9:08 Editing 35mm
14:07 Editing 120
 0:01:45
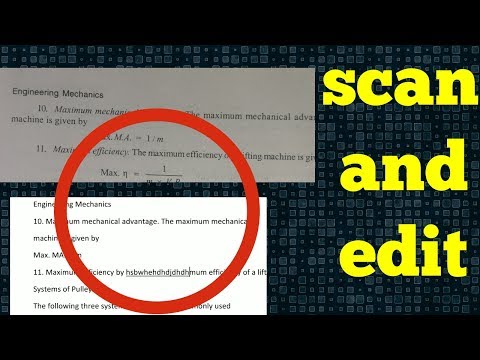
how to edit scanned pdf document, easy and fastest way to edit scanned document online free
 0:02:40
How to Edit a Scanned Document :Tutorial
 0:03:02
How to Edit Text Document Scan PDF | Adobe Illustrator Tutorials
 0:17:35
How I Scan & Edit Film
 0:09:03
How to Edit Scan Document in Microsoft Word Hindi Tutorial || Scan Documents ko Kaise Edit Kre
 0:01:58
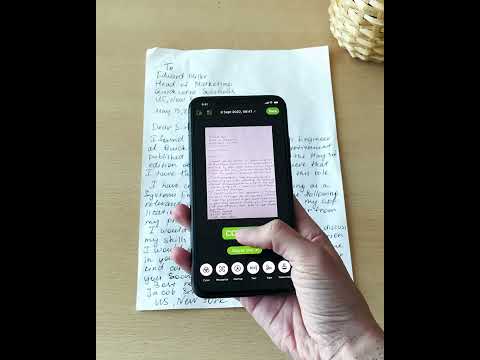
Scan Documents from Phone and Convert to Text you can Edit.
 0:02:52
How to Edit a Scanned Document in Word
 0:06:04
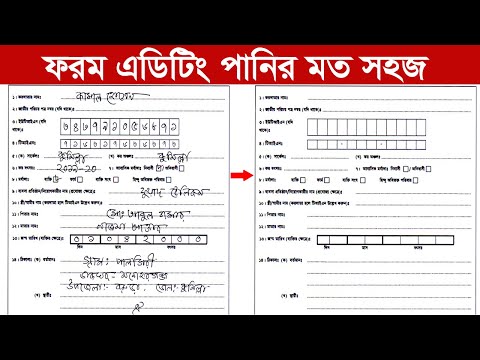
How to edit scan pdf document in mobile
 0:02:24
NOUVELLE AVENTURE SUR LA CHAÎNE YOUTUBE ! (Review, scan, manga, edit...)
 0:03:44
How to Scan Documents with your iPhone
 0:00:11
My Scanner - Scan Documents, Annotate PDF and Sign - Try Now!
 0:02:01
How To scan and Edit a Document with iphone #iphonescanner
 0:00:33
How to scan text into Notes on iPhone and iPad | Apple Support
 0:00:35
Scan a document onto your Mac WITHOUT a SCANNER OR ANY APPS (2021)
 0:08:01
How to Edit Scanning Document or Form in Photoshop
 0:06:44
Scan ANYTHING in High Quality with Photoshop!
 0:02:16
Best Android app Scan and edit any document in Android
 0:06:48
How to Edit Scanned Document in Microsoft Paint
 0:24:07
★ HOW TO SCAN AND EDIT TRADITIONAL ART FOR PRINTING - detailed guide
 0:06:55
How to Edit Scanned Document in MS Word
 0:05:41
How to edit document in mobile phone
 0:26:02
How to Scan and Digitize Your Art for Art Prints: A Step-by-Step Tutorial
 0:06:07
How to Scan a Document to your Phone
 0:24:57
Essential Guide To Start Editing Your STL & 3D SCAN Models 👉 For 3D Printing
Комментарии