filmov
tv
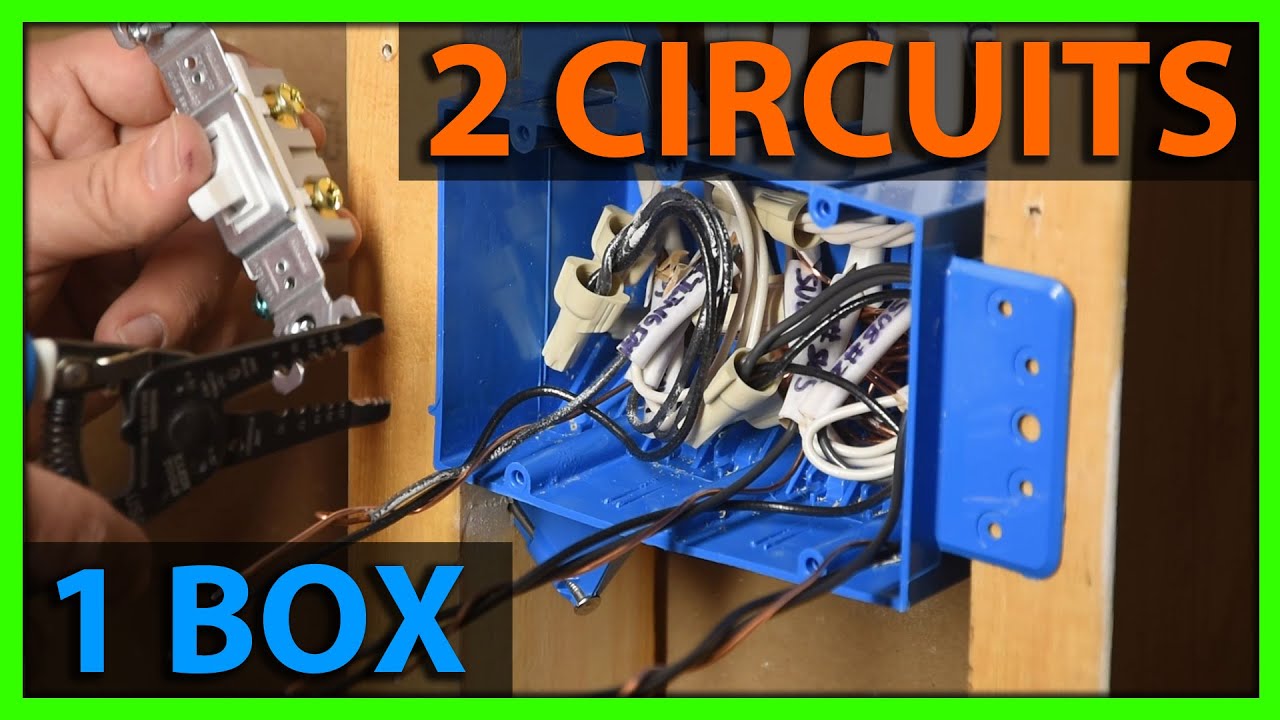
How To Wire a 3 Gang Switch Box With 2 Circuits
Показать описание
Here we go through the step by step process of wiring a triple gang switch box that is being fed from two separate circuits. There are a few additional things that you need to keep in mind when working in a box like this in order to keep everything wired correctly.
0:00 - 3 Gang Switch Box With 2 Circuits
0:20 - Trim Cables & Strip Sheathing
1:20 - Keep Circuits Separate With Labels
3:40 - Tie Only Ground Wires Together
6:28 - Neutrals On Main #6
8:21 - Hot Wires On Main #6
10:14 - Neutrals On Sub #2
11:08 - Hot Wires On Sub #2
12:38 - Basic Electricity Explanations
14:22 - How To Install Single Pole Switch
15:58 - Testing The Circuit
17:45 - SUBSCRIBE!!!
Thanks for watching and subscribing! As an Amazon affiliate I earn from qualifying purchases. Thank you for your support!
Blessings from Minnesota,
Ben
 0:03:54
How to Wire a 3-Way Switch
 0:08:27
3 Way Switches Explained - How to wire 3 way light switch
 1:01:22
How To Wire A 3-Way Switch System Explained! (2022) | Video For Beginners DIY Step By Step Tutorial!
 0:05:30
How to wire a 3-way switch system
 0:10:10
How to wire 3-way circuits
 0:14:54
How To Wire A 3 Way Light
 0:03:38
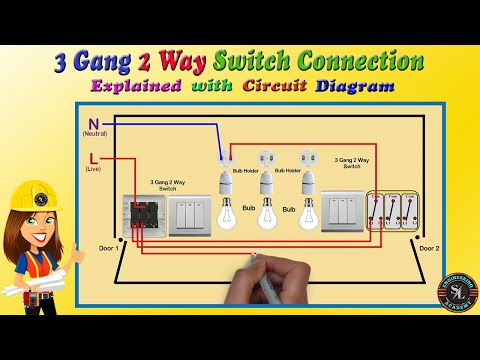
3 Gang 2 Way Switch Connection / How to Wire Three Gang Two Way Switch/ Explain with Circuit Diagram
 0:20:37
How To Wire A 3-Way Light Switch - 3 Way Switch Explained (2 EASY & SIMPLE Methods)
 0:06:53
How to wire a 3-way switch/4-way switch system
 0:02:40
How to wire a 3-way switch
 0:12:01
How to Wire 3 Way Light Switches
 0:05:22
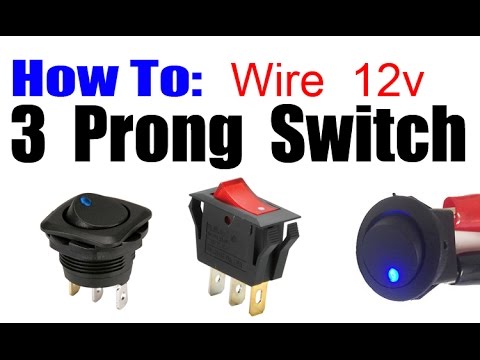
HOW TO WIRE 3 PRONG ROCKER LED SWITCH
 0:18:07
3-WAY Switch fully Explained: How to Wire a 3 Way Light Switch, Identify ALL Wires, Troubleshooting
 0:08:02
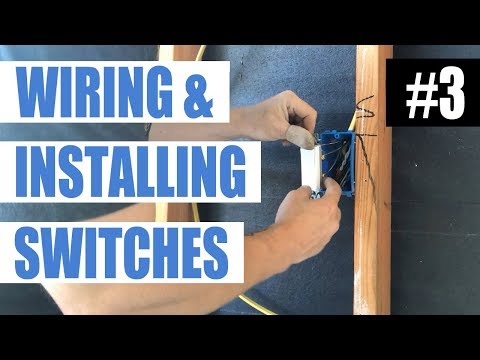
How To Wire 3 Switches With One Power Source | Install Multiple Light Switches In One Box
 0:01:22
How to wire a three-way light switch
 0:17:26
How To Wire a 3 Gang Switch Box With 2 Circuits
 0:16:28
How To Wire a 3-Way Switch System
 0:07:10
3-way switch, how to identify wires-Learn how to wire a three-way switch
 0:28:22
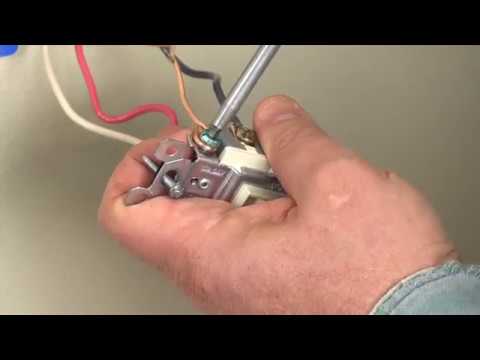
Episode 3 - How To Wire For and Install A Switch
 0:07:17
How Do I Replace a 3-Way Switch? Which Wire Goes Where??
 0:05:36
DIY: How To Wire A 3 Way Switch (Multiple Lights) - IN 5 MINUTES!
 0:04:31
2 wire - 3 wire - 4 wire Transmitter wiring connections ||Transmitter Power Supply connection detail
 0:07:43
Basic Motor Control: 3 Wire Start Stop Circuit (updated)
 0:07:05
Two Way Switching Explained - How to wire 2 way light switch
Комментарии