filmov
tv
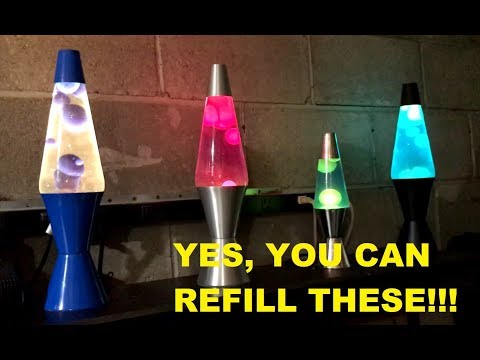
Fixing a cloudy Lava Lamp: Low Budget Filters and Refill
Показать описание
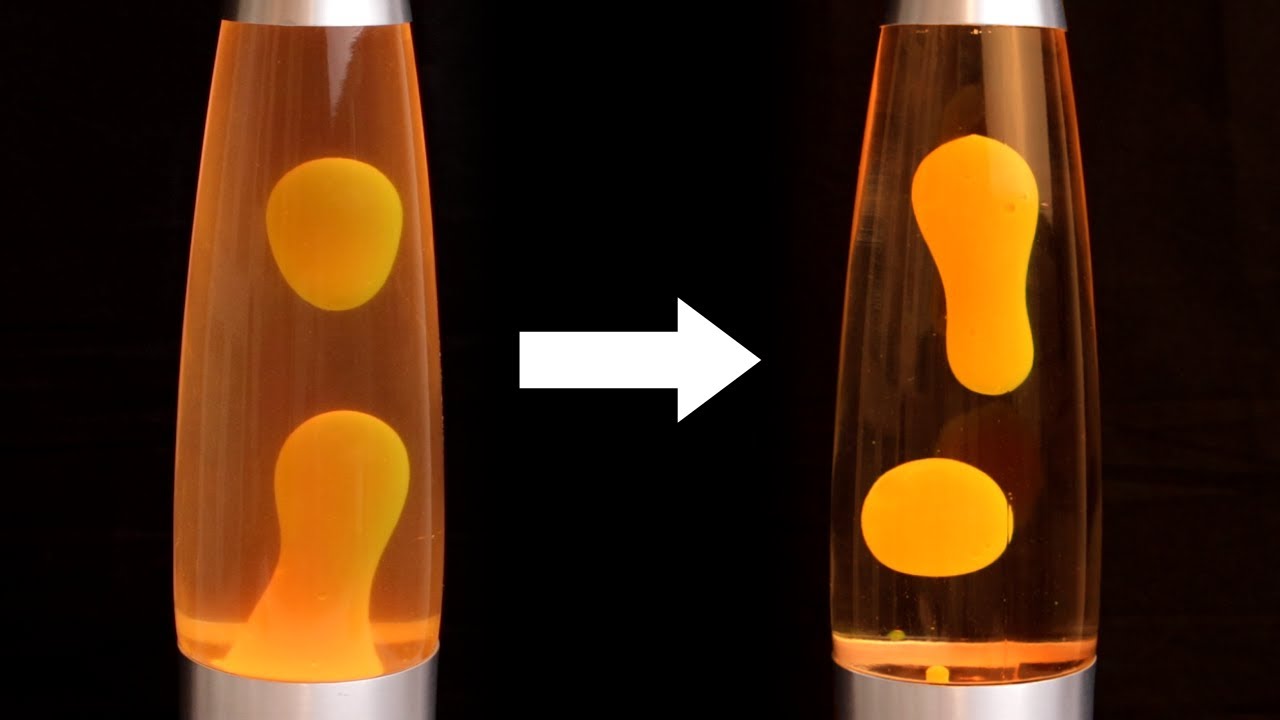
I found a 10-15 years old, cloudy lava lamp on a local internet marketplace website, and for a price of just 2€ I just couldn't pass. I tried to get it cleaned up with only using simple stuff I had at home, no ordering or buying anything expensive. I put a lot of effort into the video editing (took me two full days), so even with how ridiculously long this video ended up, I hope it's still worth a watch.
== SHORT GUIDE FOR QUICK FIXERS ==
This is just what I did, no guarantee it will work on 100% of lamps. It also might recloud over time, but that's a (hopefully pretty low) risk I was willing to take.
1) GET OFF BOTTLE CAP: 05:05
Expect either glue (like my Mathmos has) or crimping. Against glue, try hot water dipping or a heat gun. Against crimping, try prying it open with a small, sharp tool.
2) POUR OUT OLD LIQUID: 10:22
Maybe put it in a container and keep it, in case you ever want it back. In any case, measure the amount (ml/oz) for later use.
3) RINSE BOTTLE WITH TAP WATER: 10:33
Do this multiple times, until the rinsing water stays completely clean.
4) FILL BOTTLE WITH TAP WATER: 11:09
Leave around 2cm/1inch space under the edge of the lid, so you have space for the brine.
5) TURN ON LAMP, WAIT FOR WAX TO MELT COMPLETELY: 11:13
The wax probably will move little or not at all, which is normal. In case you see air bubbles, don't worry, they should go away after around 30 minutes.
6) MAKE BRINE (=SALT SOLUTION): 12:36
I used 160g water and 40g salt. For imperial units, 4oz water and 1oz salt should be fine. You don't need as much (I only needed 25g brine) but it makes mixing and scooping it up easier.
7) ADD BRINE REPEATEDLY IN SMALL AMOUNTS: 13:10
For a 500ml/30oz lamp, adding about 4g of brine at a time seems like a good compromise. You can use a small spoon, a syringe, a pipette or just a straw you hold closed at the top. Wait at least 1-2 minutes after every addition for the wax to settle down. If the lamp keeps on flowing satisfactory after ~10 minutes, it should be fine.
8) FILL UP/POUR OFF WATER: (FORGOT ON VIDEO)
If there is a little gap left under the edge of the top part, fill it up. If there is too much liquid, pour off until just above the edge.
9) SEAL LAMP AGAIN: 06:59
Screw, glue or crimp the bottle cap back onto the bottle, or improvise something. It doesn't need to be waterproof, except you expect the lamp to maybe get knocked over at some point. It might lose tiny amounts of water over time to evaporation if it's not completely sealed, but you can always top it up with a little tap water.
== FILTERING WAX ==
If your wax also contains some dirt or grime, add these steps between 3) and 4)
3.1) MELT WAX IN WATER BATH: 16:26
Put the bottle in cold water. Make sure no water can get in at the top, then turn on the heat and bring the water to about 70C/100F. Turn it off and wait for 10-15 minutes, and the wax should be completely molten.
3.2) FILTER WAX: 17:02
Take an (old) pantyhose, cut off a 20cm piece from the middle of a leg and wrap it around a small bowl (metal is best). Pour the wax through the pantyhose, and it should catch all the grime.
3.3) CLEAN BOTTLE AND SPRING: 18:53
You can use paint thinner, acetone or something similar if you have it on hand, but just soap and a bottle brush should be fine too.
3.4) REMELT WAX: 19:48
Put the bowl in a 70C/100F waterbath to completely melt the wax again.
3.5) POUR WAX BACK IN BOTTLE: 19:56
Preheat the funnel, and angle the bottle a small amount for the wax to glide in along the bottom part of the wall, to avoid splattering.
3.6) WAIT UNTIL WAX IS COMPLETLY SOLID: 20:04
Don't continue too early, or the water will rip apart the wax again. Two hours should be fine. Then go on to step 4).
== LINKS ==
== TIMESTAMPS ==
00:00 Intro
00:35 Inspecting lamp
04:07 Preparation
06:00 Coffee filter
07:55 Sponge filter
10:18 Replacing liquid
15:54 Filtering wax
20:55 Redying (gone wrong)
23:17 Outro
 0:23:58
Fixing a cloudy Lava Lamp: Low Budget Filters and Refill
 0:09:34
SHAKING a LAVA LAMP - What Happens?? CAN WE FIX IT !?
 0:05:36
Lava Lamp doesn't flow: Common Problems and Ways to fix them
 0:01:23
How To Fix a Foggy Lava Lamp (Part 1)
 0:03:56
How to Fix a Lava Lamp with OneShot
 0:01:33
Foggy lava lamp? Do you have one?
 0:03:48
Wax stuck to glass: Trying to fix Lava Lamp with Dish Soap
 0:01:42
LAVA 101 INSTRUCTIONAL VIDEO
 0:06:54
How to Refill Lava Lamps
 0:07:33
Cleaning a Lava Lamp: How to remove Debris from Mathmos Astro
 0:00:25
Lava Lamp Fix Worked!
 0:05:34
What Springs and Coils in Lava Lamps do: Time Lapse Comparison using Mathmos Astro
 0:04:53
Storage Wars: Darrell's Lava Lamps (Season 12) | A&E
 0:03:28
Revive a lava lamp with Epsom salt mixture experience
 0:05:00
How to refill and redo a Lava lamp
 0:04:46
Schylling Lava Lamp quality control issues
 0:01:01
My cloudy lava lamp 2 (fixed)
 0:18:45
Hazy vs. Clear Grande Lava Lamps - 27' Pink and Purple Lava Lites
 0:00:52
How to fix a floating coil in a Lava Lamp
 0:19:42
Broken Lava Lamp real fix! This works for cloudy, inside messes pls support & subscribe
 0:01:38
Lava Lamp Grande - cloudy fluid redone
 0:10:08
Filtering My Dirty Stuck Wax In My Mathmos Jet Lava Lamp How To Fix And Clean Bottle And Coil
 0:01:46
How To Prepare A Gallon of OneShot (Lava Lamp Repair Fluid)
 0:00:56
Lava Lamp from Spencer's Online - p2
Комментарии