filmov
tv
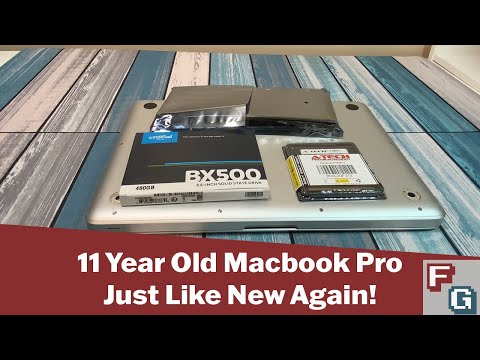
Upgrading a 2011 Macbook Pro - Like New Again! (SSD, RAM, Battery)

Показать описание
In this video, we upgrade the Hard Drive, RAM, and Battery in a 2011 Macbook Pro and make it run like the wind!
Parts Used:
Crucial BX500 480GB SATA 2.5" Internal SSD
A-Tech 16GB (2x8GB) DDR3 1333MHz PC-310600 RAM
Macbook Pro 13 (2009-2012) Battery
Or for a more comprehensive list of upgrade options, check out our list at this link:
How to enable TRIM after upgrading your SSD:
Don't forget about our FamilyGeekery Podcast, with new episodes every Tuesday!
Find our other Social Media and other Links here:
Support FamilyGeekery by Getting a Good Deal for Yourself!
Thank you for any/all support!
Disclaimer: As an Amazon Associate we earn from qualifying purchases. If you buy something through our the above we may get a small share of the sale. Thank you for supporting the channel!
 0:12:47
Upgrading a 2011 Macbook Pro - Like New Again! (SSD, RAM, Battery)
 0:04:09
Upgrade an old Apple MACBOOK PRO laptop with i7, after 11 years
 0:04:57
The Ultimate MacBook Pro (Late 2011) Upgrade
 0:13:29
Fully Restoring a 2011 Macbook Pro
 0:07:23
Upgrade older Mac to the newest OS (2011 and later)
 0:10:23
2011 Macbook Pro Upgrade (3TB, SSD + 16GB RAM)
 0:07:38
Using a 2011 Macbook Pro in 2020 with Easy Upgrades
 0:10:46
How to Upgrade your MacBook Pro late 2011 internal storage to SSD - get more space and speed
 0:11:18
How To UPGRADE Your 2011 Macbook Pro to 2012!
 0:11:47
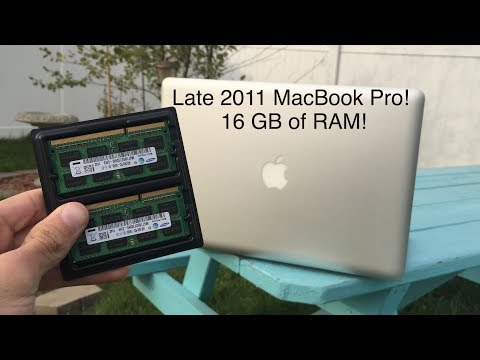
Upgrading the Late 2011 MacBook Pro to 16 GB of RAM!
 0:16:45
Reviving and Upgrading MacBook Pro 2011 ( Mac os BIG SUR )
 0:10:27
Turbocharge Your Late 2011 MacBook Pro: SSD & 16GB RAM Upgrade!
 0:08:02
How to Upgrade an Old MacBook to latest version supported (FIXED 2022)
 0:06:02
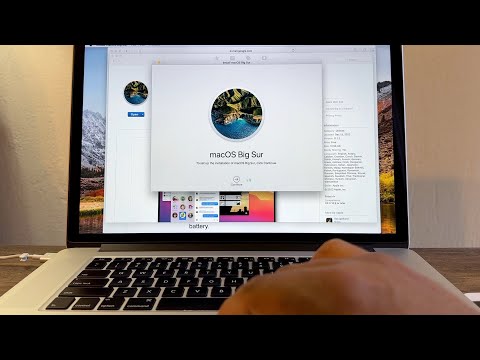
Update macOS on your OLD MacBook Pro laptop from High Sierra to Big Sur FREE
 0:16:47
Apple MacBook Pro Late 2011 8GB Memory & SSD Upgrade
 0:14:16
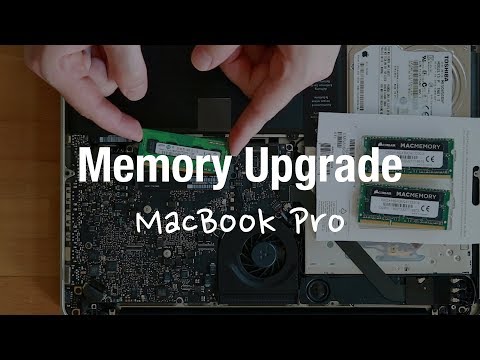
Breathe new life into an old MacBook with THIS upgrade
 0:19:26
Late 2011 MacBook Pro Memory Upgrade 16GB Worth It?
 0:13:49
Building the ultimate sleeper MacBook Pro! Complete restoration and max upgrades
 0:05:05
2011 15' Core i7 MacBook Pro Upgrade Part 1: 8GB RAM, 120GB SSD & SL Install (How To)
 0:11:43
macOS 12... on a 2011 MacBook Pro?
 0:15:52
Using the 2011 MacBook Pro in 2024
 0:09:34
Macbook Pro 2011 CHEAP UPGRADE & PERFORMANCE BOOST | Samsung Evo 860 SSD & 16gb RAM
 0:18:49
Fully upgrading a 2012 MacBook Pro in 2023
 0:12:27
How To Fully Upgrade MacBook Pro 13' (2010, 2011, mid 2012) 1TB Samsung EVO 860. 16GB RAM
Комментарии