filmov
tv
How to Select Transparent Stuff with Blend Modes in Photoshop | The Best Way to Select & Mask Glass

Показать описание
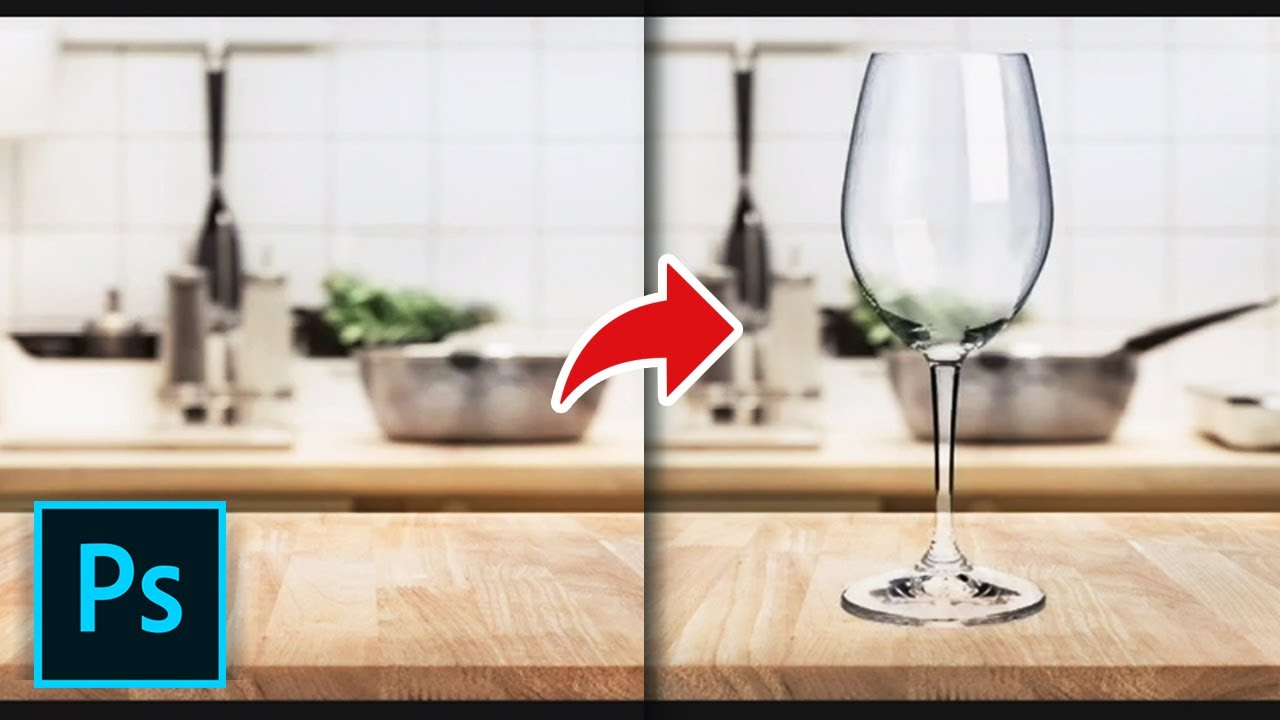
In this tutorial, you will learn How to Select Transparent Stuff with Blend Modes.
We’re going to take a look at using different blending modes to mask out the background behind a transparent object. Keep in mind, however, that for this to work properly, you’ll need the transparent object to be on a solid background such as white, black or any other contrasting color.
Let’s start by bringing the object to a background image, where we want it to be used.
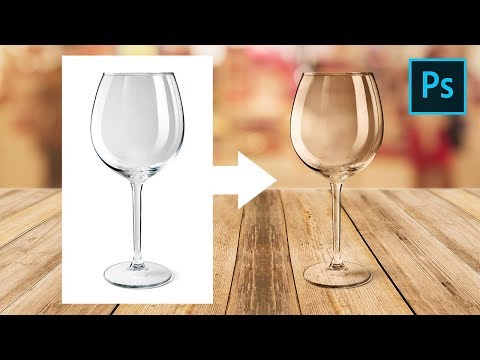
In our case, we’re using a glass on a white background. Set the blending mode to white and this will effectively hide the background, but it’ll also make the glass look extremely flat. Let’s create a copy by pressing CMD+J. Then lower the opacity to around 40%. Let’s make another copy, change the opacity to 100% and let’s bring some of that shine back. Change the blend mode to Screen, which is the reverse of Multiply. It’ll show all the whites, while hiding all the blacks.
Now, we get the shine back, however we also introduce the white background back along with it. To get rid of it, we’ll use the blend if mode. Double click on the layer and let’s take away the dark areas from this layer. Grab the left handle on the top slider under Blend If. Drag it to the right until you see the dark areas disappear. Now to make this smoother, hold the alt and drag either side of the slider to smoothen it out.
When done click ok. Now we need to get rid of the white background. Let’s disable the background layer. Select the top most layer and using magic wand select the outer white part of the image to be removed. Set tolerance to somewhere around 3. Using shift key also select the rest of the image. Press CMD+SHIFT+I. This will invert the selection. Now create a new mask. We can now lower the opacity to fit the background a little better and using the brushes we can fix any mistakes of the magic wand selection.
To further blend the glass in you can tweak the layer opacity on all three layers and see what makes it look the best.
This is just the summary of our approach to blending transparent stuff with blend modes. If used correctly, this can be a very strong tool in your arsenal!
❓💬 What’s your go to technique for object selection? Please let us know in the comments.
#HowTech #Photoshop
--------------------------------------------------------------------------------------------------------------
Комментарии
 0:01:14
 0:02:39
 0:16:11
 0:18:23
 0:17:04
 0:00:48
 0:03:27
 0:02:32
 0:05:01
 0:10:20
 0:01:19
 0:08:57
 0:17:17
 0:07:00
 0:04:26
 0:01:17
 0:00:44
 0:02:40
 0:00:40
 0:08:27
 0:06:43
 0:06:47
 0:04:42
 0:06:49