filmov
tv
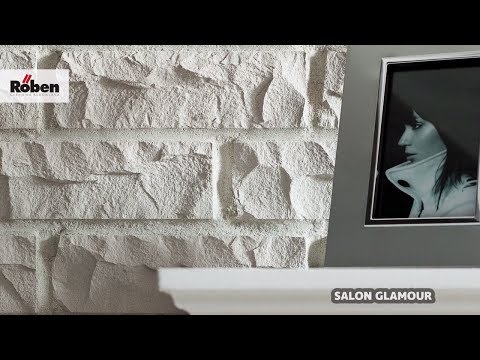
Faux Brick wall with Glamorous Glitter Grout! - Time Lapse

Показать описание
Here is a cute design I came up with for my client.
A super simple faux brick pattern with glitter grout!
It looks SO GLAMOROUS!
***The final result is at the very end of the video!***
And you can see more pictures on my Instagram
Unfortunately, I lost the entire file that showed how I applied the glitter! I was so disappointed!
(Hey, at least I finally figured out how to combine videos with different frame rates!!!)
I will explain how to get the glitter onto the wall:
What I did to apply the glitter was, after I pulled off all the tape, I brushed Glossy Mod Podge (it's like a craft glue) onto the implied grout lines; only outlining 2-3 bricks at a time. Then I used a glitter shaker to shake the glitter onto the wall. You have to shake with forward force to shoot that glitter out.
In order to not waste all the glitter, I had a few pieces of paper lined on the floor to catch it. And I would initially catch most of it as I'm shaking by holding a thick piece of cardboard against the wall with one hand, while the other hand was shaking the glitter onto the Mod Podge grout lines. I had a second glitter shaker that I could pour the extra caught glitter back into, while the other one is used for shaking/applying. All together I think I used 2.5 containers of glitter.
By the end of the night I was literally covered with glitter head to toe.
The other side of her hair studio is a mix of all these colors, which look SO good together!
Afterward, we realized if clients used the coat hooks, they would have glitter all over their stuff, so I went back another day and painted a thin layer of Mod Podge over all the glitter grout lines to sort of "seal" it and no more glitter would fall off.
 0:02:36
 0:00:26
 0:20:47
 0:00:26
 0:00:21
 0:08:16
 0:00:44
 0:00:05
 0:03:48
 0:11:53
 0:00:09
 0:00:16
 0:11:16
 0:00:19
 0:00:33
 0:03:01
 0:00:19
 0:05:11
 0:00:43
 0:00:16
 0:06:19
 0:00:58
 0:00:07
 0:00:52