filmov
tv
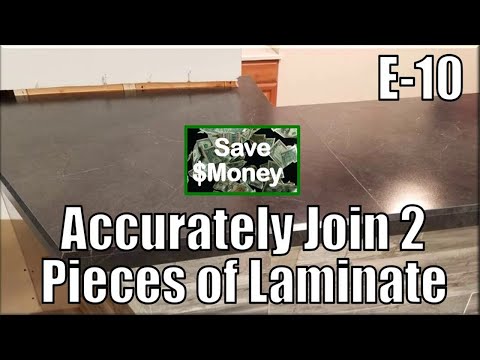
Join Laminate

Показать описание
This film shows how to accurately join two pieces of laminate or Formica together. It is important for you to know that this is the only approach I have seen that will work. Even if you attempt to merge two laminate edges from newly manufactured pieces, my experience has shown that they will not merge perfectly together to form a uniform joint. These joints will most likely have irregular spaces with variable joint distances along the bordering sides. Consequently, this will make your project look like it was crafted with substandard workmanship.
I developed this video while building a bar in my basement, which I will later feature in a multi-part series on how to finish a basement.
In addition, I purchased the laminate in this video from Home Depot. It was manufactured by the Wilsonart Company. Formica brand laminates, which are also popular, are similarly available at Home Depot, Lowe's, and other retailers.
Lastly, this joint was absolutely necessary for me to build because the width of my bar exceeds the width of the largest Wilsonart piece available from Home Depot, which is 5 by 12 feet. Knowing that I needed additional laminate for other portions of my finished basement, I also purchased a 4 by 8 sheet of Wilsonart Laminate and joined these 2 sheets as shown in this video.
Within the video, I will provide the following information:
1) Demonstrate the problems with joining two pieces of laminate
2) Show you how to overlap both laminate pieces, set your saw’s cutting depth, and clamp a cutting fence (guide) in place
3) Test the fence alignment
4) Cut the overlapped laminate pieces
5) Remove and clean up the laminate remnants
6) Glue the new laminate in place
7) Fill the small joint with Wilsonart Color Matched Caulk
 0:12:43
Join Laminate
 0:00:44
ZIPBOLT Compact Laminate Worktop Connector Kit (12-15mm) | Trend Zipbolts
 0:04:27
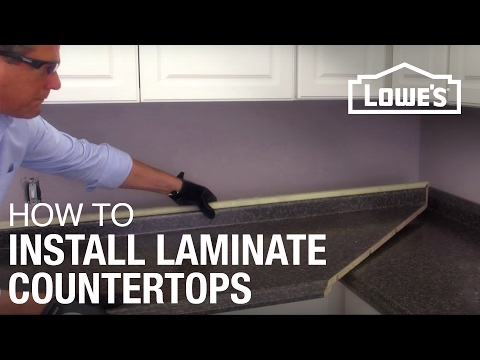
How to Install Laminate Countertops
 0:10:18
Seams 2 Me - TWO PRO WAYS to Seam Plastic Laminate for Countertops
 0:08:13
How to join laminate worktops
 0:03:07
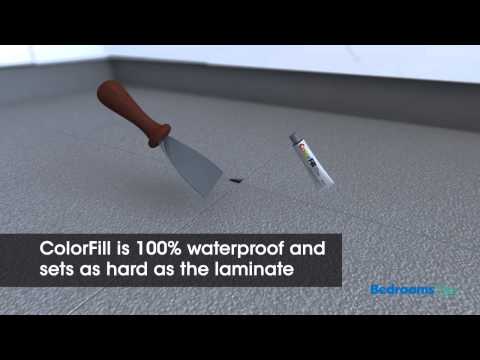
Unika ColorFill Worktop Jointing Sealing Compound Laminate Repair from Bedrooms Plus
 0:20:24
How to join a 22mm laminate worktop
 0:02:31
How to Level and Join Solid Laminate Worktops
 0:00:48
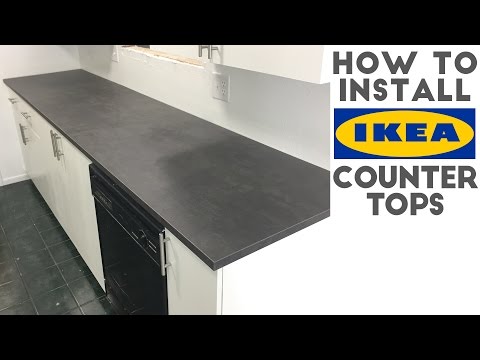
Laminate countertops from WilsonArt | Easy to trim and install!
 0:08:02
Howdens Compact Laminate Worktop Installation Guide - Joining
 0:01:10
Compact Laminate Worktop Connector 12-15mm - ZIPBOLT | Making your Lives Easier
 0:03:54
Laminate Worktop
 0:09:37
Need Wide Boards? How to make panels by edge joining lumber | STEP IT UP Woodworking
 0:07:15
Ikea Laminate Countertop - How to Attach 2 pieces using miter bolts
 0:02:14
Miter Assembly on Laminate Countertops
 0:05:38
COMPACT LAMINATE WORKTOPS HOW TO INSTALL
 0:02:58
How to Seam Laminate
 0:00:32
installing laminate is super easy! #flooring #laminateflooring #diy
 0:03:42
How To Install Laminate / IKEA Countertops | Quick and Easy!
 0:00:21
Laminate floor installation
 0:00:16
HOW TO CUT LAMINATE FLOORING TO FIT PERFECTLY! #laminate #flooring #diy #homeimprovement #howto
 0:00:31
HOW TO LINK LAMINATE FLOORING IN 2 AREAS #shorts #diy #howto #homeimprovement
 0:00:43
Cabinet laminate join line is SO OBVIOUS! How to get rid of it? 🫣 #renosg #sginterior
 0:00:18
A Neat Way To Cut Laminate - DIY At Bunnings
Комментарии