filmov
tv
Make Dremel Rotary Tool Parts Free - 6 Great New Tips

Показать описание
Want FREE Dremel Rotary Tool parts & accessories? I will show you my Dialed In ways to make them quicker with greater precision than before. It is easy to make these Dremel Tool parts and best of all they work great! In this video I will show you my DIY sanding discs, grinding discs, polishing - buffing discs & cut off discs. Easy & cheap (inexpensive type of cheap) Dremel Rotary Tool parts that work great... Now that's a cool DIY Hack.
This video focuses upon 6 great tips and tricks for making better Dremel Tool accessories. New hacks include making better shafts that are easier to work with, easier centering (finding your center), options for part heads (mounting surfaces), more secure connections between shaft and head of your tools, making more consistent sanding/polishing discs quickly, and an adhesive that is much easier to work with.
Referenced in this video:
Warning: be very cautious when using homemade rotary tool accessories. Ensure that you have adequate protective gear in place. Before using DIY parts check for loose materials, confirm the shaft is locked firmly in the chuck (the part that holds the accessories onto the Dremel Tool) and make sure that all of your parts remained secure (by screw, adhesive, etc.) Just like store bought parts these can chip off pieces of material from the cutting surface as well as the tool bit itself so protect yourself at all times.
Music: District Four, Take the Lead
Licensed under Creative Commons: By Attribution 3.0
 0:07:49
Make Dremel Rotary Tool Parts Free - 6 Great New Tips
 0:11:27
The Ultimate Dremel Bit Guide
 0:06:50
Make Dremel Rotary Tool Parts Free - Hot Tool Hack
 0:14:37
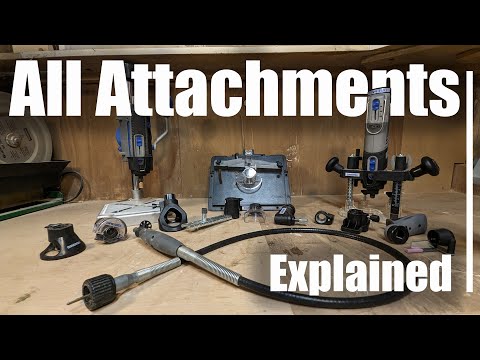
The Ultimate Guide To Dremel Attachments And Accessories
 0:03:29
Make Easy Dremel Tool Parts Free - Spark Guard - Hot Tool Hack
 0:08:02
How to Use a Dremel Rotary Tool & Its Accessories
 0:03:41
How to Quickly Install and Use a Dremel Flex Shaft
 0:03:52
Dremel Mega Chuck (1/4 Inch Chuck for Dremel type rotary tools)
 1:44:14
How-To Diorama with Scale Model Craft, Ep.80 - D&D Diorama Temple Details
 0:10:42
DIY: Powerfull Mini Dremel Drill with Router Base
 0:20:02
How to Use Every Dremel Bit
 0:03:41
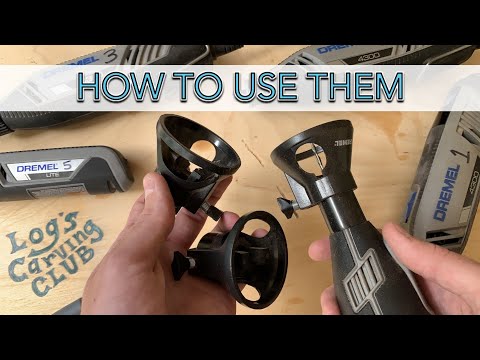
How to Use the Dremel 565 Multipurpose Cutting Kit / Router Attachment
 0:13:08
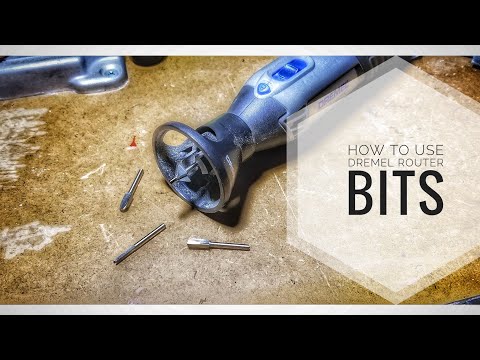
How to Use Dremel Router Bits
 0:08:02
Rotary Tools Tips and Tricks
 0:01:06
How to Use a Dremel Multi Chuck in 1 Minute
 0:04:53
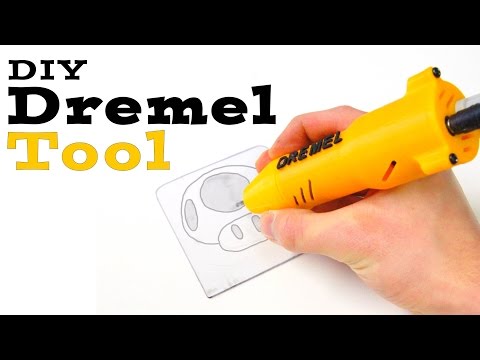
Useful DIY Dremel Tool - How to Make a Rotary Tool
 0:03:29
Top 5 Amazing Rotary Tool | How To Use Bits For Sanding, Buffing, engraving, grinding and Polishing
 0:05:13
Dremel Accessories made from Scrap Printer and CD/DVD parts
 0:03:07
DIY: Homemade Dremel Cork Drum Sanders
 0:01:22
Get Started With The Dremel 3000 Variable-Speed Rotary Tool | Quick Start Guide
 0:18:52
Torture Testing Cheap vs Expensive Dremel Tools
 0:18:06
How To Make Dremel Rotary Tool Accessory Abrasive Wheel For Cheap
 0:08:19
Metal working: Belt sander attachment to Dremel rotary tool. (Workstation part. 1 )
 0:28:52
3D Printed Dremel Rotary Tool Mini Table Saw Prototype
Комментарии