filmov
tv
diy tote bag tutorial+easy to sew+sewing pattern free (sewing for beginners)

Показать описание
diy canvas tote bag tutorial, diy tote bag easy making, diy tote bag beginners sewing tutorial, tote bag sewing tutorial, tote bag diy, tote bag diy tutorial, tote bag easy, tote bag easy sew, tote bag how to make, tote bag ideas, tote bag pattern, tote bag sewing, tote bag tutorial, tote bag tutorial sewing, diy tote bag design, diy tote bag with lining, diy tote bag with pockets, diy tote bag aesthetic, diy tote bag for beginners, diy tote bag design ideas, diy tote bag easy to sew, diy easy tote bag tutorial, diy tote bag sewing pattern, diy tote bag tutorial youtube, canvas tote bag tutorial, canvas tote bag sewing tutorial, canvas tote bag diy, diy canvas tote bag design, diy canvas tote bag tutorial, canvas tote bag with lining, canvas tote bag sewing pattern, sewing projects, sewing hacks, sew very easy, sew with me
#totebag #diytotebag
#totebag #diytotebag
 0:08:06
diy tote bag tutorial+easy to sew+sewing pattern free (sewing for beginners)
 0:05:48
DIY tote bag tutorial + sewing for beginners (FREE PATTERN)
 0:06:53
diy tote bag with pockets tutorial+sew very easy tote bag+diy tote bag(free bag pattern)
 0:08:29
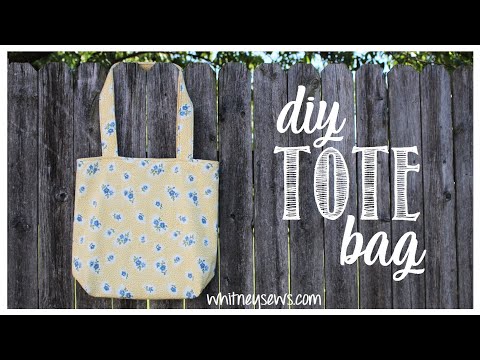
DIY Tote Bag - Beginner Sewing Tutorial - Whitney Sews
 0:05:48
DIY tote bag beginners sewing tutorial(pattern free)
 0:08:06
Easy Tote Bag Sewing Tutorial // Beginner Sewing Project
 0:10:57
Quick & Easy! How to make a Daily Tote bag without Lining
 0:10:01
DIY Daily Tote Bag, very easy making
 0:09:12
Beginner’s Guide to Sewing: Stylish Tote Bag DIY
 0:06:17
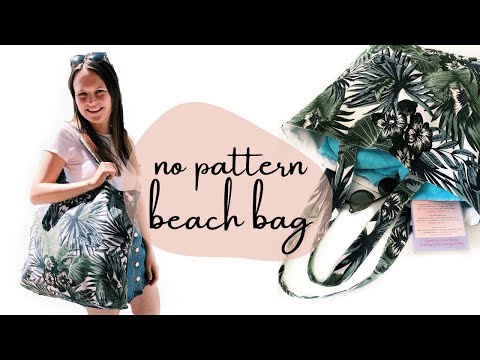
XXL beach bag sewing tutorial | REALLY fast and easy!
 0:12:42
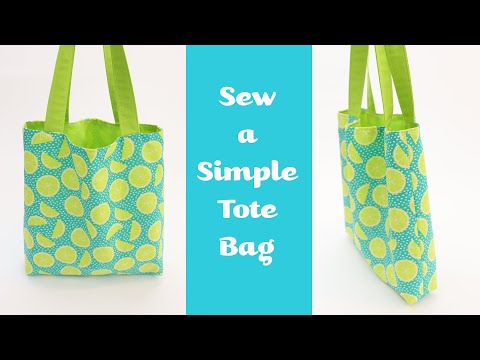
Sew a Super Simple Tote Bag: DETAILED INSTRUCTIONS by learncreatesew
 0:15:47
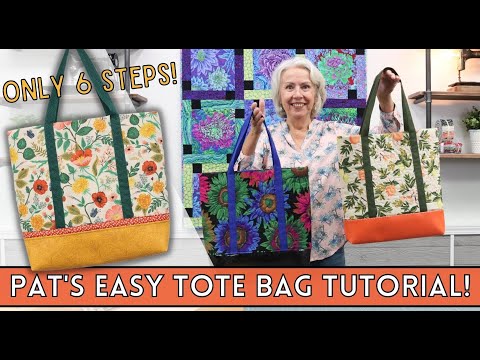
How To Sew Your Own Easy Tote Bag In 6 Steps
 0:10:01
diy tote bag, sewing tutorials for beginners youtube, How to sew a tote bag with lining(2023)
 0:57:20
How To Make A Tote Bag - In Only 6 Easy Steps!
 0:15:27
💥Original Magic Tote Bag || EASY TOTE BAG TUTORIAL🌟
 0:13:49
How to Sew Tote Bag for Beginners | GA003
 0:20:12
Tote Bag Tutorial - EASY!
 0:15:20
The Perfect Tote Bag Tutorial! - Learn to Sew Series
 0:11:45
Tote Bag Sewing Tutorial for Beginners
 0:04:50
⭐ Sewing trick. Surprisingly easy way to sew a handbag (Part #68)
 0:11:32
DIY How to make tote bag with divider pattern | Adding divider to tote bag | DIY Divided tote bag
 0:05:25
No Frills DIY Tote Bag Tutorial - Easy Sewing Project for Beginners
 0:04:18
The world's easiest-to-make tote bag!
 0:03:29
DIY Small Tote Bag in 5 minutes
Комментарии