filmov
tv
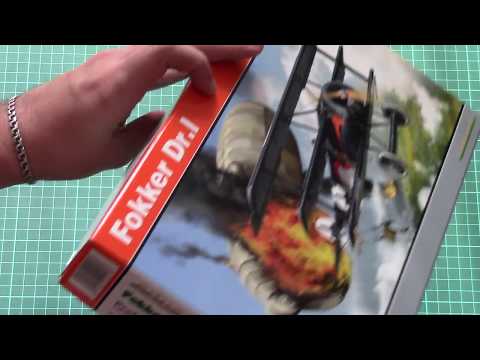
Eduard Fokker Dr1 Profipack 1 72 scale

Показать описание
Build and review of Eduard's 1/72 scale Fokker Dr1 profi pack.
 0:04:50
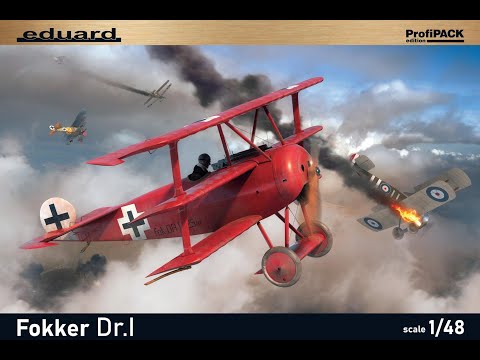
Eduard Fokker Dr. I
 0:13:14
Fokker F. I - 1/48 Eduard - Full scale model kit build
 0:07:18
Eduard Fokker Dr.I ProfiPACK Edition What's in the Box
 0:05:21
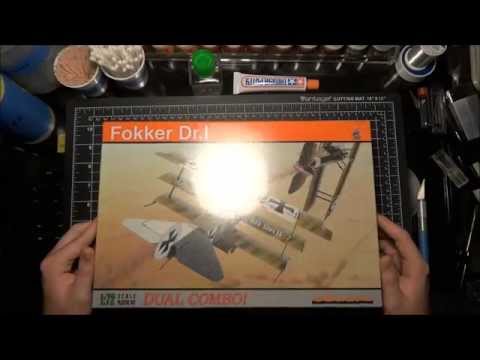
Eduard 1/72 Fokker Dr.I Profipack (7039) Review
 0:29:05
Eduard Fokker Dr1 Profipack 1 72 scale
 0:33:45
Let's Craft Episode 2 Eduard 1/48 Fokker Dr.I
 0:14:07
Eduard 1/48 Fokker Dr1 - Kit Review
 0:05:27
Eduard 1/48 Fokker Dr.I Profipack (8162) Review
 0:16:31
Building Fokker dr.1 1/72 Eduard
 0:17:41
Fokker F. I - 1/48 Eduard - Full scale model kit build
 0:00:59
Fokker Dr.1 Seat Eduard
 0:02:04
Eduard 1/48 Fokker Dr.1 Dual Combo # 8161 www.eModels.co.uk
 0:01:33
Eduard Fokker Dr. 1 complete
 0:15:30
1:72 Fokker Dr. I (Eduard) Part 1 - Unboxing and Review
 0:17:15
Inbox review of the Eduard Fokker DR1
 0:09:11
Fokker Dr.I : Eduard : 1/48 Scale : In Box Review
 0:09:32
Eduard Fokker D. VII 1/48 part 1. WOODEN TEXTURES
 0:04:38
Eduard 1:48 Fokker DR.1 Triplane Kit Review
 0:07:20
This took me 2 years... | Revell 1/72 (Eduard conversion) | Full build
 0:05:20
Unboxing/Dobozbontás Eduard Fokker Dr.I 1/48
 0:11:34
Fokker DR.I
 0:11:49
Tamiya Abrams, Platz Lightning, Panda Kurganets IFV, Eduard Fokker Dr.I & Roland C.II
 0:10:19
Eduard 1/48 Fokker Dr.I Weekend (8487) Review
 0:03:28
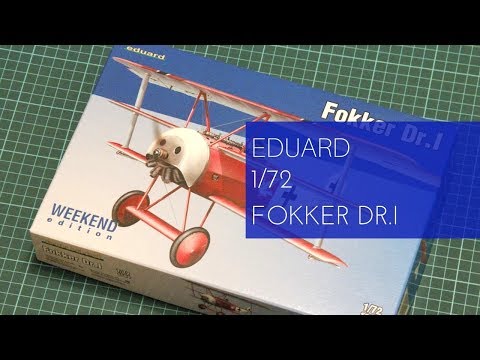
Eduard 1/72 Fokker Dr.I Weekend Edition (7438) Review
Комментарии