filmov
tv
how to install centos 6 on vmware workstation | The Viral Tech

Показать описание
Hello Friends,
In This video i have explained you How to install Centos On VMWare Workstation. all steps are mentioned below
1 - Install VMWare Workstation
In this tutorial you’ll learn how to install CentOS Linux in VMware Workstation.
2 - Choose and download the CentOS linux image to install
Afterwards, click “Get CentOS Now”. You can choose between “DVD”, “Everything” and “Minimal”. To make things easier Im going to show how to install the Minimal, but the process is the very same even if you get a complete version. Click “Minimal”, now click in “Mirror Lists” an choose the best mirror according to your country. Im going to pick anyone, for instance this one.
Now you will browse between the versions... I’ll get the latest version 7.2.1511.
The trick is there are several folders here, this is a little confusing, so you’ll go to “isos” this is your target. Select x86_64, which is the 64 bit version.
Now Im going to download the Minimal version, if you need the complete version, you can get Everything or maybe their standard DVD, Im going for the minimal because of the short time to install so just click here and save this file to your computer.
3 - Go to VMWare to create the virtual machine and start centos installation
When the download is finished, open the VMware software.
First of all you’ll click on “Create a New Virtual Machine”. Select “Installer disc image file”
and then click “Browse”. Select the just downloaded image of CentOS 7, click “open” and click “next”.
Here you should select the local location, the local folder in which you install CentOS, we reccomend use a disk with some space. Im going to change my path and then it click “next”.
4 - Setup the virtual server disk space, RAM and number of cores for CentOS
Here you must select the size of the image, the size of the virtual disk which will be reserved for the image of your virtual server. For instance, im going to select 3 Gb and then click “next”.
This is the installation review, all the information such as memory size, hard disk size, you can click on “customize hardware” If you which to increase something. For instance, you can increase the size of the RAM memory, Im going to create this 2 Gb frame. Here you can delegate more cores of your processor, Im going to select 2 cores, here have some more options. You will proceed clicking “close” an then “finish”.
5 - Whats the difference between a processional VPS Server and a VMWare virtual server
And now VMware will boot the installation disk. Just a brief explanation: this is a virtual machine inside our pc which VMware does. But what is the difference between a local virtual machine and a professional virtual machine? For instance we have VPS servers which are professional servers located on a data center. The difference is that in the local pc youre subject to rules of limitations about your local provider. So of course you can make service like web servers FTP servers but you must make them for a specific port. You usually cant do them on the standard ports, so this is the main difference. This virtual machine will have a local IP and a professional VPS server will have a valid and public IP address, this is the main difference. Also our VPS server can have more than one IP address.
6 - Boot your linux to start the CentOS installation process
So you’ll click on the screen and start the installation. Click enter to proceed.
Now were beginning the installation of CentOS, right now choose your language, I’m going to choose English and United States. Click “continue”. Select the Date and Time, just select your timezone. For instance I’ll elect Portugal. Click “done”.
You have already selected our language, so you can change our Keyboard Layout by clicking “add” if you have any specifical language. Click “done”. Let’s scroll this screen a little… Click on “Installation Destination” and make sure that the dis where you are going to install CentOS is selected. Click “done”.
And last we must enable the ethernet network port, so just click on this button to enable, now the network is enable. You now have a local IP address. Click “done” and then click “begin instalation”.
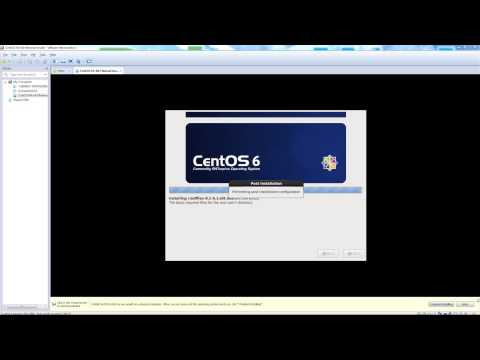
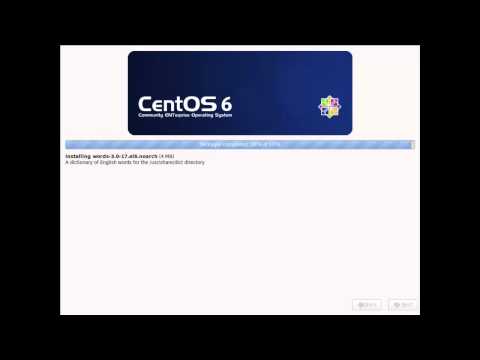
During in the installation you can configure the root password which Ill do now by clicking on “root password”. Choose a password for your system, click “done” and wait for the installation.
After several several minutes the installation is finished. Click “Reboot”. Click enter.
7 - CentOS installation is done!
Now the installation is complete and you are just logged into your CentOS Linux
Just one important step after finishing the installation: you must click in this button “I Finished Installing”, so you are going to inform that installation is completed and it will boot automatically through the installed software.
In This video i have explained you How to install Centos On VMWare Workstation. all steps are mentioned below
1 - Install VMWare Workstation
In this tutorial you’ll learn how to install CentOS Linux in VMware Workstation.
2 - Choose and download the CentOS linux image to install
Afterwards, click “Get CentOS Now”. You can choose between “DVD”, “Everything” and “Minimal”. To make things easier Im going to show how to install the Minimal, but the process is the very same even if you get a complete version. Click “Minimal”, now click in “Mirror Lists” an choose the best mirror according to your country. Im going to pick anyone, for instance this one.
Now you will browse between the versions... I’ll get the latest version 7.2.1511.
The trick is there are several folders here, this is a little confusing, so you’ll go to “isos” this is your target. Select x86_64, which is the 64 bit version.
Now Im going to download the Minimal version, if you need the complete version, you can get Everything or maybe their standard DVD, Im going for the minimal because of the short time to install so just click here and save this file to your computer.
3 - Go to VMWare to create the virtual machine and start centos installation
When the download is finished, open the VMware software.
First of all you’ll click on “Create a New Virtual Machine”. Select “Installer disc image file”
and then click “Browse”. Select the just downloaded image of CentOS 7, click “open” and click “next”.
Here you should select the local location, the local folder in which you install CentOS, we reccomend use a disk with some space. Im going to change my path and then it click “next”.
4 - Setup the virtual server disk space, RAM and number of cores for CentOS
Here you must select the size of the image, the size of the virtual disk which will be reserved for the image of your virtual server. For instance, im going to select 3 Gb and then click “next”.
This is the installation review, all the information such as memory size, hard disk size, you can click on “customize hardware” If you which to increase something. For instance, you can increase the size of the RAM memory, Im going to create this 2 Gb frame. Here you can delegate more cores of your processor, Im going to select 2 cores, here have some more options. You will proceed clicking “close” an then “finish”.
5 - Whats the difference between a processional VPS Server and a VMWare virtual server
And now VMware will boot the installation disk. Just a brief explanation: this is a virtual machine inside our pc which VMware does. But what is the difference between a local virtual machine and a professional virtual machine? For instance we have VPS servers which are professional servers located on a data center. The difference is that in the local pc youre subject to rules of limitations about your local provider. So of course you can make service like web servers FTP servers but you must make them for a specific port. You usually cant do them on the standard ports, so this is the main difference. This virtual machine will have a local IP and a professional VPS server will have a valid and public IP address, this is the main difference. Also our VPS server can have more than one IP address.
6 - Boot your linux to start the CentOS installation process
So you’ll click on the screen and start the installation. Click enter to proceed.
Now were beginning the installation of CentOS, right now choose your language, I’m going to choose English and United States. Click “continue”. Select the Date and Time, just select your timezone. For instance I’ll elect Portugal. Click “done”.
You have already selected our language, so you can change our Keyboard Layout by clicking “add” if you have any specifical language. Click “done”. Let’s scroll this screen a little… Click on “Installation Destination” and make sure that the dis where you are going to install CentOS is selected. Click “done”.
And last we must enable the ethernet network port, so just click on this button to enable, now the network is enable. You now have a local IP address. Click “done” and then click “begin instalation”.
During in the installation you can configure the root password which Ill do now by clicking on “root password”. Choose a password for your system, click “done” and wait for the installation.
After several several minutes the installation is finished. Click “Reboot”. Click enter.
7 - CentOS installation is done!
Now the installation is complete and you are just logged into your CentOS Linux
Just one important step after finishing the installation: you must click in this button “I Finished Installing”, so you are going to inform that installation is completed and it will boot automatically through the installed software.
 0:13:21
 0:02:02
 0:09:24
 0:08:15
 0:08:09
 0:04:34
 0:11:59
 0:11:37
 0:11:27
 0:08:07
 0:00:28
 0:04:43
 0:08:15
 0:07:14
 0:13:49
 0:02:24
 0:05:31
 0:19:13
 0:08:29
 0:13:57
 0:10:14
 0:03:30
 0:03:15
 0:04:22