filmov
tv
How to install a door jamb kit and used door

Показать описание
My wife found this glazed door on the side of the road. Replacing a circa 1962 door, jamb and all, and installing this recycled door from scratch.
 0:04:59
Beginners Learn how to Install a Door in 4 Minutes, without Shimming!
 0:07:27
How to Install a Door: From Start to Finish
 0:02:09
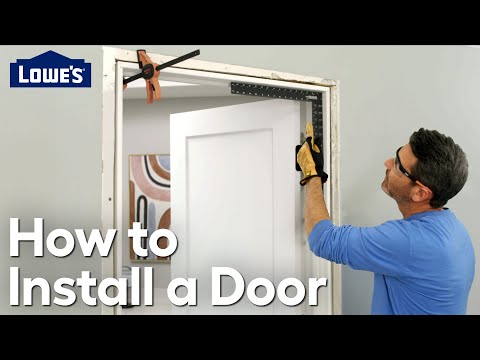
How to Install an Interior Door | The Home Depot
 0:11:41
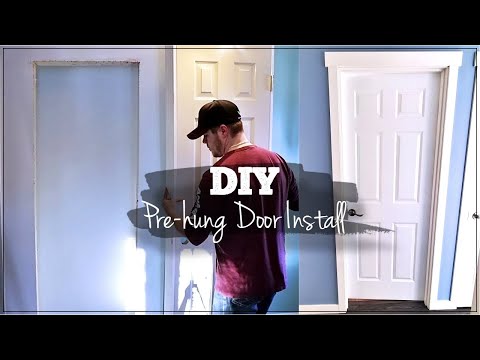
How to install a Pre-hung Interior Door for beginners
 0:18:36
How to Frame a New, Internal Door
 0:11:38
How to Install a Pre-Hung Interior Door for the First Time, Like a Pro!
 0:10:13
How To Install An Exterior Door In 10 Minutes! - Beginners Guide
 0:04:22
How to Hang a Door
 0:32:02
How to Install A Pre Hung Door | 3 Different Ways
 0:04:29
How to Hang an Interior Door with Wickes
 0:07:11
DIY Composite Front Door Installation
 0:06:50
How To Install A Prehung Exterior Door
 0:20:37
How To Install A New Door In An Old Space
 0:19:57
How to Hang a New Door in an Old Frame | Step By Step DIYers Guide
 0:14:16
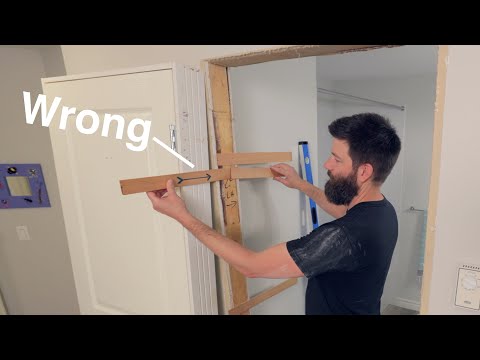
The Foolproof Door Hanging Method!
 0:03:20
How To Install Interior Doors
 0:02:27
How To Replace an Interior Door
 0:14:54
Installing an Exterior Door Perfectly - The Right Way
 0:07:03
How to Install a Pre-Hung Interior Door | Ask This Old House
 0:12:39
PreHung Door Install UNEDITED Best How To Method for DIY
 0:08:58
DIY Front Door Replacement (How to Replace a Front Door Step-by-Step)
 0:15:14
How To Install Door Trim: Beginner to Level 10 Pro!
 0:03:57
How to replace interior doors
 0:04:04
How to Install a Door Jamb - DIY At Bunnings
Комментарии