filmov
tv
Geberit toilet repair and maintenance - How to

Показать описание
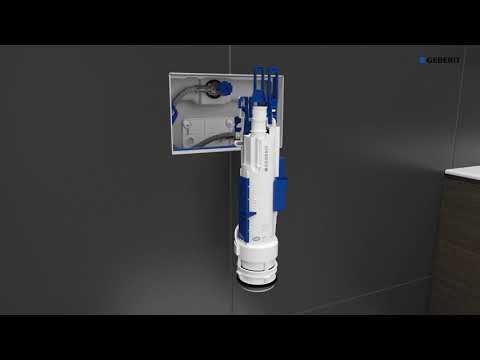
Showing how to disassemble a Geberit in-wall toilet carrier tank for cleaning, maintenance and repair.
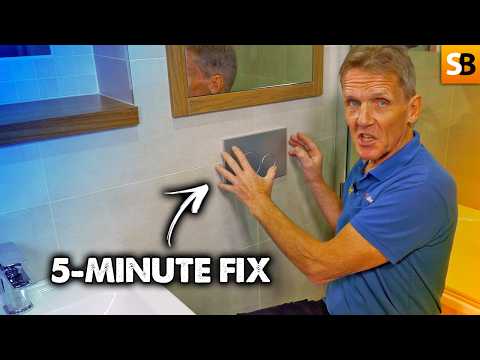
To remove the button panel, push the panel slightly up and then lift it off of the wall on the top.
The lever assembly can be removed easily. Just make sure to stay clear of the two levers, which get pulled up in order to flush.
Don't forget to close the shutoff valve.
Cleaning off all of the seals should fix most of the problems with a constantly running toilet.
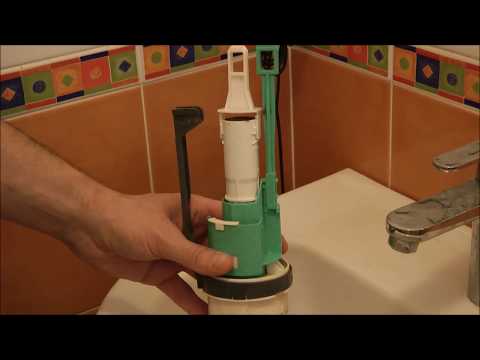
During the entire procedure the only tools you might need are pipe wrench and some pliers. I used both of them to disassemble the fill-valve for cleaning.
To remove the button panel, push the panel slightly up and then lift it off of the wall on the top.
The lever assembly can be removed easily. Just make sure to stay clear of the two levers, which get pulled up in order to flush.
Don't forget to close the shutoff valve.
Cleaning off all of the seals should fix most of the problems with a constantly running toilet.
During the entire procedure the only tools you might need are pipe wrench and some pliers. I used both of them to disassemble the fill-valve for cleaning.
 0:06:40
Geberit toilet repair and maintenance - How to
 0:04:24
Geberit DuoFresh Fit Out Install
 0:02:00
Geberit 200F Flush plates for a clean flush after each use
 0:02:37
Save money! How to change Geberit flush valve of a wall-hung wc #diyplumbing
 0:00:51
1️⃣🚽 Geberit toilet repair
 0:03:26
Toilet Running or Not Flushing? Replace Geberit Flush Valve Concealed Cistern FIX
 0:03:57
Geberit Concealed Cistern Sigma 8cm (2016) - Maintenance
 0:04:35
Geberit Alpha India Service - Maintenance
 0:06:37
Fix That Leak - change Geberit Fill Valve Washer
 0:00:32
Geberit toilet fill valve trick to stop water leaking continuously #youtubeshorts#geberit#subscribe
 0:04:02
how to repair leaking concealed flush tank
 0:02:51
Geberit Type 212 Flush valve - Installation
 0:01:59
4️⃣🚽Geberit toilet repair - Refit flush valve/ syphon
 0:10:26
Concealed Cistern Problems? 5-Minute Fix
 0:00:17
Geberit Blue Arrow Mk1 and Mk2 Replacement
 0:07:29
Geberit short Flush problem
 0:00:30
Geberit concealed tank flush valve - easier removal
 0:11:08
Geberit Unterputz Spülkasten reparieren / entkalken
 0:03:51
Geberit FORS Inlet Valve Installation
 0:00:24
Leaking toilet cistern replacement
 0:00:15
Toilet push button replacement!#plumber #shorts #plumbing
 0:00:19
Geberit in-wall flush toilet tank systems for wall-hung toilet #geberit #plumbingfixture #plumbingva
 0:00:57
3️⃣🚽Geberit toilet repair - flush valve/ syphon
 0:00:15
WC Flush Sensor not working repair #sensor #plumbing #flush
Комментарии