filmov
tv
How to Replace Control Arm with Ball Joint 02-06 Nissan Altima
Показать описание
Buy Now!
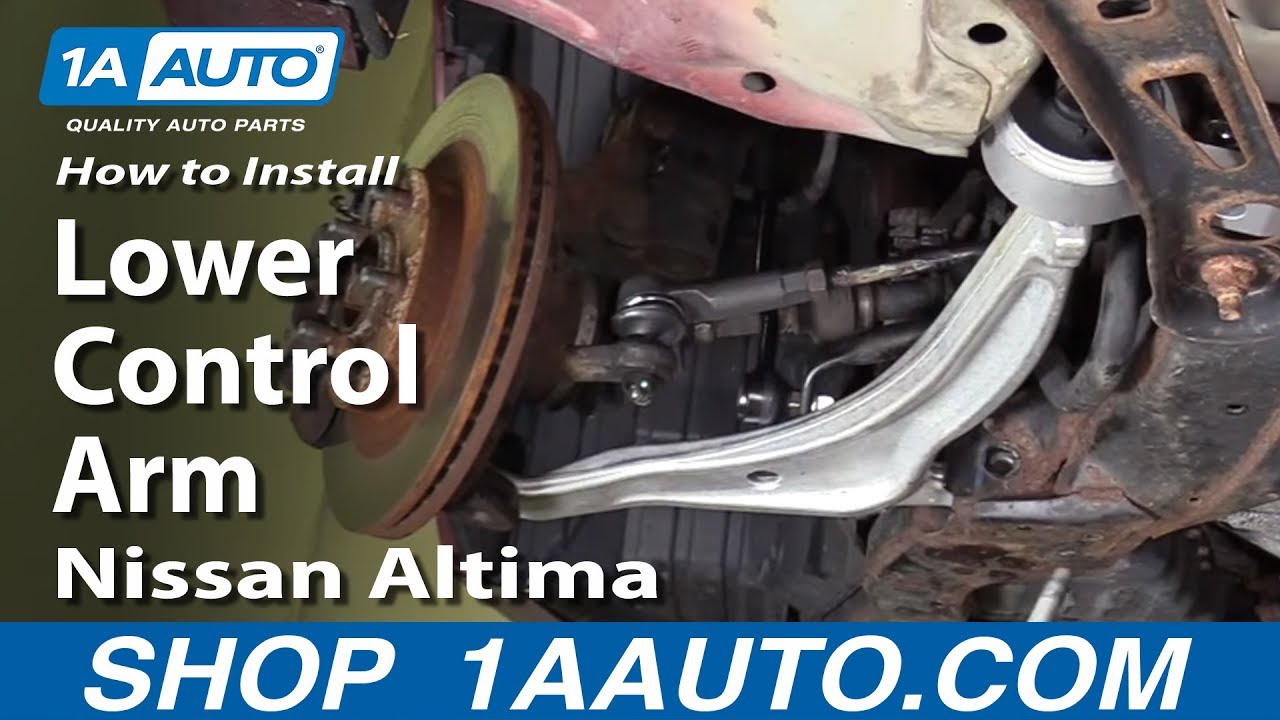
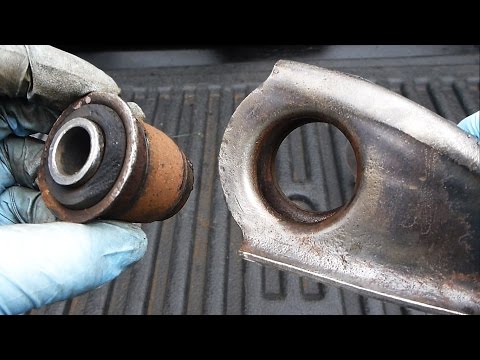
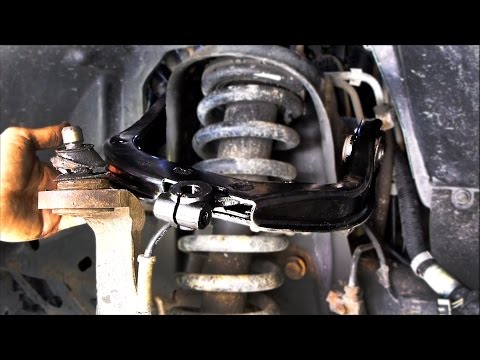
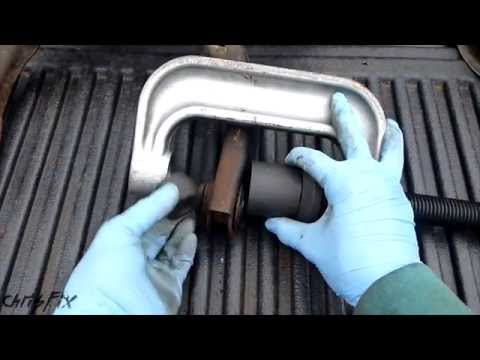
In this video, 1A Auto shows you how to repair, install, fix, change or replace failing, rusted, rotted, or damaged front upper control arms. This video is applicable to the Nissan Altima, years 02, 03, 04, 05, and 06.
🔧 List of tools used:
• 22mm Wrench
• Lug Wrench
⚠ DISCLAIMER:
While 1A Auto strives to make the information provided in this video as accurate as possible, it makes no claims, promises, or guarantees about the accuracy, completeness or applicability of the content. No information contained in this video shall create any expressed or implied warranty or guarantee of any particular result. All do-it-yourself projects entail some risk. It is the sole responsibility of the viewer to assume this risk. 1A Auto is not responsible or liable for any loss damage (including, but not limited to, actual, consequential, or punitive), liability, claim, or any other injury or cause related to or resulting from any information posted in this video.
 0:06:15
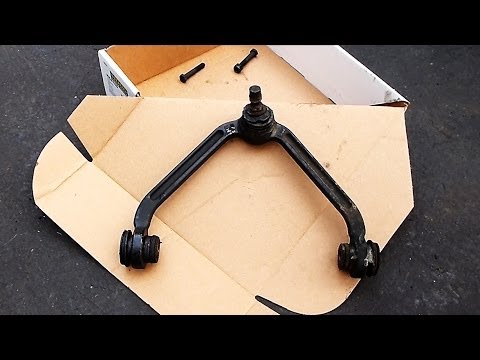
How to Replace a Control Arm (upper or lower)
 0:11:00
Replacing Lower Control Arm
 0:10:02
How to Replace a Lower Control Arm
 0:00:14
Control arm helper tool
 0:03:29
How to Fix a Car that Clunks (Lower Control Arm)
 0:10:05
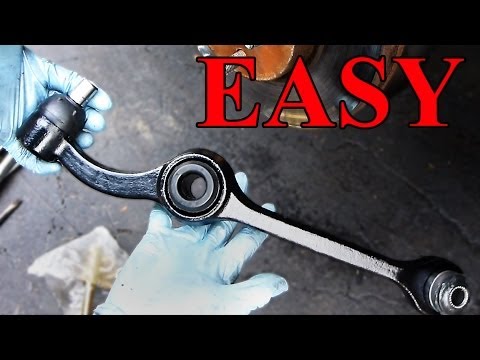
How to Replace Control Arm Bushings (EASY)
 0:12:28
How to Replace Front Lower Control Arm 2008-2013 Nissan Rogue
 0:06:41
How to Replace Front Lower Control Arm 2008-12 Chevy Malibu
 0:16:36
How to Replace Front Strut & Spring Assemblies 2000-2007 Ford Taurus
 0:11:40
How to Replace Front Lower Control Arm 2003-2007 Honda Accord
 0:23:17
How to Rebuild the Entire Front Suspension in your Car or Truck
 0:15:18
How to Replace an Upper Control Arm
 0:04:59
How to Replace Control Arm Bushings (FAST)
 0:00:20
Loose Control Arm Bushings
 0:06:31
How to Remove and Replace a Control Arm - Due to Bad Bushings
 0:16:11
How to Replace Lower Control Arm 2003-2008 Toyota Corolla
 0:10:12
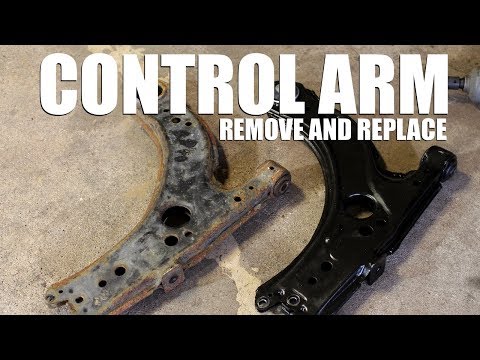
Front suspension lower arm replacement
 0:00:58
Replace Lower Arm Bushing Mitsubishi #car #shortvideo #shorts #short #viralvideo #youtube #tips #diy
 0:12:18
How to Replace Front Lower Control Arm 2012-2020 Ford Focus
 0:00:47
Stuck Lower Control Arm Bolt Tips #shorts
 0:00:25
How to remove Lower Control Arm Bushings! #toyota #tacoma #4runner #offroad #whiteline #diy
 0:00:34
Great Tool for Control Arms
 0:07:42
How To Replace Front Control Arm 2006-2011 Chevrolet HHR
 0:11:48
How to Replace Front Lower Control Arms 05-15 Toyota Tacoma
Комментарии