filmov
tv
How to Build an 850 Sq. Ft. Patio Cover in One Day
Показать описание
#Elitewood #Odell #Construction
Hey Everyone!
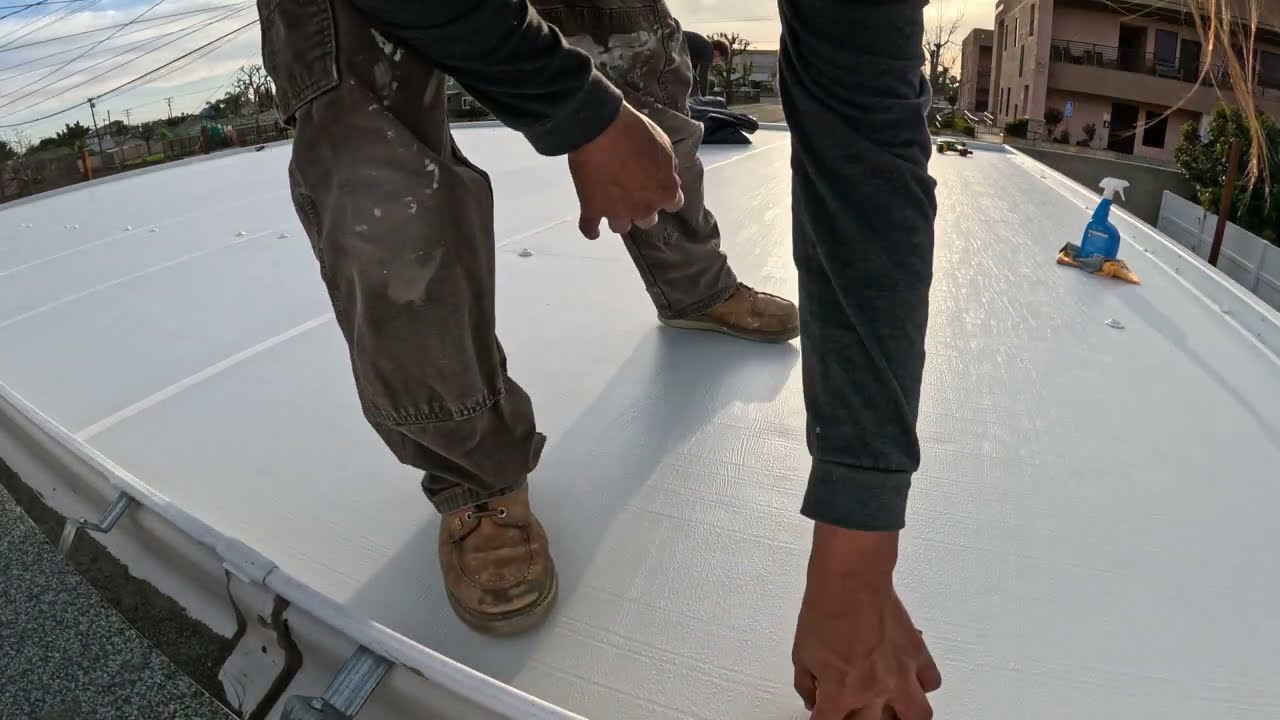
In this video we teamed up with Odell Complete Concrete and Four Seasons Building Products, to bring you an awesome 1 day Elitewood Insulated Patio Cover Build. The projection was 25 ft. from the house, and the width was 34 ft.
We used a 3 inch Classic Elitewood Insulated Roof and Frame by Four Seasons, with an Econo Flush Bottom Gutter. We added 3 fan beams, so we could easily run electrical for the recessed lights. The 4 in. recessed lights were made by Halo, and the wireless switch was made by Lutron Casetta. It was scallop cut for the wrap kit, and miter cut for the post side plates. We used 12 gauge (red) steel c-beams to carry the span, and utilized the pre-existing footings poured by Odell Complete Concrete in a previous video on their channel, where they did the concrete and landscaping.
For all your Concrete and Landscaping needs you can contact Team Odell at 714-204-9064, or visit their Youtube @OdellCompleteConcrete and Instagram @OdellConcrete
For all your Patio Cover Material needs you can contact Four Seasons Building Products at 800-457-9959 or visit their website FourseasonsBP.com for your Local Factory and Approved Contractors.
Elitewood Patio Cover Installation Directions:
00:00 How To Build an 850 sq. ft. Elitewood Insulated Patio Cover in One Day
00:30 Marking the Center of the Patio Cover
01:16 Installing the Hanging Channel for the Insulated Roof
01:47 Pulling Electrical Power for the Lights from the nearest Outlet
02:15 Marking Post Height, Subtract 8" for Header 4 1/2" to Pitch Water to the Gutter on the front
02:57 Attach Posts to Header and Flip over the Beam for Roof Installation
03:06 Install Insulated Roof Panels start in the Center to Keep Patio Square
03:24 Install concrete wedge anchors into the post brackets, start with the center post
03:52 Evenly space your Roof Panels that will have electrical and wait for the roof seams to be even, before locking the panels together
04:23 Install the Mid-Span Header Beam to give the patio roof extra support
05:10 Cut your last roof panels to match the overhang on each side
5:40 Mark for you Light Placement, then drill a 4 1/4" Hole for the Recessed Lights and a 1 3/4" hole in your fan beam to get your electrical wire
06:38 Connect all your light hole openings to each other with the same gauge electrical wire. In this case we use 14/2 Type UF-B Gray Wire.
07:04 Install your Gutters on the front of the Patio Cover
07:32 Starting Cutting and Installing your Post Side Plates for added Post and Beam Support
08:26 Install your Halo 4" Recessed Lights in the 4 1/4" openings you made for your lights
09:08 Install your Wrap Kit around your Extruded Gutter and Side Fascia
10:15 Seal all Seams and Screws on the Patio Cover Roof with Nova Flex Metal Roof Sealant, you can use cardboard or a wet rag to smooth it out
11:54 Connect your Lights to Power at your Outlet, we used a Lutron Casetta to give the homeowner a Wireless Pico Switch/Remote inside their home.
13:06 Walkthrough of Completed Patio Cover
-The methods and techniques that we use are ways that work for us, not necessarily for everyone in different climates and build conditions. Safety is the most important thing when building these rooms and patio covers.
Music by:
DataMine - Sub Morphine
Hey Everyone!
In this video we teamed up with Odell Complete Concrete and Four Seasons Building Products, to bring you an awesome 1 day Elitewood Insulated Patio Cover Build. The projection was 25 ft. from the house, and the width was 34 ft.
We used a 3 inch Classic Elitewood Insulated Roof and Frame by Four Seasons, with an Econo Flush Bottom Gutter. We added 3 fan beams, so we could easily run electrical for the recessed lights. The 4 in. recessed lights were made by Halo, and the wireless switch was made by Lutron Casetta. It was scallop cut for the wrap kit, and miter cut for the post side plates. We used 12 gauge (red) steel c-beams to carry the span, and utilized the pre-existing footings poured by Odell Complete Concrete in a previous video on their channel, where they did the concrete and landscaping.
For all your Concrete and Landscaping needs you can contact Team Odell at 714-204-9064, or visit their Youtube @OdellCompleteConcrete and Instagram @OdellConcrete
For all your Patio Cover Material needs you can contact Four Seasons Building Products at 800-457-9959 or visit their website FourseasonsBP.com for your Local Factory and Approved Contractors.
Elitewood Patio Cover Installation Directions:
00:00 How To Build an 850 sq. ft. Elitewood Insulated Patio Cover in One Day
00:30 Marking the Center of the Patio Cover
01:16 Installing the Hanging Channel for the Insulated Roof
01:47 Pulling Electrical Power for the Lights from the nearest Outlet
02:15 Marking Post Height, Subtract 8" for Header 4 1/2" to Pitch Water to the Gutter on the front
02:57 Attach Posts to Header and Flip over the Beam for Roof Installation
03:06 Install Insulated Roof Panels start in the Center to Keep Patio Square
03:24 Install concrete wedge anchors into the post brackets, start with the center post
03:52 Evenly space your Roof Panels that will have electrical and wait for the roof seams to be even, before locking the panels together
04:23 Install the Mid-Span Header Beam to give the patio roof extra support
05:10 Cut your last roof panels to match the overhang on each side
5:40 Mark for you Light Placement, then drill a 4 1/4" Hole for the Recessed Lights and a 1 3/4" hole in your fan beam to get your electrical wire
06:38 Connect all your light hole openings to each other with the same gauge electrical wire. In this case we use 14/2 Type UF-B Gray Wire.
07:04 Install your Gutters on the front of the Patio Cover
07:32 Starting Cutting and Installing your Post Side Plates for added Post and Beam Support
08:26 Install your Halo 4" Recessed Lights in the 4 1/4" openings you made for your lights
09:08 Install your Wrap Kit around your Extruded Gutter and Side Fascia
10:15 Seal all Seams and Screws on the Patio Cover Roof with Nova Flex Metal Roof Sealant, you can use cardboard or a wet rag to smooth it out
11:54 Connect your Lights to Power at your Outlet, we used a Lutron Casetta to give the homeowner a Wireless Pico Switch/Remote inside their home.
13:06 Walkthrough of Completed Patio Cover
-The methods and techniques that we use are ways that work for us, not necessarily for everyone in different climates and build conditions. Safety is the most important thing when building these rooms and patio covers.
Music by:
DataMine - Sub Morphine
 0:14:14
How to Build an 850 Sq. Ft. Patio Cover in One Day
 0:20:07
Building The PERFECT Streaming Setup For $850
 0:38:58
How To Build An 850 Credit Score & Unlock $500K In Business Credit Approvals | Jack McColl
 0:11:44
How to RAISE Your Credit Score Quickly (Guaranteed!)
 0:11:52
ΠΡΟΤΑΣΗ ΓΙΑ PC BUILD ΣΤΑ 850€
 0:12:25
Awesome RX 9070 XT Gaming PC Build 2025! 😄 [Full 1440p Build Guide w/ Benchmarks]
 0:24:20
Part 2 - Building an £850 hatchback into a competitive race car.
 0:03:42
Build 850 Credit
 0:02:35
B850 AORUS ELITE WIFI7 ICE MOTHERBOARD UNBOXING INSTALLATION
 0:23:07
How to build a 850 Credit Score from SCRATCH
 0:09:33
*850* GAMING PC BUILD ... 200 FPS FORTNITE ΘΑ ΠΑΙΖΕΙ !!! ( ΔΕΙΤΕ ΤΟ ΟΛΟ )
 0:07:01
PRO RMK 850 BUILD: This Sled is INSANE!
 0:25:15
Part 3 - Building an £850 hatchback into a competitive race car.
 0:10:02
Corsair RM850 and RM850x unboxing and installation guide
 0:10:28
2021 Polaris 850 Khaos Sled Build
 0:00:09
Best 850$ Gaming PC Build | Intel I5-11400F | RTX 3050 8GB | 16GB RAM | February 2022
 0:29:26
Newegg DIY Garage: How to Build a Gaming PC - i7-6700, 850 EVO, & GTX 970
 0:18:01
HOW TO BUILD PERFECT CREDIT FAST (0 TO 850) | Credit Cards
 0:00:18
Norton 850 crankshaft build up🤟🏾👨🏽🔧 #norton #british #motorcycle
 0:00:14
Getting the G4 154 non turbo 850 skidoo build dialed in! Good climbs at the snowy range!
 0:00:16
🔥 Watch This AWESOME Classic Italian Fiat 850 Build #shorts
 0:02:25
850€ Gaming PC | Timelaps Build
 0:00:15
DIY Fiat 850 Sport Coupe Getting his BUILD ENGINE #shorts
 0:00:30
What Goes Into A 850 Horsepower Nissan S15 Formula Drift Build
Комментарии