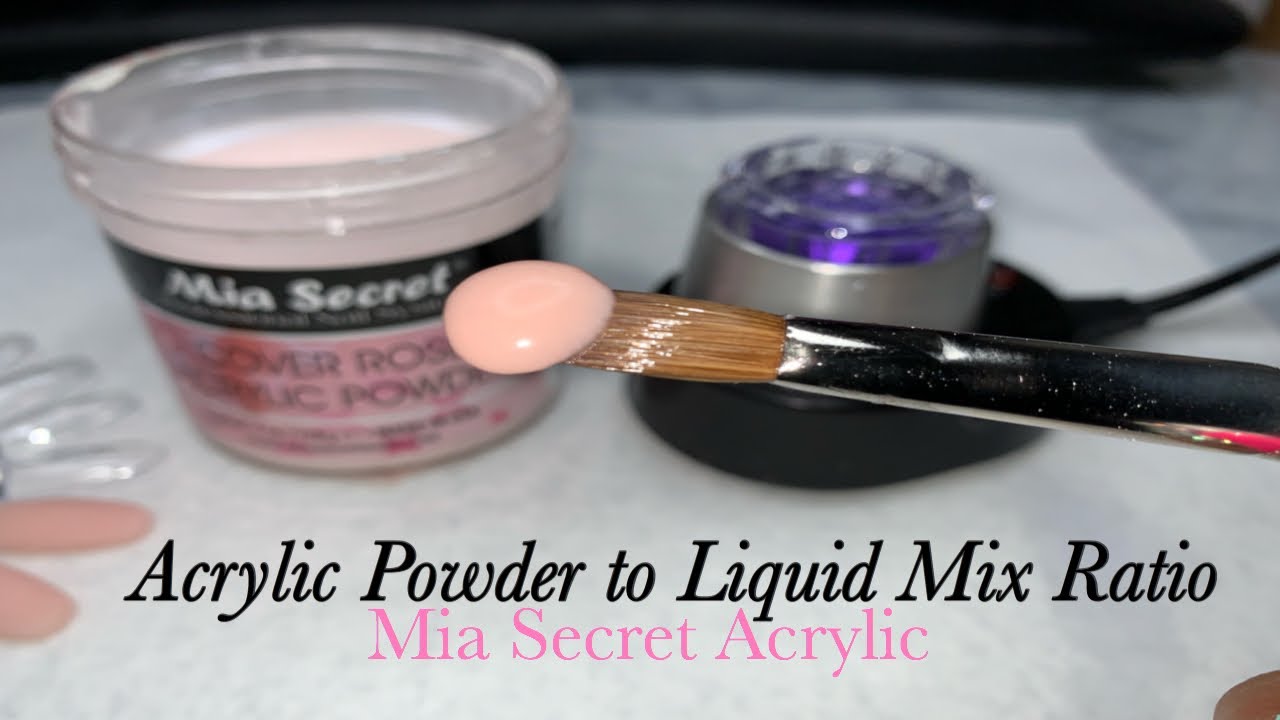
Acrylic Powder To Liquid Ratio Tutorial For Beginners

preview_player
Показать описание
MATERIALS NEEDED FOR A FULLSET


🥰promo code: Natalie10🥰

Рекомендации по теме
Комментарии
Автор

Natalie’s Video Notes:

Monomer is the liquid
Polymer is the powder

A bead is the blop made of both monomer and polymer.

Bead sizes:
Big, medium, small

Bead consistencies:
A Dry bead is when you have more powder than liquid
Ex. Having 70% of polymer powder with 30% of monomer liquid

A Medium bead is when both the liquid and powder are at a similar amount where there’s a tad more liquid instead.
Ex. Having 40% of polymer powder with 50% of monomer liquid

A Wet bead is when you have more liquid than powder.
Ex. Having 70% monomer liquid with 30% of polymer powder


Your acrylic bead should not be dry: hard to move and mold because it’s too lumpy or hardens quick. Your bead should not be wet: hard to control because it’s too runny and drips.

Acrylic application rules:
Follow the correct order : You first dip the brush in monomer liquid. You secondly dip the brush on polymer powder.

Three step bead application :
Apply 1st bead at the top of the nail near the cuticle area
Ex. 1/4th of the nail (from top to bottom)

Apply 2nd bead near the middle of the nail
Ex. 2/4th of the nail (from middle to bottom)

Apply 3rd bead past the middle of the nail towards the bottom
Ex. 3/4th of the nail NOT 4/4ths of the nail (from past the middle to bottom)

Your nail should have more product near the cuticle area and lesser towards the tip of the nail. Your nail should not be bulky or thin all throughout the nail.
Ex. Pretend your nail is split in four parts like this
1. 60% of product here (being top of nail)
2. 50% of product here
3. 30% of product here
4. 20% of product here (being bottom of nail)
Your nail should progress from more product on the top (not too much) to lesser towards the bottom (not to little)

The apex of your nail is the area which needs more product for strength. (The part 1 and 2 from above)
The free edge of the nail is the tip of the nail toward the bottom where there should be less product. ( The part 4 from above)

To apply: Place a bead of acrylic on nail in three steps like mentioned above, then tap the acrylic with your brush to mold it around and with a light hand spread the product downwards and sideways, when spreading the product around and molding clean the brush after each tap, stroke, and when spreading. When molding, tapping, spreading the bead, make sure to view the nail from all sides to check where you have more or less product on the nail .

NEVER apply acrylic on the skin.
Lifting can be caused if acrylic is on the skin, if nail isn’t prepped right where the shine wasn’t removed by filing, or the bead ratio/ temperature wasn’t right.

How to: big bead
Dip brush in monomer
Wipe tip of the brush
Dip brush at low angle
Ex. Your brush should look low angled like between this angled line / and this flat line —

How to: medium bead
Dip brush in monomer
Wipe half of the brush
Dip brush at 45° angle
Ex. You’re brush should look angled like this /

How to: small bead
Dip brush in monomer
Wipe the whole brush
Dip brush at vertical angle
Ex. Your brush should look straight like this |

Remember after each time you use your brush make sure to clean it by soaking your brush in acetone for a couple of minutes and brushing any acrylic powder, wetness off.

Remember your acrylic beads will not turn out great if your liquid monomer is too cold or hot, it has to be at room temperature, while on the other hand your polymer powder is fine being at room temperature as well.

Lately remember practice makes perfect, if your beads aren’t good take into consideration of the following:
How much/ many:
liquid do you have in your brush ?
powder did you pick on your brush ?
Liquid did you wipe of your brush?
Times did you wipe your brush after each stroke/ when spreading the beads?
Lastly are you using the correct brush/ equipment ? Your brush should not be flimsy or stiff it should be between these two, stable and flexible enough to move the bead without messing it.

Remember practicing will improve your skills, you won’t learn immediately over night/day. And pay close attention to your mistakes and what you do right so you are able to actually learn !

LAST BUT NOT LEAST remember to keep coming back to watch Natalie because she’s the greatest and the most informative/detailed nail tech out there!💞💅🏼🙌🏼

janettmarie
Автор

You should look into teaching as a career, you explain things SO thoroughly it’s insane!

shaylahxoxo
Автор

I like the way you were very thorough and the way you did it step-by-step thank you

letticiaking
Автор

I GOT IT!!! Finally!!! Sat there pulled out a paper towel watched your video as I was practicing and bam 10 mins later I now know what I’ve been doing wrong hahaha I think I’m all bad now!! Thanks again so much for all the videos you’ve put out and continue to put out. I always comment but never receive notification that you’ve viewed my comments but I know how time consuming it is to do nails I struggle doing my hand can’t imagine clients like you have plus all the designs you do!!!

roscko
Автор

YOU ARE THE REASON IM A NAIL TECHNICIAN 🥺❤️thank you !

ayandansibande
Автор

I always have issue with my beads so tomorrow I will play your video and repeat the steps, who else watches her videos over and over again! More views for natali

empogirl
Автор

I've never had my nails done, learning bc I like arts and crafts and my mum likes nails. I had been trying to do it in one bead... These instructions are so helpful! I had no idea to add 3 separate beads! Thank you so much! ❤

getmotivated
Автор

This was one of the most informative vids on this topis on YouTube. Thank you.

MsShayelove
Автор

heya. Ive done the course, Im accredited, been a tech for 4 years and could never understand why I couldnt get my beads to be the same every single time.. until I watched a few of your vids. ahhhh, just like a wet tennis ball to the back of the head. chock! it hit Went and practiced and oh my days!! (I was taught dip, wipe then the opposite side goes in powder. you dip, wipe, then same I tried it your way and You certainly nailed this video Nat. You have no idea how much you help this old lady (yeah 54 and starting nails lol). have a beautiful weekend lovely Nat xx

melindafrazer
Автор

I just love you I swear you are like the only youtuber to demonstrate step by step with details !

xglamslaynailz
Автор

Very helpful Natalie
You're always doing a great job

OnlyAlonda
Автор

You are an amazing teacher! I enjoy watching your videos. You explain everything. Thank you!

angiemisgasky
Автор

You have literally saved me. I had a very love - hate relationship with acrylic and just gave up and stuck to dip powfers and polygels. It took me watching your video 3 times and I finally got it!!! I'm so happy and excited. Thank you so much for this video 🌺🌺

shannonmj
Автор

the fact that she keeps repeating how much of the brush u wipe is so helpful 😭 this whole video was helpful anyway 💓💓

a.southida
Автор

Wow. Your yt channel is literally a $1000 course. God bless you for sharing this information

bottlesofchris
Автор

BEST LIQUID TO POWDER RATIO VIDEO EVER!!

freebutterfly
Автор

I've been learning how to do my own nails at home, and this video was SUPER helpful. You actually highlighted several problems that I consistently run into! Thank you! <3

tracicundall
Автор

I am not a nail tech, but I just love your videos! You are so informative and you make the steps so easy to follow, you are an amazing teacher and a superb artisan!

korrinarobinson
Автор

You're born to be a teacher. Bravo my dear

Joviankamsy
Автор

I really needed this!! I’ve been watching your videos for a while now (my nails are currently in awful shape so I have to wait to do my nails again) and I even watch them when I’m not doing my nails to re jog my memory. My biggest issue has been the powder to monomer ratio and this video is a PERFECT example!

desm
welcome to shbcf.ru