filmov
tv
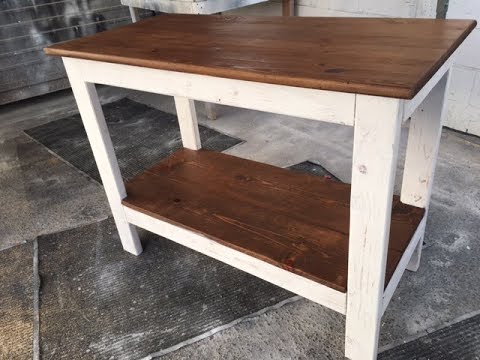
DIY $20 Rustic Kitchen Island project. Fast and easy! Great project for all skill levels.

Показать описание
please LIKE, SHARE, AND SUBSCRIBE. We appreciate the support.
 0:07:30
DIY $20 Rustic Kitchen Island project. Fast and easy! Great project for all skill levels.
 0:08:51
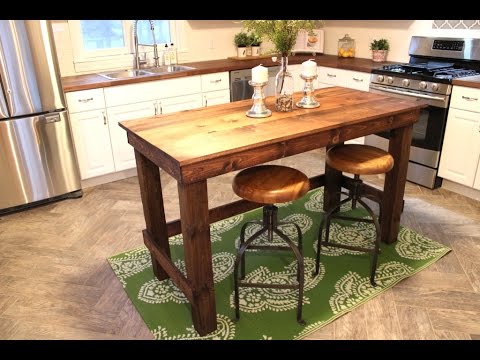
DIY Kitchen Island | Rustic Kitchen Island Makeover Under $150
 0:03:06
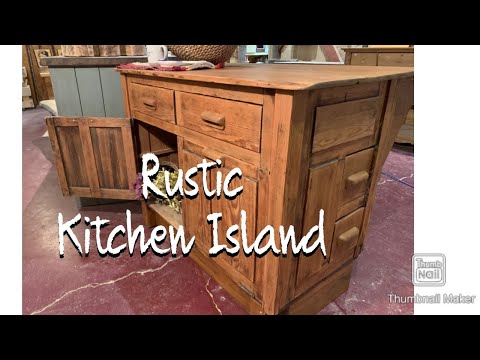
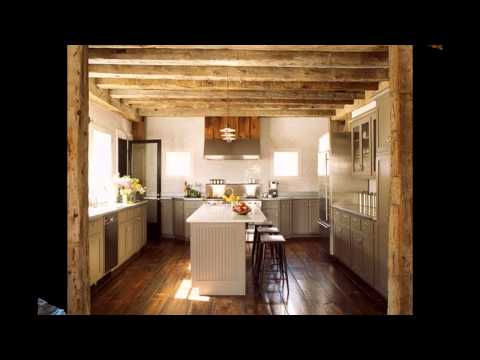
Rustic kitchen island ideas
 0:09:41
The $20 Kitchen Island - Easy DIY Project
 0:00:43
RUSTIC KITCHEN ISLAND base going together 😃 #woodworking #woodworkingtools @BesseyTools
 0:29:50
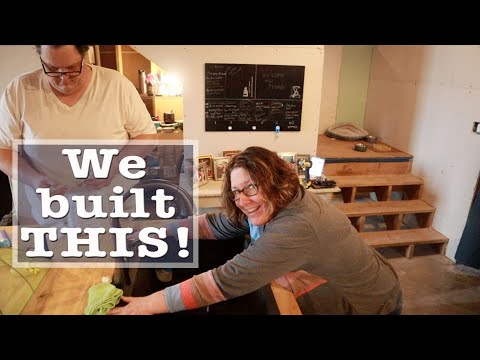
THE WORKSHOP. Rustic Kitchen Island Table.
 0:09:55
Rustic Kitchen Island - Repurposed
 0:13:34
How to build a Rustic Kitchen Island and Bench using Driftwood: Rustic Woodworking
 0:32:01
French Country Kitchen: Budget-Friendly Makeover for a Rustic Retreat
 0:20:59
How to build a rustic-barnwood kitchen island !
 0:20:16
diy kitchen island
 0:03:25
Rustic Wood Kitchen Island
 0:07:16
How to Make a Rustic Kitchen Island Part 1
 0:00:21
DIY Farmhouse #kitchenisland, Here's How
 0:09:14
DIY Kitchen Island with butcher block | Kitchen Side Table | Video How To
 0:07:00
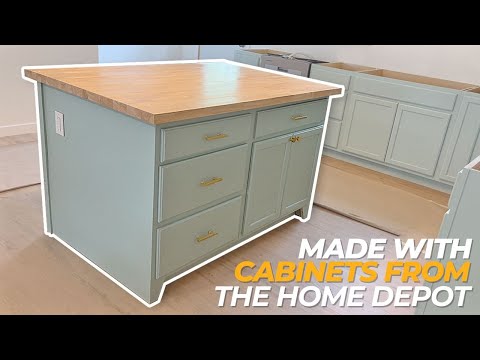
Making A Kitchen Island Out Of Home Depot Cabinets // High End & Low Cost!
 0:19:21
Rustic Kitchen Island
 0:06:03
Dresser to Rustic kitchen island.
 0:00:17
DIY Wood Panel. Kitchen Island Table
 0:03:28
Creative Rustic kitchen island design
 0:10:07
Rustic Barn House Kitchen Island Build
 0:12:23
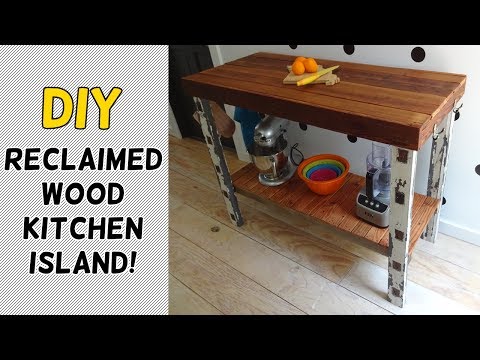
DIY Reclaimed Wood Kitchen Island!
 0:30:28
EPIC KITCHEN ISLAND WITH TRUE BUTCHER BLOCK BUILD.
 0:13:21
DIY Kitchen Island
Комментарии