filmov
tv
How to Use Blend If in Photoshop | Working with Layer Blend If Sliders in Photoshop

Показать описание
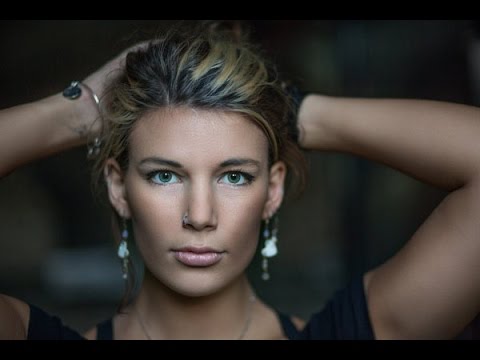
In this tutorial, you will learn How to Use Blend If in Photoshop.
Blend If is one of the most useful tools in Photoshop, for situations where your foreground is rather dark and the exposure of the photo was adjusted for what’s in the background, something bright, like the sky.
What this really does is make layers visible based on brightness. Let’s use this on our photo to fix the exposure and get a feel of how this works.
Let’s create a new curves adjustment layer. We’ll fix the shadows exposure and fix the brightness on our foreground. As you can see, now our highlights are also too bright. To fix this, we’ll use the Blend If technique. Double click on the layer to bring up the blending dialog options. What we want to do is make the layer not visible at the brighter parts of our main image. You can click and drag the bottom slider’s white side to left, to make anything that’s over the slider in terms of brightness, disappear. To make things smooth however, lets press option and then drag the slider. This will split the slider into two semi sliders, which will be the feather effect. You can drag both to adjust the range as well as the feathering.
Let’s do the same on a color correcting layer. Let’s create another curves layer and adjust it to warm up the look of the image. Now let’s double click on the layer and this time we’ll make the adjustment affect the highlights only. To do this, press option and drag the bottom left slider to the right.
That’s an introduction to Blend If. This can be used in so many techniques, but we feel like this is a great introduction as well as a very overall-all technique that can be used on the majority of photos.
❓💬 Do you use Photoshop or Lightroom for photo editing? Please let us know in the comments.
#HowTech #Photoshop
--------------------------------------------------------------------------------------------------------------
 0:08:35
 0:04:50
 0:25:06
 0:08:14
 0:01:13
 0:14:06
 0:02:52
 0:17:16
 0:01:45
 0:16:49
 0:13:40
 0:00:48
 0:02:59
 0:09:19
 0:09:15
 0:20:45
 0:07:38
 0:07:07
 0:10:37
 0:10:57
 0:00:39
 0:21:00
 0:07:15
 0:09:25