filmov
tv
Air Compressor Simple Upgrade - CHEAP & EASY - Increase Tank Capacity!

Показать описание
 0:10:26
Air Compressor Simple Upgrade - CHEAP & EASY - Increase Tank Capacity!
 0:10:00
The Best Air Compressor Upgrade | Do This For More CFM
 0:32:49
Shop Air Compressor Upgrade
 0:23:26
Cheap Upgrades for Cheap Air Compressors!
 0:03:31
Air Expansion Tanks - Everything You Need To Know!
 0:12:50
Best Off-road Air Compressor MODS.
 0:03:38
THE ULTIMATE DIRT CHEAP AIR COMPRESSOR UPGRADE - THE HIDDEN SECRET OF HOW I INCREASED OUTPUT!!!
 0:07:39
Top 5 Air Tool Hacks - I bet you didn't know them all before watching this!
 0:02:50
I Broke My Friend's Air Compressor ..... So I Made It STRONGER Than New
 0:03:43
Maximize Your Air Compressor Power: Expand Your Tank Effortlessly!
 0:23:38
✅ Building a Better Air Compressor for My Garage for DIRT CHEAP !
 0:04:35
Fortress 27 Gallon Air Flow Upgrade! 33% Increase in Power!
 0:04:04
Simple Mods/Add-ons to Central Pneumatic 21-Gallon Compressor
 0:00:17
How to increase Dc motor speed using capacitor #experiment #shorts #dcmotor #trending #diy
 0:04:01
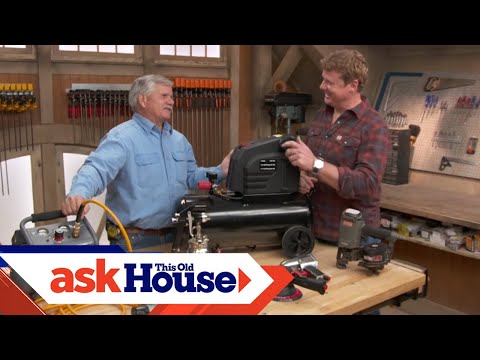
How to Choose and Use Air Compressors | Ask This Old House
 0:00:14
You're only a 20-minute install away from completely transforming the ride & feel of your T...
 0:00:19
How to Refill Air Pressure in Your MTB Fork: Quick & Easy Guide
 0:00:19
add oil AC compressor without removing#car #airconditioning #tips #mechanic #autoelectrician #shorts
 0:05:32
Air Compressor Auxiliary Tank Setup, First Air Compressor Advice
 0:00:16
Mi potable air compressor working
 0:00:09
How to check if your #accompressor #clutch #engaging or not #honda #8thgencivic #compressor #civic
 0:00:13
Nitrous makes everything better!! #nos #turbo #racing #short #street #texas #nissan
 0:03:46
Upgrading a California Air Tools 10020C Compressor
 0:00:12
Air compressor stalls or does not build pressure
Комментарии