filmov
tv
Caliper and Arduino i2c - measure 3D filament

Показать описание
I'm working on a filament extruder. Is better to make this by parts. An important part is the filament meter to keep the diameter always around 1.75mm. We read the data from the caliper using i2c and use that in the Arduino code.
------------------LINKS--------------------
PRINTERS
-------------------------------------
Coupon: "GB3DU30"
Coupon: "72HCR20"
Coupon: "GB3D1201"
Coupon: "GBCR10STY" or "GBCR10STY"
Like share and subscribe to motivate me. Thank you
#caliper
#i2c
#Arduino
 0:09:19
Caliper and Arduino i2c - measure 3D filament
 0:09:29
Pr#81 - Caliper i2c Arduino | Medidor Filamento 3D
 0:00:12
Arduino - Vernier Calipers
 0:04:14
5 Minute Maker - Digital gauge for arduino
 0:01:00
Adding I/O with MCP23017 - Collin’s Lab Notes #adafruit #collinslabnotes
 0:01:08
DIY 3 axis digital caliper readout unit (DRO) - prototype
 0:00:16
Do you want to better your life? #philippines #angelescity #expat #pampanga #travelvlog
 0:07:09
ARDUINO - USB KEYBOARD | VERNIER CALIPER HID DEVICE | #32
 0:08:59
Digital Caliper and Extruder Update
 0:00:23
3V3 12864 Graphic LCD Interfaced with ESP32
 0:02:22
Connect I2C White 0.66' inch OLED Display Module 64x48 to Arduino,Raspberry Pi with Library,Exa...
 0:00:21
Easily Logging Bluetooth Caliper Data into Spreadsheets
 0:00:33
DRO with Arduino and digital calliper
 0:00:53
nRF24L01 + I2C Arduino [Domino60]
 0:02:06
Arduino Digital Caliper 24-Bit X Y Z U8GLIB Display
 0:32:39
300 mm DRO with Arduino (ATTiny85 and Nano)
 0:12:41
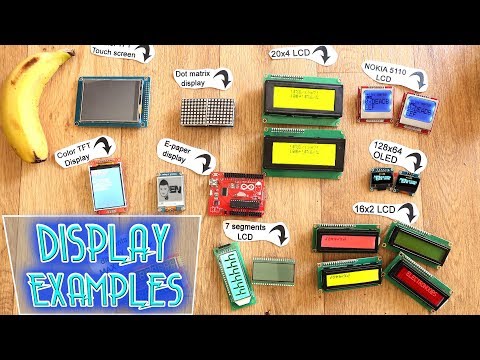
Display examples - which one to use?
 0:04:00
How to use LCD1602 with I2C module for Arduino - LCD16*2 character -I2C - volume
 0:02:32
Mitutoyo / Igaging Micrometer with Arduino and LCD
 0:01:01
'Measuring with Vernier caliper using Arduino for precise and automated readings.'
 0:02:09
Ultrasonic Sensor Interface with Arduino with Measurement of Vernier Caliper
 0:00:47
Vernier funcional con arduino
 0:00:35
Multipurpose Pen and Vernier Caliper
 0:08:23
Mechanical 7 Segment Display Driven By An Arduino
Комментарии