filmov
tv
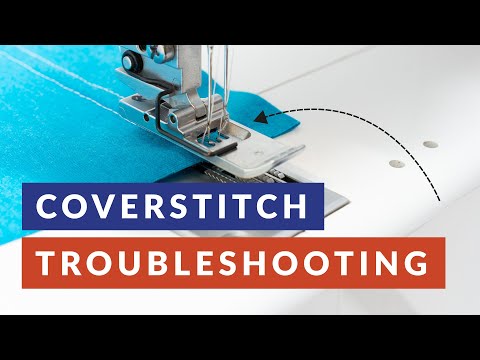
How to Secure Coverstitch Seams | 3 methods that stops threads from unraveling

Показать описание
How to secure coverstitch seams and threads properly
It's common to have threads unravelling when first starting out using the coverstitch machine. To keep the stitch from unravelling, you need to secure them properly and in this video, I show you how.
Explore all my guides to coverstitching
➡️ Get started with coverstitching
🔍 Fix problems with your coverstitch machine
⚙️ Reviews of coverstitch machines and accessories
📘Want to learn even more? Get my book Master the Coverstitch Machine
📖 Want to start with something free? Download My Free Troubleshooting Guide
🌐And check out all my coverstitching tutorials on my blog:
✂️ Shop my sewing books and patterns
📘 Order my latest book Master the Coverstitch Machine
🏃♀️ Get my book Sewing Activewear
✂️ Shop my favourite sewing tools
✂️Find me on the Internet✂️
Option 1
Secure the threads by using the pull method.
Sew the last stitch using the handwheel and then stop at the highest needlepoint.
Lift the presser foot
Use a crochet hook or tweezers to pull the needle thread towards you
Clip the thread
Pull the fabric towards the back and then to the left
This will pull the needle threads to the reverse side and secure the stitch.
You might need to try this a few times.
Don't release the thread/tension by moving the needle down until you hear a click and then up (which is the normal way and what the manual will suggest) Instead sew a full stitch by hand and then pull!
Option 2
Release the threads and attach them by hand.
Lower the needle using the handwheel until you hear a click. Then lift the needles again, by turning the handwheel in the opposite direction.
This will release the threads
Pinch the threads between the thumb and index finger and pull northwest.
Pull the threads on the reverse side using a needle and secure by hand.
Option 3
Sew over the hem
If you are sewing on the flat and will close the side seams after hemming, you can just sew the seam over the edges and this will often be enough
For extra safety and to avoid the seam allowance from flipping back and forth stitch down
Amazon Disclosure: As an Amazon Associate I earn from qualifying purchases that are disclosed as Amazon affiliate links.
 0:02:56
How to Secure Coverstitch Seams | 3 methods that stops threads from unraveling
 0:05:27
Fix Your Coverstitch! How To Prevent Skipped Stitches
 0:05:54
Perfect Coverstitch Hemming: 7 Tips That Makes A Huge Difference
 0:04:15
Avoid Skipped Stitches: How to Troubleshoot Your Coverstitch Machine
 0:00:30
30 second tutorial: secure coverstitch stitches
 0:02:18
How to Finish a Coverstitch in the Round : Coverstitch Hems and Necklines
 0:02:15
How to Flatlock
 0:02:40
Tutorial: how to secure overlock, cover and chain stitches using the BERNINA Overlocker CS Lock Tool
 0:01:01
How to Secure Seams Three Different Ways
 0:00:43
Pro Tips to Secure Your Stitches and Prevent Unraveling!
 0:02:48
Ending a coverstitch seam in the round Juki 1500
 0:02:55
How to finish Coverstitch around a hem
 0:01:00
How to End your Stitching on a Coverstitch Machine Sewing Machine Help Brother 3550 Coverstitch Help
 0:01:30
How to remove a coverstitch seam the easy way
 0:18:28
5 WAY to FINISH Serger Seams
 0:03:24
Industrial Cover Stitch
 0:03:58
How to end a Coverstitch seam without unraveling
 0:02:40
Coverstitch for Hemming Knits Part 2 - Securing of the Seam on the Janome 900CPX
 0:35:36
How to Use a Coverstitch Machine | Step-by-Step (2021)
 0:04:53
Coverstitch(hemming) over a seam hump
 0:05:17
8 Tips for Successful Coverstitching: Master the Coverstitch Machine
 0:04:43
Using a Coverstitch Machine (Flatlock Sewing Machine). How to Hem Jersey Fabrics
 0:03:25
How to Undo a Cover Stitch
 0:05:13
How to Reverse Coverstitch Inside a Pair of Leggings without Skipped Stitches
Комментарии