filmov
tv
How To Fill In Electrical Chases, Cracked And Damaged Plaster - Part 1

Показать описание
I repair plaster walls following a full electrical re-wire of my house. I use Thistle Bonding plaster and Gyproc Easi-fill to get a smooth, professional finish ready for decorating.
 0:12:22
How To Fill In Electrical Chases, Cracked And Damaged Plaster - Part 1
 0:03:29
Patching around an electrical socket.
 0:12:57
How to Fill Out an Electrical Installation Certificate
 0:17:27
ELECTRICAL INSTALLATION CERTIFICATES – How to fill in the certificates easily and completely
 0:09:55
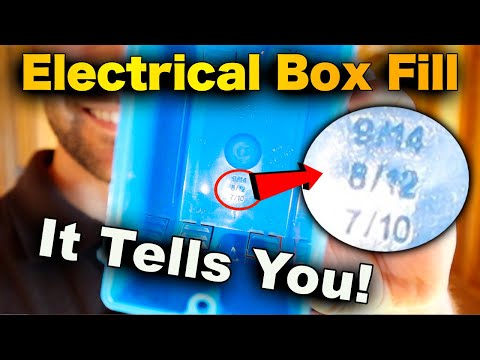
Box Fill Calculations - Electrical Box Fill (THE EASY WAY)
 0:04:03
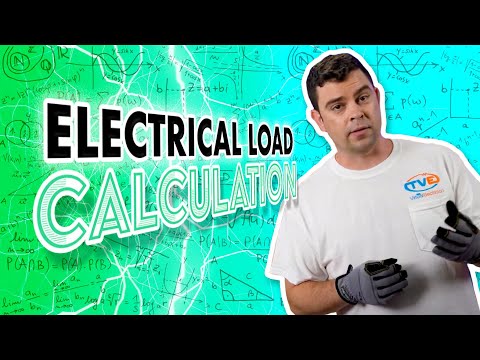
Electrical Load Calculation | Ugly's Handbook
 0:15:04
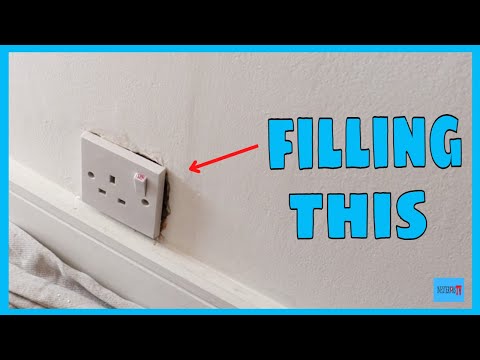
Quick fix for gaps and cracks around electrical sockets
 0:02:44
The Best Way To Fill Around A New Chased In Electrical Socket
 0:01:14
LB | Electrical Devastate's 2nd Tower: OUTRUNNING THE CAMERA
 0:14:26
How To Fill In Electrical Chases, Cracked And Damaged Plaster - Part 2
 0:16:54
How To Fill In An Electrical Install Certificate.
 0:05:02
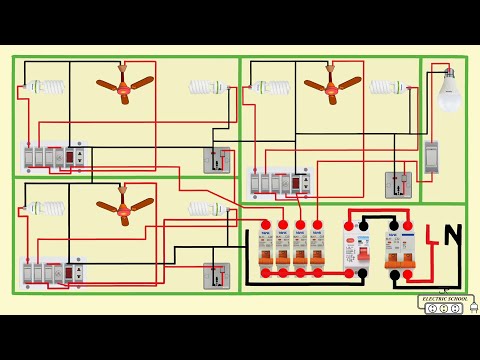
complete electrical house wiring diagram
 0:09:06
HOW TO REPAIR OVERCUT ELECTRICAL BOX (DRYWALL)
 0:02:36
Filling Holes in a Plasterboard Ceiling without backing plaster after Electrical Work
 0:12:49
SCHEDULE OF INSPECTIONS – How to fill in electrical forms correctly
 0:20:26
Electrical Boxes You Never Knew You Needed!
 0:32:13
How to Apply and File an Electrical Permit for Do It Yourself DIY Home Improvements
 0:01:00
A Smashing Finish to an Electrical Back Box Installation
 0:37:36
HOW TO FILL IN AN ELECTRICAL INSTALLATION CONDITION REPORT (EICR)
 0:00:38
How Many Wires Can Go In An Electrical Box? Electrical Box Fill Tip #shorts #diy #home
 0:21:42
How to Fill in an Electrical Minor Works Certificate Step by Step. (How to Complete the Paperwork)
 0:09:13
Easy Electrical wire fill Calculations or boxes!! What most DIYer's don't Know!
 0:00:48
UK Electrical Sockets are the Best!
 0:08:15
How To Repair Overcut Or Damaged Drywall Around Electrical Box Outlet | DIY Tutorial For Beginners!
Комментарии