filmov
tv
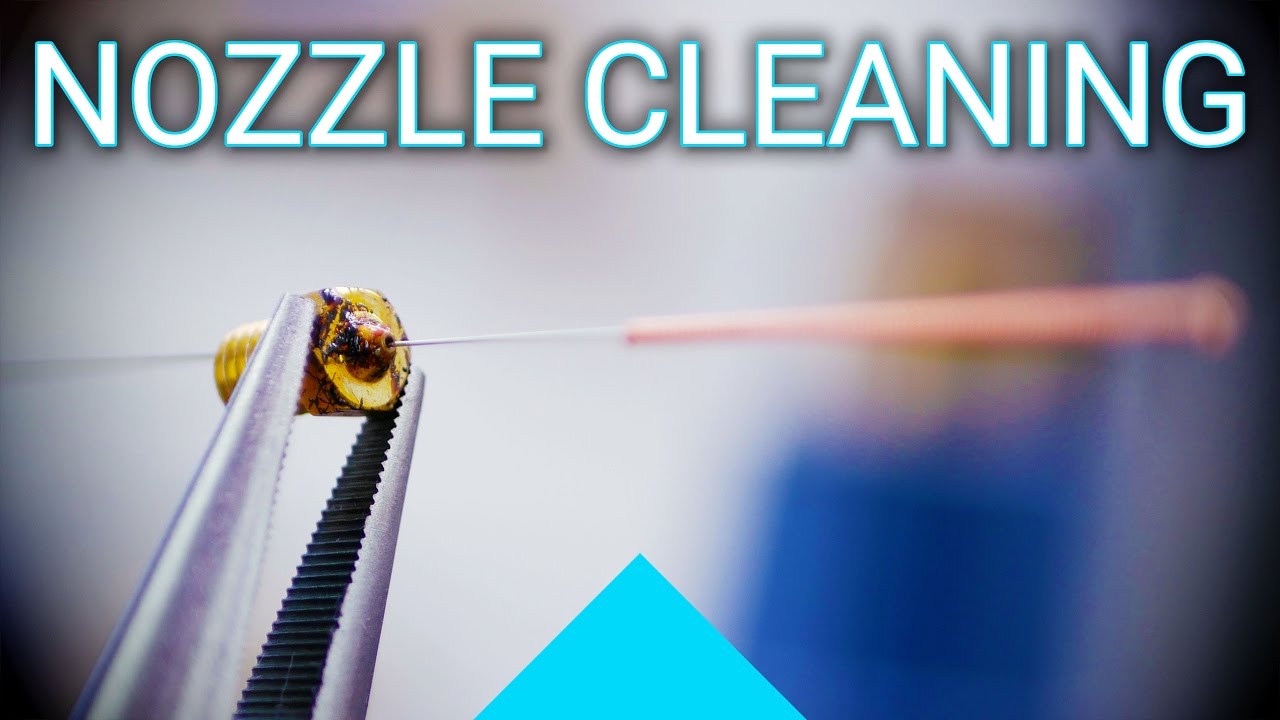
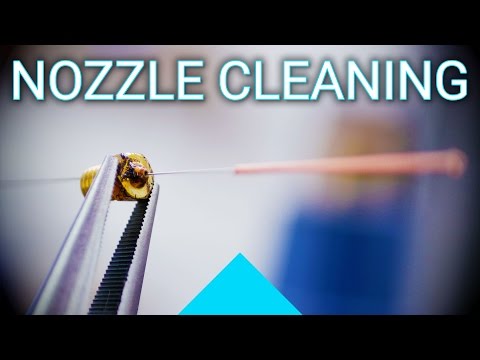
Basics: Cleaning out a clogged nozzle!
Показать описание
As you 3D print more and more frequently, clogged or partially blocked nozzles actually get rarer as you learn how to avoid them. But if you do manage to get yourself a blocked nozzle, here's how to fix it!
Product links are affiliate links - I may earn a commission on qualifying purchases (at no extra cost to you)
Product links are affiliate links - I may earn a commission on qualifying purchases (at no extra cost to you)
 0:07:32
Basics: Cleaning out a clogged nozzle!
 0:09:18
How to Unclog Any Drain | Ask This Old House
 0:03:39
How Pipes Are Professionally Cleaned and Relined | Art Insider
 0:04:51
How to Snake a Drain | Step by Step DIY Plumbing | Zillow
 0:00:07
How to clean out a clogged nozzle - NoClogger The Must-Have 3D Printing Tool
 0:00:59
Quick Fix For A Clogged Drain #cleaningtips #protips #cleanwithme
 0:07:28
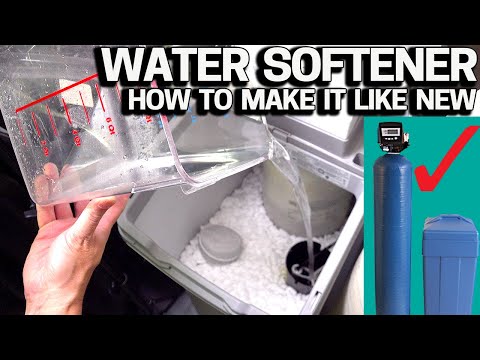
Water Softener Cleaning & Restore it Like New - Don't skip this EASY maintenance
 0:03:35
How To Use a Toilet Snake Properly | Clogged Blocked Toilet Repair using Toilet Auger
 0:01:04
How To Clear A Clogged 3D Printer Nozzle – ATM Quick Take | Digi-Key Electronics
 0:02:21
How to Clean Gutters | Cleaning Tips | The Home Depot
 0:07:06
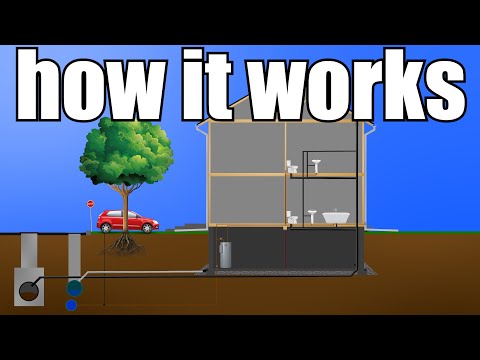
How Your Home Plumbing Works (From Start to Finish) | GOT2LEARN
 0:03:42
Creality Ender-3 Cleaning Out The Clogged Nozzle! (How to)
 0:00:55
Metal fragment clogs the nozzle
 0:10:13
Clearing a Blocked Drain on a ROOF | How to Use a Plumbing Snake
 0:00:59
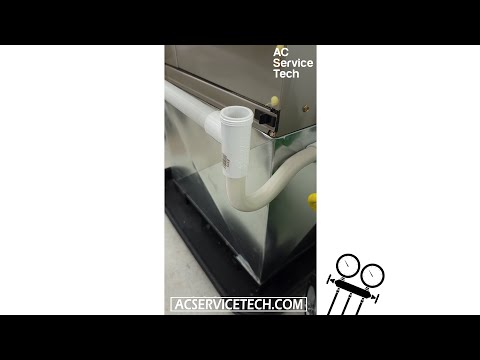
10 Methods to Clean Condensate Drains/Traps on Air Conditioners!
 0:07:36
10 Reasons Why You'd FAIL a Plumbing Inspection! | GOT2LEARN
 0:12:05
How to UNCLOG a KITCHEN SINK Guaranteed | DIY Plumbing
 0:21:14
RV Black Tank Cleaning, Maintenance, Tips & Tricks - The Original Black Tank Master Class
 0:05:40
How to clean out a clogged sink drain!
 0:01:46
Hydro Jetting Service | Roto-Rooter
 0:24:36
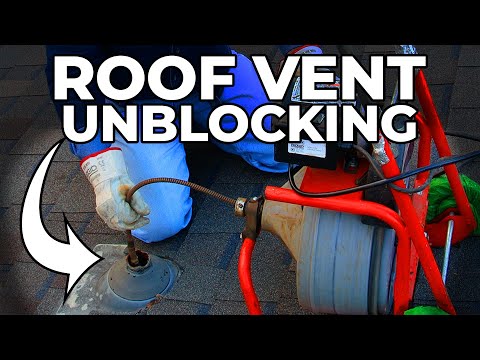
Using a BORESCOPE to CLEAN OUT a CLOGGED VENT PIPE
 0:02:12
Clogged Plumbing Vent Symptoms - How To Fix Them
 0:04:18
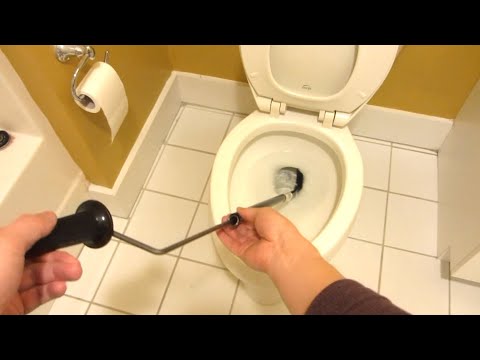
How To Unclog A Toilet With An Auger - DIY Plumbing - The Expert Plumber
 0:01:56
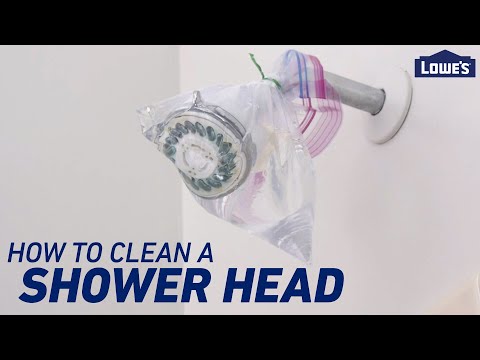
How To Clean a Shower Head and Shower Drain
Комментарии