filmov
tv
Installing a USB/12V Outlet - 2018 Ninja 400

Показать описание
Here's a quick look at how to install a 12V Outlet or USB Charge point in the stock front location of the new 2018 Ninja 400. Kawasaki has pre-wired the bike for this so most of it is a Plug-N-Play affair. This includes installing the OEM relay kit and an aftermarket outlet. I'll also show you where the accessory wiring for a rear outlet is located.
 0:08:45
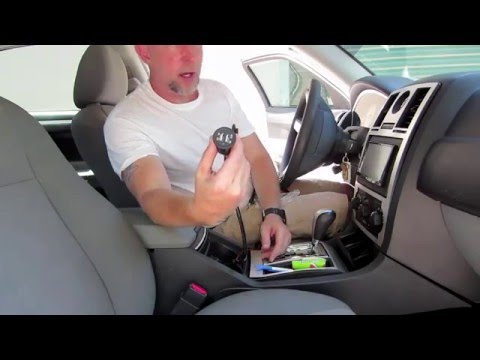
How to Replace a 12v Cigarette Lighter Socket with a USB Charger Port and Voltmeter
 0:01:00
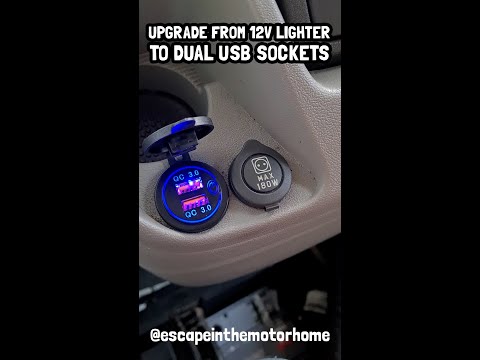
How to install a USB socket in your motorhome/RV, 12v cigarette lighter to dual USB. Quick, easy DIY
 0:09:45
How to install a USB charger 12v outlet in your car
 0:09:32
How to install an extra 12v power outlet or dual USB ports
 0:06:44
How to Wire USB and 12V Outlets - Branch Circuits | Ep: 1/10
 0:05:27
Replacing 12V Socket With USB
 0:08:27
Installing 12v Sockets for 10$ in Your Car Is Easy
 0:14:53
HOW TO INSTALL A 12V USB Outlet Dual Quick Charge & USB C PD with Power Switch
 0:04:33
Sandy Taupe 79 Series Canopy Fit-Out | 200Ah Lithium, Inverter & Full Off-Grid Setup
 0:00:57
DIY Install USB Power Outlet / Charger in Your Car - MK7 GOLF + GTI #shorts
 0:00:15
always hot USB charger install. FORD TRUCK!
 0:04:48
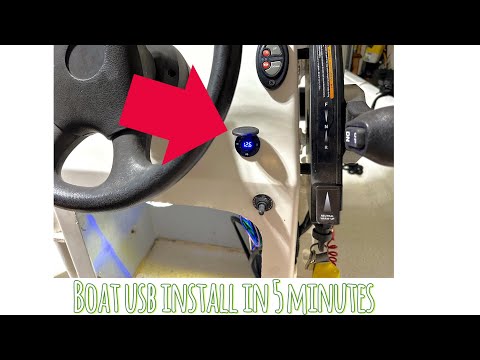
How to install a 12v USB plug in your boat in less than 5 minutes
 0:19:08
HOW TO INSTALL A 12V CAR POWER SOCKET USB LED Outlet Car Charger Socket WITH POWER SWITCH
 0:00:49
How to easily install an extra 12V cigarette lighter socket in your vehicle
 0:00:23
How to install USB and 12v outlets to your truck #nissan #frontier #mods #howto
 0:00:53
Install a USB Quick Charger in your Toyota in seconds!
 0:00:25
Adding an extra 12V outlet - Simple
 0:08:22
HOW TO INSTALL USB PORTS TO ANY CAR! *SO EASY*
 0:04:18
HOW TO Wire up 12v USB Cigarette Lighter Plug Socket campervan conversion
 0:08:43
Install Dual USB Charge Socket,LED Voltmeter,12V Cig Lighter Socket,LED ON/OFF Switch Travel Trailer
 0:12:34
Mount 12V/24V Quick Charger USB 3.0 & USB-C Ports | Volkswagen Golf, Jetta & Scirocco 5, Gol...
 0:04:44
Installing a USB/12V Outlet - 2018 Ninja 400
 0:05:23
C Line CBE Dual USB Port 12v
 0:06:29
Install an 12V socket on a motorcycle
Комментарии