filmov
tv
Orthographic projection - Technical drawing - Engineering drawing

Показать описание
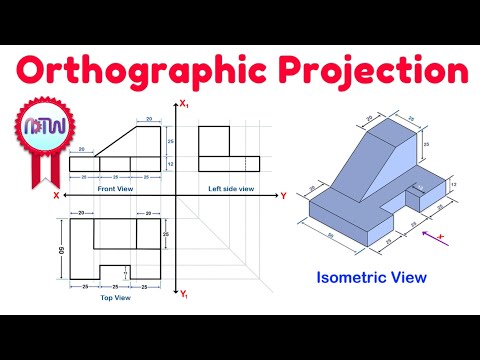
Orthographic projection is a method of representing three–dimensional objects in two dimensions.
It is generally used by
Engineers, designers, architects, and technical artists to help a manufacturer understand the specifics of a product that needs to be created commonly use it.
There are 2 types of orthographic projections
(1) First angle method of Projections and
(2) Third angle method of Projections.
What is the difference between the 1st angle and 3rd angle method of Projections?
The difference between the first and third angle projection is in the position of the Top, Front and Side views.
Why we can't use the 2nd and 4th angle projection?
Note: Overlapping projection views creates confusion in the drawing. Therefore, the Second angle method of projection and Fourth angle method of the projection system are not used.
The Third angle is mainly used by the USA and CANADA and Entire EUROPE and Rest of the world use First angle method of projection
Some people also say orthogonal Projections.
Advantages of using orthographic
(1) You can show hidden detail and all connecting parts.
(2) You can show all dimensions necessary for manufacture.
Limitations.
Orthographic drawings do not show depth or realistic views.
A single-view orthographic drawing represents every object as having only two dimensions.
In orthographic projection, there are six possible views of an object, because all objects have six sides - front, top, bottom, rear, right side, and left side.
Typically, an orthographic projection drawing consists of three different views: a front view, a top view, and a side view.
Occasionally, more views are used for clarity.
#Technicaldrawing #Engineeringdrawing #Orthographic
Комментарии
 0:08:31
 0:09:13
 0:10:15
 0:12:17
 0:09:41
 0:09:55
 0:04:08
 0:08:49
 1:35:15
 0:08:17
 0:03:13
 0:08:09
 0:06:13
 0:08:50
 0:22:12
 0:09:28
 0:05:06
 0:11:51
 0:10:15
 0:04:39
 0:13:42
 0:13:48
 0:05:34
 0:07:20