filmov
tv
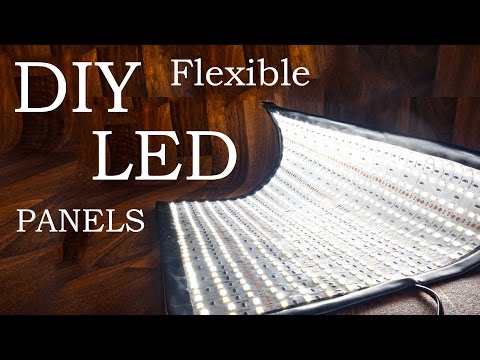
How to Make Flexible LED Panels (DIY Flex Lights!)

Показать описание
In this video we'll be making some flexible LED panels that are not only extremely practical, but also perform well when it comes to colour rendition and brightness. They only cost about £40 ($60) to make as well!
Parts links:
Disclosure: These are affiliate links. If you click them and make a purchase from the various merchants they link to, DIY Perks may earn a commission. Affiliate programs and affiliations include, but are not limited to the eBay Partner Network and Amazon Associates.
These are the LED strips I used for this project:
Here are links to the other parts:
PWM Dimmer:
Articulating Arm Clamp:
OFFICIAL LINKS:
 0:18:50
How to Make Flexible LED Panels (DIY Flex Lights!)
 0:19:41
How To Use Flexible LED Filament Wire for Lighting Projects!
 0:00:52
Bending LED Flexible Strips | Inspired LED
 1:04:41
How to Make Flexible LED Panel [DIY PRo Light]
 0:52:00
how to build a flexible LED Striplight Video Wall P16 | #LEDSign LED Display WS2813 Cortina LED
 0:05:02
DIY Neon Sign | Flexible LED Light | Signage - 02
 0:00:21
Programmable Flexible LED Display Car Scrolling Advertise Message LED Display Board RGB Car Sign
 0:01:00
Awesome DIY Led Projects #shorts
 0:53:25
Stepping into Heart Led Integration with Michelle Fernandes
 0:14:02
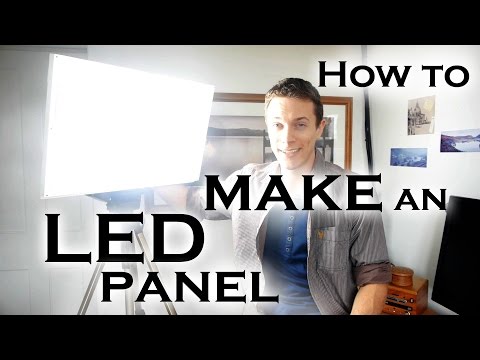
How to make a super bright LED light panel (for video work etc)
 0:23:07
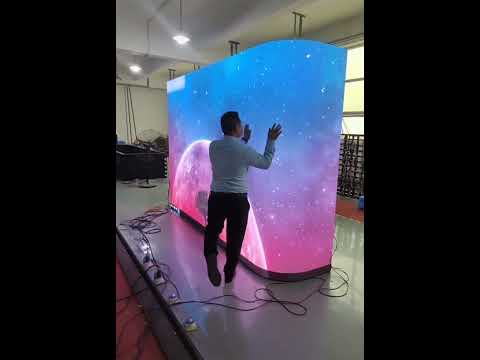
how to make an Flexible #LEDSign Curve Screen WIFI controlled with addressable LED´s WS2813
 0:00:35
VSTAR LED flexible led mesh screen-outdoor display
 0:28:19
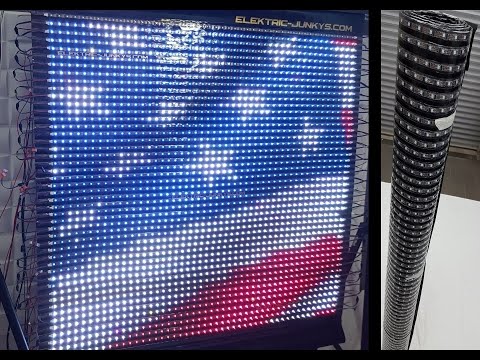
make a flexible LED Display | Addressable Strip Light Screen | WS2813 elektric-junkys
 0:03:55
DIY Flexible LED Panel CRI 80+ (19$ + Scratch)
 0:01:18
Flexible LED Module P2.5 for LED Signs | DIY LED Screen by elektric-junkys
 0:27:26
How to Make Flexible LED Display | WS2813 Do it Yourself Kit T300K elektric-junkys
 0:00:19
AmazingChina: Modular & Flexible LED TV Wall
 0:08:55
New Flexible Cosplay LED Eyes! - Functional See-Through LED Eye Lenses - Tutorial
 0:02:55
3D Printed Flexible LED Glove
 0:04:30
How to make Flexible LED light,New awesome diy idea
 0:01:59
Make Flexible LED light with Hot Glue Gun stick easy to make
 0:10:22
How To Make Flexible LED Neon Sign I Ice Cream Neon Sign I Signcraft Hacks
 0:00:41
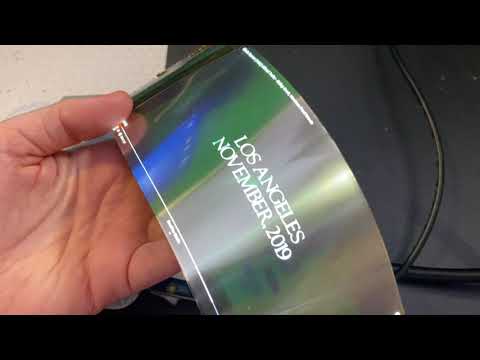
Flexible 6' OLED Display
 0:00:46
New 2nd gen Separated silicon flexible neon light
Комментарии