filmov
tv
How to Fix Left Joycon Drift Step by Step Replacement of Analog Thumbstick

Показать описание
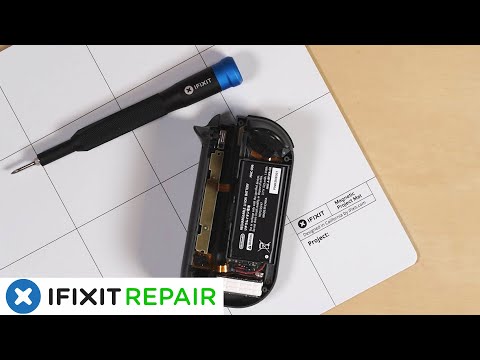
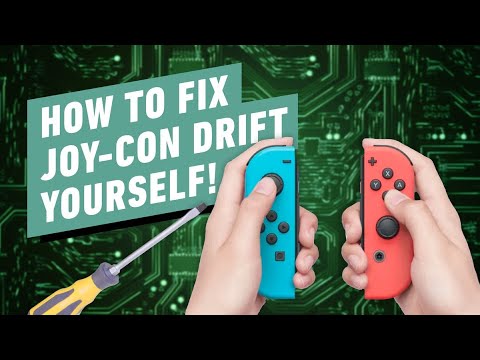
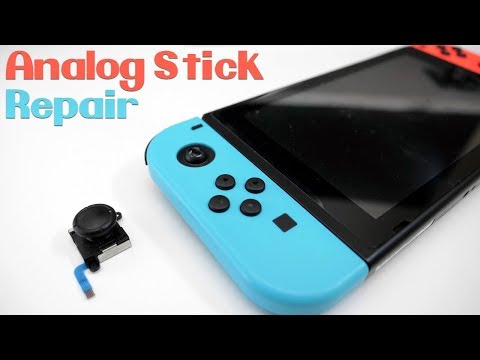
In this video we do a left joycon drift repair. The Nintendo Switch analog drift is caused by wear and tear and dust getting into the controller causing it to move without pressing anything. It's extremely frustrating to have the dreaded joy con drift but its really not that hard to fix as you will see in this step by step video. I really liked this all in one repair kit that comes with all the necessary tools for a low price with amazon prime. Feel free to ask any questions about the left joycon drift repair and there is link below for fixing left joycon =) on the nintendo switch.
If you can wait you might be able to get them fixed for no charge:
Index of video
0:00 Intro
1:10 Opening Left Joycon
1:48 Left Joycon Battery Move Out of the Way
2:10 Remove Battery Tray
2:55 Remove Two Ribbon Cables (needed)
3:42 Install New Joystick in Joycon
4:29 Clean Joycon (if needed)
4:45 Reconnect Ribbon Cables
5:49 L Button Reinstall (If it pops off)
6:22 Battery Tray Reinstallation
6:45 Left Joycon Reassembly
The links in this description are amazon affiliate links, at no cost to you a small percentage of the sale will be given to me if you buy through my link. These funds help to buy more printers and do more reviews and compatibility tests. Thank you =)
Tags
How to Fix Left Joycon Drift Step by Step,how to fix left joy con drift,how to fix left joy con nintendo switch,how to fix left joy con analog stick,joycon drift,joy con drift fix,left joycon drift,left joy con drift fix,how to repair left joy con,fixing left joy con drift,joy con repair guide,left joy con repair guide,repair left joycon,replace left joycon,replace left joycon stick,left joycon disassembly,left joycon drift fix,left joycon fix
 0:03:50
JoyCon Drift Fix! How to Replace the Nintendo Switch Left Joy-Con Joystick
 0:03:01
HOW TO FIX LEFT JOY-CON ISSUES!! - Nintendo Switch Desync Disconnecting Problem
 0:06:01
Nintendo Switch: How to Fix Joy-Con Drift
 0:09:06
How To FIX JoyCon NOT Detected by Nintendo Switch in Handheld Mode!
 0:04:25
How To Fix A Nintendo Switch Joy-Con Controller Stick
 0:17:28
How to Fix L ZL R ZR buttons on Switch Joy-Con Controllers | Stuck Trigger Bumper Shoulder Repair
 0:02:31
Fix Your Nintendo Switch Left Joy-Con Sync Issues!
 0:09:10
Nintendo Switch Joycon Fix and Teardown
 0:08:51
Joy Con SL/SR Side Buttons Repair Tutorial (+IMPORTANT TIP!) - Nintendo Switch DIY Repair
 0:10:02
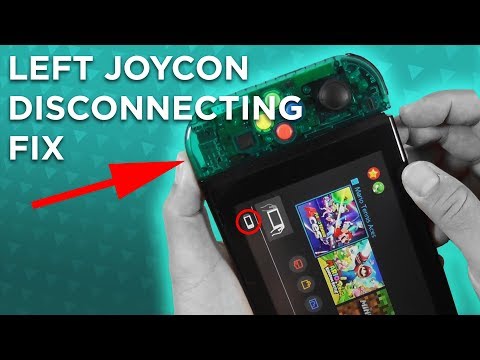
Nintendo Switch LEFT JOYCON DISCONNECTING ? Here's how to fix it
 0:01:29
How to fix left joy con stick not pressing down no tools and no ordering a new one!
 0:08:28
Nintendo Switch left Joy Con controller – DIY foam fix WORKS!
 0:03:16
How to fix Joy Con Drift (left Joy Con) - permanent fix - 4K Resolution
 0:03:59
How to Fix Joy-Con Drift at Home! No tools required! | Nintendrew
 0:07:34
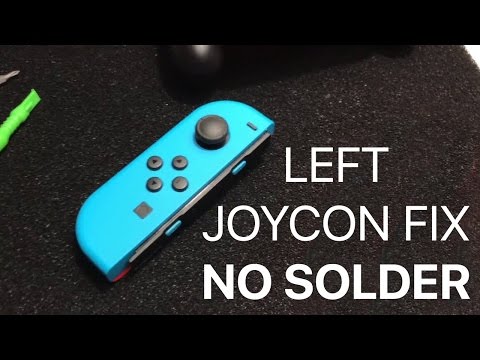
Nintendo Switch Left JoyCon Fix - NO SOLDER
 0:08:14
How to Fix Left Joycon Drift Step by Step Replacement of Analog Thumbstick
 0:04:13
Control Stick NOT Working Properly on Nintendo Switch Lite? FIXED!!!
 0:00:42
How to fix your left joycon
 0:11:30
Fix Your Loose Nintendo Switch JoyCon
 0:01:52
Left Joy Con Fix
 0:09:52
Fixing The Left JoyCon!
 0:03:35
How To FIX JoyCon Not Connecting To Nintendo Switch
 0:02:58
Nintendo Switch Left Joycon Disconnect Fix
 0:02:16
How to fix left joycon not connecting to the nintendo switch
Комментарии