filmov
tv
Photoshop Ai Masking Trick! IMPOSSIBLE Selections Made Easy

Показать описание
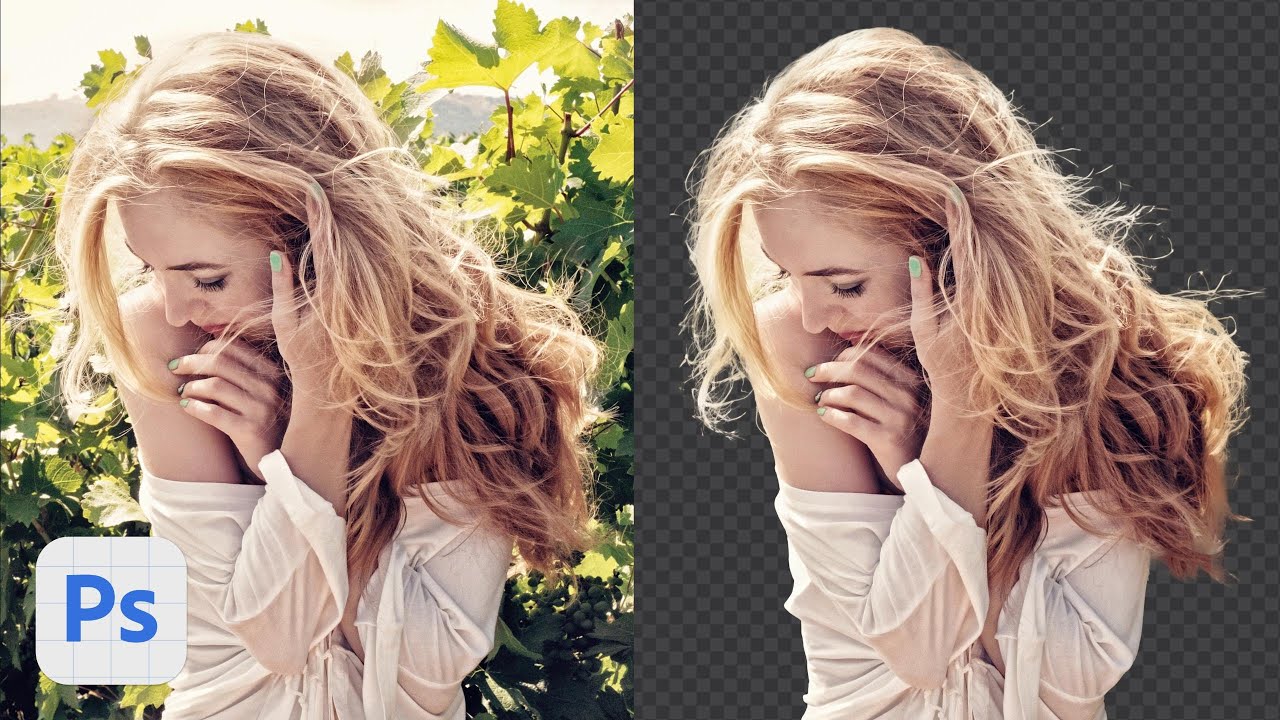
To simplify the process, enable the contextual taskbar in Photoshop AI. Select "Remove Background" from the taskbar to automatically mask the subject and remove the background. Create a Solid Color adjustment layer using a 50% grey color. Place the Color Fill layer beneath Layer 0 and zoom in to inspect the masked edges.
To fix rough edges and missing hair parts, enable quick mask mode. Double-click on quick mask to open its options dialog and select "Selected Areas." Make Layer 0 active, enter quick mask mode, and use a soft-edge brush to paint on the areas that need fixing. Switch to the black color to make selections. Turn off Quick Mask and click on Generative Fill to fill the selected areas.
Inspect the three generative fill options and choose the one that closely resembles the original hair. Repeat this process for other areas, always using quick mask mode and Generative Fill.
Once all the fixes are done, there is a drawback to consider. When changing the background color, the AI-generated content will have a grey background instead of transparency. That's why we added a 50% grey background at the beginning of the tutorial. You can easily remove it using select and mask, avoiding halo and fringing issues associated with black or white backgrounds.
Group the layers and create a visible stamp copy. Go to the Select menu, choose "Select and Mask," refine the hair, and set the output to "new layer with layer mask."
To change the background color or save the image as a transparent .png file, hide the group and make the desired adjustments.
That's it! By utilizing Photoshop Beta's Generative Fill, you can effectively mask out subjects from challenging backgrounds and enhance your photo editing. Remember to subscribe for more Photoshop tips and tricks. Like, share, and comment if you found this helpful. Take care and happy editing!
►Join this channel to get access to perks:
Follow US - LET'S BE FRIENDS!
------------------------------------------
#photoshop #cutoutsubject #photoshopai
Комментарии
 0:10:44
 0:00:29
 0:03:06
 0:07:25
 0:00:18
 0:00:54
 0:07:00
 0:08:43
 0:00:35
 0:03:28
 0:02:20
 0:00:28
 0:07:38
 0:00:43
 0:09:55
 0:14:24
 0:15:38
 0:02:22
 0:01:00
 0:00:29
 0:00:31
 0:17:35
 0:00:37
 0:00:18