filmov
tv
How to Make a DIY Pottery Wheel | I Like To Make Stuff

Показать описание
We built a working pottery wheel for $200! It works great, come see how we did it!
TOOLS & SUPPLIES WE USED (affiliate links):
For this project I knew that I needed a motor that had a lot of torque to handle the forces applied to the clay. I found a small DC motor meant as a replacement for Hover Boards. I could control this whole system with an off-the-shelf motor driver unit that allowed the wheel to increase in speed and change direction. Knowing that the motor's RPM was too high for conventional pottery throwing, Josh came up with a pulley reduction to slow the motor down.
From the motor, we attached a 1.5" pulley that drives a 10" pulley with a v-belt. The 10" pulley has a drive shaft through the center that will spin the pottery plate, called a bat. I mounted all of this to a piece of 3/4" plywood and drilled holes for some bearings that the drive shaft would go through.
Now that I had the drive system attached to a platform, I flipped that piece over so that it would all be under the working surface. I cut some simple 2x4 legs and arranged them in a triangular pattern so that you could center the pat between your legs. I mounted the motor driver system to the rear of that platform and cut a simple shelf that will be attached later.
The bat is the super flat surface on which the clay is worked. Looking online, I could only find bats that fit on a pottery wheel's existing spinning surface, none would fit onto the drive shaft that we made. Without an inexpensive commercial solution, we decided just to make our own bat. I decided to use a thick plastic cutting board and CNC out the pieces we needed.
Josh modeled up the circular bat as well as a coupling that would lock into the drive shaft and fit into the underside of the spinning plate. With a little bit of filing the pieces fit together perfectly. I locked the coupling to the drive shaft with a nail and some epoxy. The bat fit snuggly down over the key in the coupling and the whole system worked perfectly.
To ensure that there was enough support under the bat, I added some bearing casters that the bat could ride on top of. I quickly noticed that we had to add a rubbery gasket the the bottom to buffer the sound of the bat riding on the casters. This greatly reduced the noise level and I was really happy with the result.
Everything was coming together and the pottery wheel was working surprisingly well. One thing that needed to be addressed was the slight wobble in the bat. Because we could trace every connection back to its origin, we found that the 10" flywheel and the drive shaft weren't quite straight. Luckily, we didn't screw down the plate holding the opposite end of the drive shaft just yet.
Josh and I were able to work together to slightly adjust the flywheel and shaft position underneath so that they were perfectly square, which resulted in a tracked bat up above. All that was left was to use a lathe tool to score in some reference centering lines on the bat surface so you know where to center the clay.
Although I have no idea how to properly use a pottery wheel, my wife and her friends do. One of my wife's friends is a professional potter and came by to test out the wheel. She seamlessly began molding and shaping a lump of clay into an awesome bowl. I asked her about the speed, the control, and the tracking, and she said that it performed just like a commercial pottery wheel.
We were all taken back ever time she used the word "perfect" when comparing our $200 pottery wheel to ones you can buy for upwards of $1,000. I hope this video inspired you to trying something that you've always had an interest in. More specifically, if that interest has an expensive barrier to entry, look at making some of the equipment yourself, it can be just as rewarding.
Learn 3d modeling, get digital plans, and cool merch at
Want to support ILTMS? Get exclusive content and more...
FOLLOW:
#ILikeToMakeStuff
About I Like To Make Stuff:
We have lots of projects including woodworking, metalworking, electronics, 3D printing, prop making and more!
These videos are our attempt inspire and empower others to make the stuff that they want to have. Hopefully you'll see something here that will inspire you to make something that you're passionate about!
How to Make a DIY Pottery Wheel | I Like To Make Stuff
 0:00:16
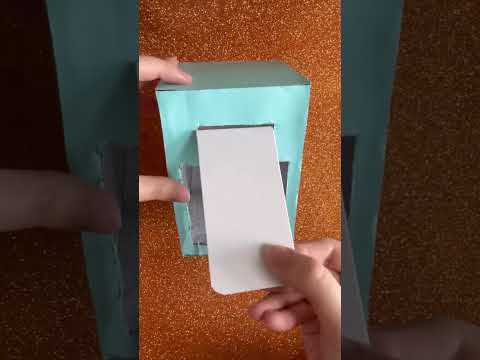
DIY Vending machine love 💝
 0:00:27
DIY gift idea 💜🥰 #shorts #art #craft #diy #artist #tutorial #gift #creative #crafts
 0:00:47
DIY ✨cute✨gift idea🥺💕*aWkwaRd tWeRkiNg* | JULIA GISELLA
 0:00:40
DIY ✨cute✨gift idea🥺❤️ *mOdEst tWeRkiNg* PART 3: ring 🧚 | JULIA GISELLA
 0:00:30
DIY candy machine
 0:00:30
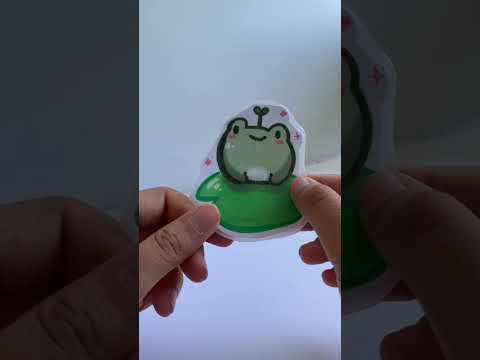
how to make your own diy stickers at home! 🐸 ✨ (super easy!)
 0:00:38
DIY Homemade Hair Ties #shorts #art #diy #youtubeshorts
 0:06:15
Easy craft ideas/ miniature craft /Paper craft/ how to make /DIY/school project/Tiny DIY Craft #20
 0:00:32
How to Make Leaf Vein Bookmark
 0:00:32
how to make your own stickers at home #shorts
 0:00:36
Sanrio paper nails DIY💗 #sanrio #diy #cutegift
 0:04:46
No glue, No borax, Toothpaste slime | Diy toothpaste slime | How to make slime with toothpaste
 0:01:01
*paper* dress 📝 #DIY #Fashion #angemariano #sewing #paperdoll #costume #paperdress #2d #art
 0:11:33
3 DIY INVENTIONS
 0:11:18
DIY Fidget toy! Viral TikTok fidget toys
 0:01:00
things to do with wooden sticks (ice cream sticks) #diy #interesting
 0:00:24
I got the idea to make this cute rainbow craft 🌈 #shorts
 0:00:48
FUN! DIY Cutest Cat Paper Toys! #shorts #papercraft
 0:10:18
How to Make Chalk Paint Cheap and Easy! DIY CHALK PAINT | How to Make the Best Chalk Paint/Non-toxic
 0:00:19
Cardboard is cool 😎👍🏾 #cardboardcraft #crafts #crafter #cardboard #diy
 0:08:05
DIY - HOW TO MAKE WATERPROOF FAKE NAILS FROM 'PAPER' AT HOME - NAIL HACK
 0:00:43
How to make paper bows and arrows 🏹 #vvvreview #origami #diy
 0:00:13
Use cotton swabs and rubber bands at home to make mini bows for children. It's so interesting.
 0:12:25
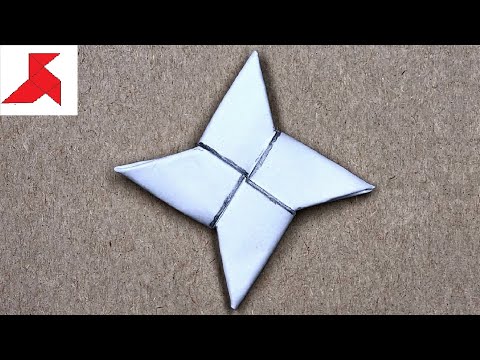
DIY - How to make a NINJA STAR SHURIKEN from ONE sheet of A4 paper
Комментарии