filmov
tv
How to Install a Gravel Parking Strip, Part 1 – Site Preparation – DIY!

Показать описание
During the COVID-19 stay-at-home order, we decided to install a gravel parking strip. Instead of hiring a professional landscaper, we did all the manual labor ourselves. I recorded video of the entire week-long installation process from which I assembled two separate videos: Part 1 – Site Preparation, and Part 2 – Spreading the Gravel.
The total cost of this project: $630:
2 each 100' Rolls of Vigoro Heavy-Duty Weed Control Fabric and staples: $94
2 each 50' Rolls of Vigoro Heavy-Duty Edging and 24 stakes: $107
10 Yards of 5/8" Minus Crushed Basalt Gravel: $429
Our Gravel Parking Strip project involved 10 stages:
1. Call Before You Dig (homeowners call 811).
Although I was only digging about a 6” depth to remove sod, there were underground utilities and a community waterline, and I wanted them marked before the heavy gravel truck delivered the gravel.
2. Remove a 9 ½' x 72' strip if lawn that borders the busy road into our community. Fortunately, two of our neighbors gladly took the sod.
3. Level the dirt and remove soil to a depth of 4" along the edges of the lawn, the concrete driveway and street.
4. Install a heavy-duty weed control fabric.
5. Install a heavy-duty plastic edging to separate the gravel from the lawn.
6. Receive delivery of the gravel.
7. Spread the gravel.
8. Hose down the gravel to settle the dust.
9. Drive back and forth over the gravel in our car to compact it.
10. Make adjustments to bumps and dips in the gravel and compact again.
I hope that you enjoy watching this video and that my gravel parking strip project experience will help you with your gravel project!
 0:02:56
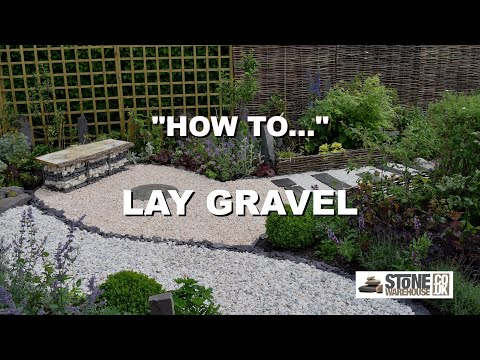
How To Lay Your Gravel
 0:11:25
How to DIY Install the Ultimate Gravel Path
 0:03:04
Buildadrive - How to install a gravel driveway
 0:03:23
How To Install Gravel Grid
 0:01:22
How to Install Pea Gravel to Remake Your City Backyard
 0:05:15
Install a Gravel Driveway (4 steps in 5 minutes)
 0:07:36
How To Install a Pea Stone Walkway | Ask This Old House
 0:03:49
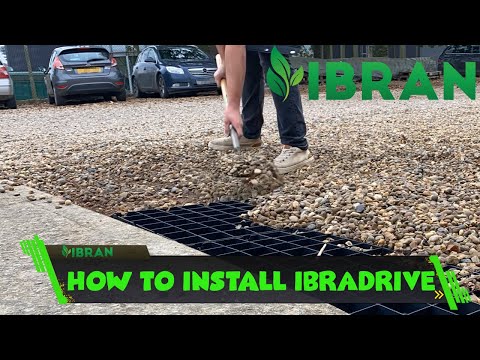
How to Install Gravel Grids for your Driveway - IBRAN Installation Guide
 0:05:02
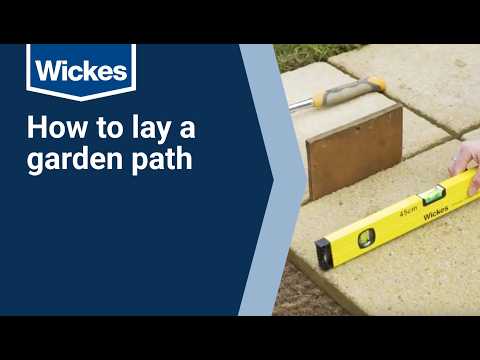
How to lay a path with Wickes
 0:01:40
EuroGravel PLUS Gravel Grids - Information and installation
 0:08:43
How to Build a Gravel Driveway That Will Last FOREVER!
 0:26:22
Installing a Gravel Driveway
 0:17:54
How To Install A Permeable Gravel Driveway Grid System
 0:30:53
HOW TO INSTALL AND MAINTAIN A GRAVEL DRIVEWAY
 0:14:52
How to Build a Gravel Driveway...The Right Way!
 0:05:33
Don't attempt BASE PREP until you see this video! Base Prep basics to make your project last.
 0:01:20
COREpath - Self install the perfect gravel pathway
 0:03:39
How to Install a French Drain | The Home Depot
 0:12:18
How To Build a Gravel Driveway or Road That Will Last!
 0:03:56
How to Install a Gravel Driveway or Gravel Parking Pad
 0:08:23
How to Create a Resin Bound Pathway | Pour On Gravel Binder | FULL A-Z GUIDE @SureSetResin
 0:01:43
How to Install Pea Gravel
 0:10:52
LAYING SELF BINDING GRAVEL - Great Patio Alternative
 0:04:07
Gravel grid driveway installation
Комментарии