filmov
tv
How To Fill Gaps Between Baseboard And Drywall | Fix It Or Caulk It? DIY Tutorial For Beginners!

Показать описание
ITEMS I USED:
SHOP MY ONLINE AMAZON STORE AND CHECK OUT ALL THE TOOLS I USE!
On This episode I'll be showing you how to fix gaps between baseboard and Drywall. Should you fix it or caulk it? You decide which one for you is best and which one looks better! This is an easy DIY tutorial perfect for beginners!
DO YOU HAVE QUESTIONS ON YOUR HOME REPAIR OR DIY PROJECT? GET TIPS, ADVICE AND ANSWERS! BECOME A FIX THIS HOUSE MEMBER!
FOR BUSINESS INQUIRES SEND TO:
FIX THIS HOUSE
P.O. BOX 2511
BREMERTON, WA 98310
UNITED STATES
FOR BUSINESS INQUIRES EMAIL ME AT:
DISCLAIMER:
Videos produced by Fix This House are provided for informational, educational and entertainment purposes only. Please use SAFETY precautions when following the tutorials on these videos. Viewers doing projects at their own home are doing it at their own risk and Fix This House cannot be held liable if they cause damage to their homes or injury. Fix This House cannot claim liability with all applicable laws, rules, codes and regulations for a project. Always stay informed of your local building codes! Happy and SAFE renovating!
#baseboards #baseboardgap #Trim
 0:03:11
The Simple Secret to Filling Large Gaps with Caulk or Silicone Sealant
 0:10:48
How To Fill Gaps Between Baseboard And Drywall | Fix It Or Caulk It? DIY Tutorial For Beginners!
 0:00:45
How To Fill Gaps In Floorboards
 0:00:19
How to fill gaps with caulk
 0:06:43
How to fill gaps in your drywall
 0:02:22
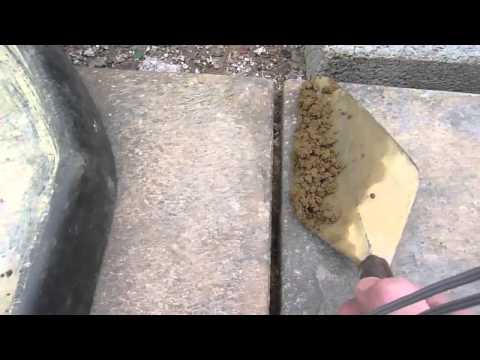
How to do pointing or fill the gaps between paving slabs or patio DIY
 0:04:58
How To Caulk Gaps Between Floor Wall DIY
 0:10:49
How to Caulk BIG GAPS!!!!
 0:00:30
You Vs You
 0:02:11
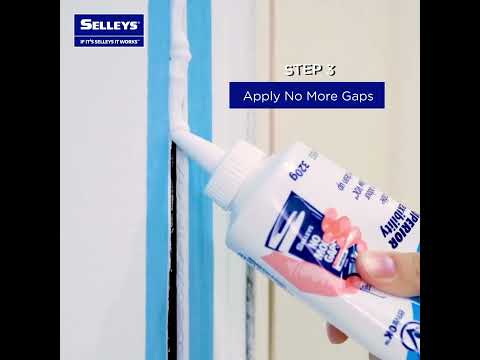
Selleys | How To Fill Gaps In Skirting Boards using No More Gaps - Product Demonstration
 0:02:58
Tip for Caulking Large Gaps
 0:12:32
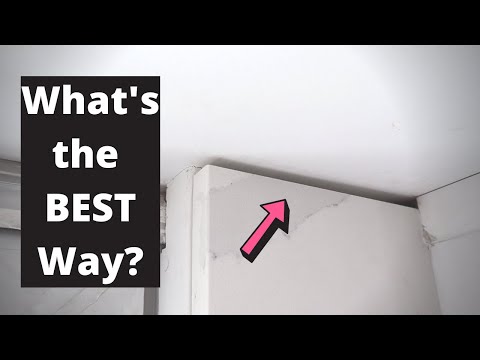
How to Fill Gaps in Walls - Home Renovation Tips by Paul Ricalde
 0:08:04
How to fill gaps behind skirting board. Decorators caulk tutorial. Baseboard caulking for beginners!
 0:02:35
How to Fix Gaps in drywall angles by Hand
 0:02:18
What is shimming and how to use it to fill gaps between floorboards
 0:00:20
InstaTrim is perfect to fill the gaps between your baseboard and floor - The Original Flexible Trim
 0:02:42
How to Fill Gaps in Laminate Vinyl or Wood Floor
 0:04:48
How To Fill In Gaps Between Hardwood Flooring With Wood Filler
 0:04:08
HOW TO FILL DEEP GAPS WITH EXPANDING FORM FILLER PART2
 0:02:19
How to fill in gaps and cracks - coving, baseboards, cornice and trim
 0:15:30
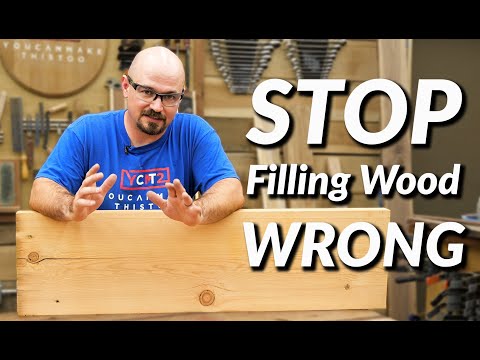
Beginner Wood Filling Mistakes | How to Fill Cracks and Gaps
 0:00:33
No More Gaps - Tips For Applying Gap Fillers
 0:01:02
HOW TO: Fill big gaps around your sinks.
 0:00:20
How to fill in gaps between marble floor tiles with epoxy
Комментарии