filmov
tv
pip install downgrade dependencies
Показать описание
Title: Downgrading Python Package Dependencies Using pip install
Introduction:
When working on a Python project, you may encounter situations where you need to downgrade dependencies to resolve compatibility issues or other reasons. The pip package manager provides a straightforward way to install specific versions of packages. In this tutorial, we'll explore how to downgrade dependencies using the pip install command with practical code examples.
Step 1: Identify the Dependency and Version to Downgrade
Before downgrading a dependency, you need to identify the package name and the specific version you want to install. You can find this information on the official Python Package Index (PyPI) website or in your project's documentation.
Step 2: Open a Terminal or Command Prompt
To begin the downgrade process, open a terminal or command prompt on your machine. This is where you'll execute the pip install command.
Step 3: Use the pip install Command with Version Specifier
The pip install command allows you to specify the version of a package using the following syntax:
Replace package-name with the name of the package you want to downgrade and desired-version with the version number you want to install. Here's an example:
This command installs version 2.25.1 of the requests package.
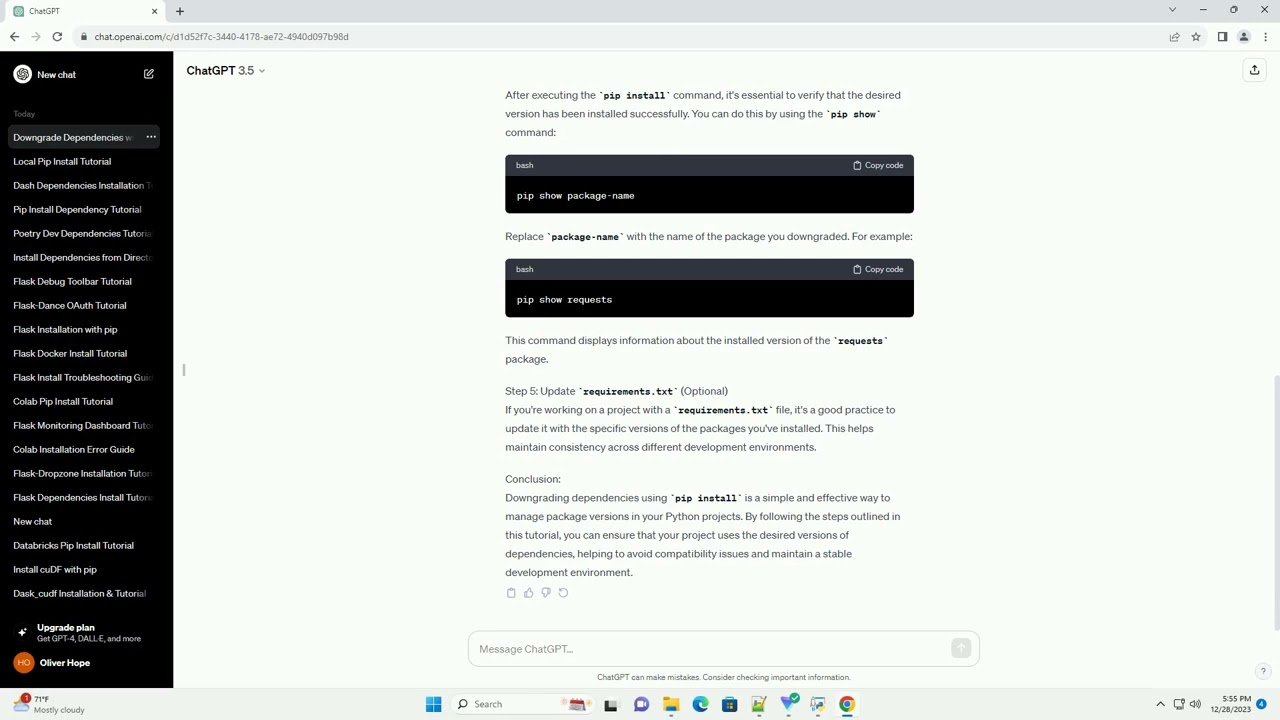
Step 4: Verify the Installation
After executing the pip install command, it's essential to verify that the desired version has been installed successfully. You can do this by using the pip show command:
Replace package-name with the name of the package you downgraded. For example:
This command displays information about the installed version of the requests package.
Conclusion:
Downgrading dependencies using pip install is a simple and effective way to manage package versions in your Python projects. By following the steps outlined in this tutorial, you can ensure that your project uses the desired versions of dependencies, helping to avoid compatibility issues and maintain a stable development environment.
ChatGPT
Introduction:
When working on a Python project, you may encounter situations where you need to downgrade dependencies to resolve compatibility issues or other reasons. The pip package manager provides a straightforward way to install specific versions of packages. In this tutorial, we'll explore how to downgrade dependencies using the pip install command with practical code examples.
Step 1: Identify the Dependency and Version to Downgrade
Before downgrading a dependency, you need to identify the package name and the specific version you want to install. You can find this information on the official Python Package Index (PyPI) website or in your project's documentation.
Step 2: Open a Terminal or Command Prompt
To begin the downgrade process, open a terminal or command prompt on your machine. This is where you'll execute the pip install command.
Step 3: Use the pip install Command with Version Specifier
The pip install command allows you to specify the version of a package using the following syntax:
Replace package-name with the name of the package you want to downgrade and desired-version with the version number you want to install. Here's an example:
This command installs version 2.25.1 of the requests package.
Step 4: Verify the Installation
After executing the pip install command, it's essential to verify that the desired version has been installed successfully. You can do this by using the pip show command:
Replace package-name with the name of the package you downgraded. For example:
This command displays information about the installed version of the requests package.
Conclusion:
Downgrading dependencies using pip install is a simple and effective way to manage package versions in your Python projects. By following the steps outlined in this tutorial, you can ensure that your project uses the desired versions of dependencies, helping to avoid compatibility issues and maintain a stable development environment.
ChatGPT
 0:03:01
 0:02:11
 0:02:56
 0:01:26
 0:08:12
 0:08:39
 0:03:21
 0:03:12
 0:03:20
 0:02:53
 0:02:55
 0:01:36
 0:03:15
 0:01:59
 0:01:01
 0:07:14
 0:03:29
 0:01:25
 0:02:21
 0:02:54
 0:02:04
 0:03:13
 0:04:22
 0:03:18