filmov
tv
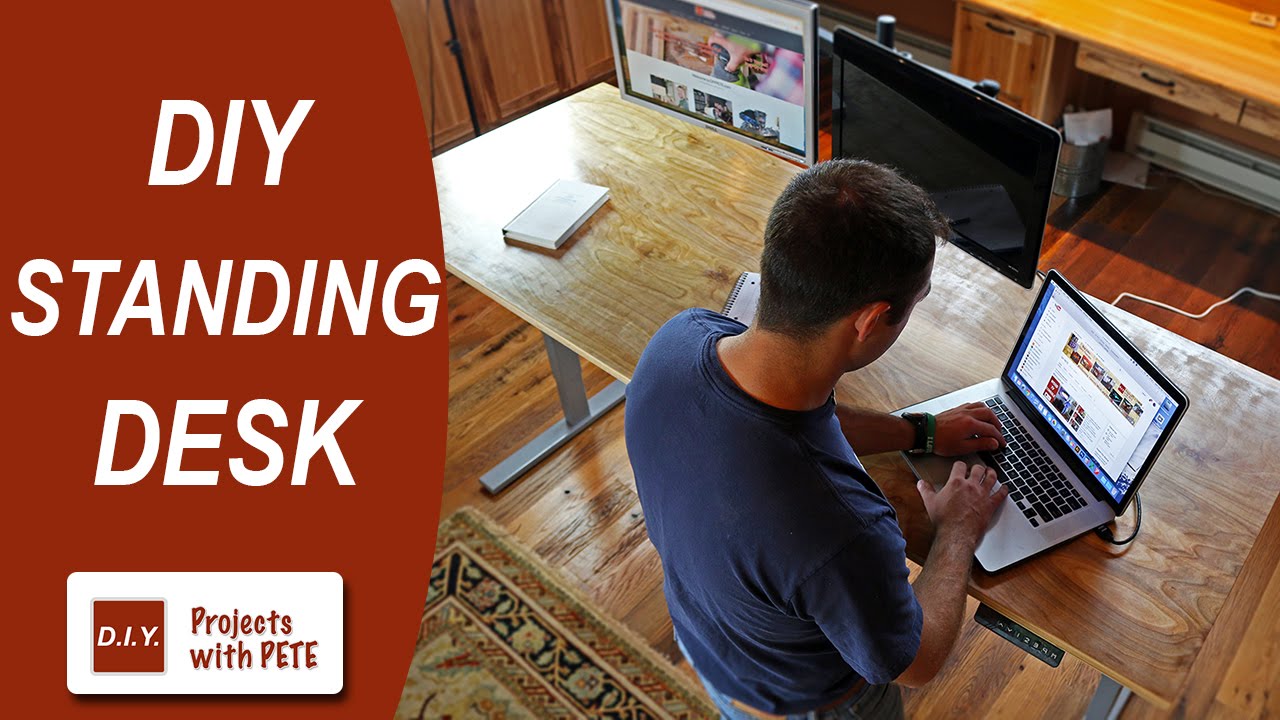
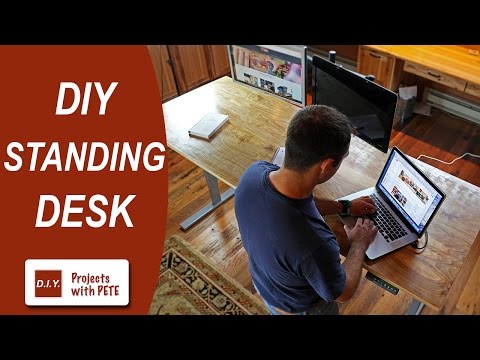
DIY Plywood Top for a Standing Desk | DIY Pete & Stand Modern
Показать описание
For more info, project photos, and promotional code check out:
UPLIFT Desk® Features:
Maximum Weight 355 Pounds
Desktop 43" to 96" wide
26 inches of height adjustment 23.5 to 49.5
4 programmable height presets and digital desk height readout
7-year all-inclusive warranty on the entire desk base
*Tools & Supplies Needed
*Note that these are affiliate links, meaning that when you buy something that is recommended below, it helps support the Channel. Thanks in advance!
Birch or Maple Plywood top - $75 3/4 inch sheet laminated to a 1/4 inch sheet for a total thickness of 1 inch
Purchase and Assemble the Base
Make Your Cuts
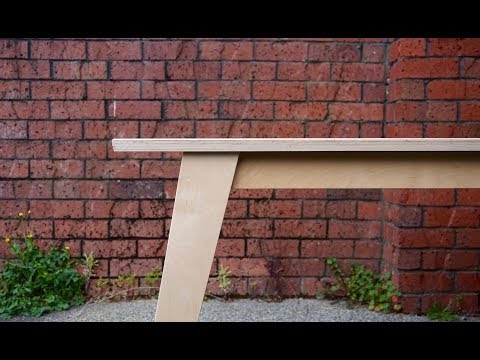
Determine the width, depth, and thickness for your desktop. I'd recommend a minimum thickness of 1 inch. 3/4 of an inch may work, but adding a little extra thickness will make your table stronger. I made my table 1 inch thick by laminating a sheet of 3/4 inch birch plywood to a 1/4 inch thick piece of birch plywood. On the table saw, we cut our boards to size. The final size of my DIY standing desk ended up being 78" long by 30" wide by 1" thick.
Build Your Custom Desktop
Once all of your boards for your desktop are cut, its time to laminate the 3/4" plywood to the 1/4" piece. Add plenty of wood glue during this process, focusing special attention on the edges and corners. Screw it together from the underside using 3/4" screws. Add clamps and let the glue dry for the manufacturers recommended time.
Sand the Desktop
Give your desktop a once over with 220 grit sandpaper and your orbital sander. Take extra time to ease the edges and corners, making it as smooth as you'd like. Then work your way down through 320, 400, & 600 grit sandpaper. Prep everything for finishing and wipe any dust off with a tack cloth or a slightly damp microfiber cloth.
Finish the Desktop with Lacquer
For my DIY Standing Desk, I wanted a slightly glossy finish with a durable surface. I find that lacquer protects better than polyurethane and chose to use lacquer for this project. Apply one coat of lacquer and let it dry. Then wet-sand it with 600 grit sandpaper before the next coat. I go over a special wet-sanding technique in the video that works great for smoothing out any finish. Then add a second coat of lacquer (you could keep adding more coats if desired) and let it cure. Do a very light wet-sanding with 800 after your coats and then buff out the finish with a microfiber cloth. This method provides for a great, durable finish.
Attach the UPLIFT 900 Base
After your desktop for your DIY standing desk has finished curing, you're ready to install the sit - stand base! In the video, we go over attaching the UPLIFT 900 base, it really is an easy process. The base comes with all of the hardware you'll need to attach it to your custom desktop. Be sure to pre-drill any holes before adding screws. Attach the base and then stand the desk upright. I screwed out a 2" spot for grommet hole mounts so my computer wires would be more hidden.
----
Looking for more DIY videos? Be sure to check out our channel and subscribe for updates! We post a weekly tutorial every Thursday.
DIYPETE.com
1627 W Main Street Suite 182
Bozeman, Montana 59715
#standingdesk #diydesk #desksetup
 0:08:03
Easy Simple Plywood Desktop for BEGINNERS
 0:06:55
DIY Plywood Desk | Requires just 3 basic powers tools
 0:00:34
Here’s how I built my custom DIY plywood sofa. #furniture #plywood #sneakers #homedecor
 0:12:57
DIY Plywood Desk from 1 sheet | Basic Tools | How to
 0:06:11
Modern Dining Table DIY | Single Sheet Plywood | Two Power Tools
 0:08:44
A Simple Modern Plywood Desk
 0:00:41
The EASIEST Beginner DIY project ⚒️ #diy #woodworking #dixiebellepaint
 0:15:10
DIY Plywood & Cedar coffee table top
 0:00:19
Build Sustainably. Build Boldly.Choose Green Film Plywood – The Eco-Wise Choice for Demanding Jobs....
 0:02:02
DIY Plywood Counter
 0:00:09
Simple Dining Room Table Framing easy build #table #diy
 0:08:40
5 Ways to Carry Plywood Easier
 0:00:14
DIY plywood table #interior #diy #diytable #homeimprovement #diyhomedecor #furniture #diyfurniture
 0:09:28
DIY Bar-Top (from plywood)
 0:08:03
Easy DIY Plywood Countertop
 0:05:10
DIY Plywood Top for a Standing Desk | DIY Pete & Stand Modern
 0:00:17
Make this countertop for under $100 Part 1 - part 2 is how to make MDF look like soapstone
 0:12:58
DIY Desk Top - Made from Plywood!
 0:00:20
Turning leftover 2x6 and plywood to stylish shelves #shorts #diy
 0:00:16
Kitchen cabinet build🔨 | #shorts #kitchen #homeimprovement #diy
 0:07:18
Walnut Plywood & Steel Desk, Part 2 : Building The Desk Top | Crafted Workshop
 0:19:44
Building DIY WOOD COUNTERTOPS from PLYWOOD & LAMINATE for $300 // Kitchen Remodel Pt. 2
 0:00:16
Using Plywood to transform the look of the roof, what do you think? #bradnailer #plywood
 0:00:30
Super Simple Scrap Wood Project
Комментарии