filmov
tv
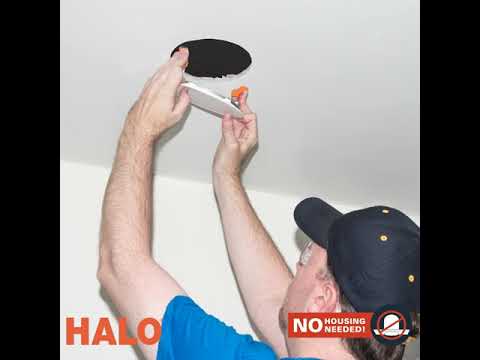
Eaton Halo Ultra Thin LED Light Installation

Показать описание
Eaton Halo Ultra Thin LED Light Installation.
By using these links I may earn an affiliate commission, which helps support the channel.
Other tools you might need:
Ultra Bright, Dimmable and Adjustable Color Temperature.
By using these links I may earn an affiliate commission, which helps support the channel.
Other tools you might need:
Ultra Bright, Dimmable and Adjustable Color Temperature.
 0:10:04
Eaton Halo Ultra Thin LED Light Installation
 0:01:04
HALO LED Surface Mount Downlight - The Home Depot
 0:26:05
HALO Just Changed the Recess Lighting Game with THIS!
 0:05:24
Recessed Light Installation | The BEST LED Wafer Light Is...
 0:05:11
Canless recessed light installation in soffit.
 0:00:22
HALO Slim Edge Installation Video
 0:06:55
How to install LED Recessed Ceiling Lights EASY! Ultra Thin - Huge Upgrade! (Downlights Lighting)
 0:04:43
LED Wafer light Warning!
 0:05:28
LED Recessed Lighting--5 THINGS TO KNOW!! (Can Lights/Downlights/Recessed Lights)
 0:09:12
Ultra Thin LED Light Installation into Ceiling
 0:14:27
How to Install a Halo Canless LED Light in Your Ceiling
 0:02:46
How To Install Ensenior Ultra Thin LED recessed Ceiling Light Review
 0:00:53
Halo 6” LED Recessed Light Direct Mount Kit (HLB6099FS1EMWR)
 0:07:52
UL 2017 IBS Eaton Halo LED Lighting at the NextGen Home Experience
 0:23:34
Halo 4' LED Recessed Downlight Value 4 pack Install
 0:19:13
HALO vs ENSENIOR vs TORCHSTAR | Best LED Recessed Light Review
 0:03:23
How to Install LED Canless Recessed lighting - Upgrade Flush Mounted Lights
 0:19:14
Fixing Crappy lighting with Ultra Thin LEDS
 0:00:29
HALO Recessed RL Night Light Canless Direct Mount
 0:02:59
Easy Formula for Recessed Light Spacing
 0:21:23
How To Install Pot Lights In Living Room Ceiling | Thin Recessed LED Dimmable Lights For Beginners!
 0:07:31
Ultra Thin Recessed Lights review / Ensenior LED Recessed Lights Review /Retrofit LED Lights Review
 0:17:11
Ultra Thin Recessed Lighting | Transform A Dark Living Space
 0:10:37
Halo 6' Canless Recessed LED Light Install
Комментарии