filmov
tv
Parametric light in #3dsmax
Показать описание
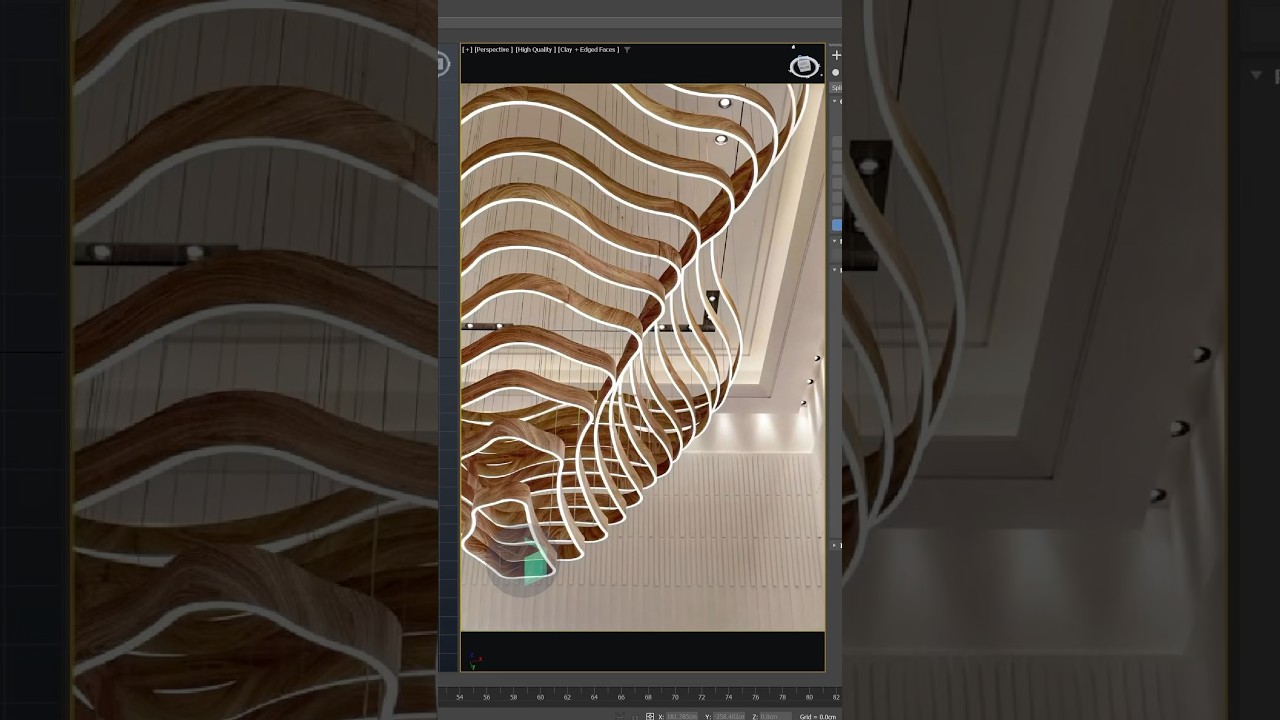
Learn to quickly model this parametric lamp in 3ds Max!
Start by grabbing the free tyFlow version for its useful modifiers. We'll use the "tySlice" modifier to easily create multiple slices in one modifier.
Check out this tutorial to see the steps used to create a parametric light with procedural modeling, where you can create endless variations in no time.
Follow the steps in this tutorial:
- Navigate to “Helpers” and grab a “Point”.
- Create some points in the viewport.
- Place double points wherever you want to have a larger sphere.
- Navigate to “Compound Objects” and create a “Blobmesh”.
- Press on “Add” and add all the points to the Blob object.
- Increase the “Size” to achieve the desired size.
- Set “Viewport” value to 3 for better details in the viewport (you’ll need to adjust the “Render” value to get more details in the final render)
- Apply “tySlice” modifier and set the operation mode to “Split”.
- Adjust “Separation” value to a small value.
- Increase “Slices” number.
- Adjust the “Spread” to control the spacing between the slices.
This model is fully procedural you can adjust the points position to locate the spheres, change the number of slices and the thickness as well.
Subscribe to learn 3dsMax : @BoundlessBox
.
.
.
#3dtutorial #archviz #3d #parametricdesign #3dmodeling #procedural
 0:01:00
Parametric light in #3dsmax
 0:01:03
Parametric Wooden Lamp | 3ds Max Procedural Modeling Tutorial
 0:07:13
3ds Max Modelling - Parametric Pendant Light
 0:03:40
Параметрический СВЕТ в Окнах [Random Parametric lighting 3ds MAX + CORONA Renderer]...
 0:04:49
How to create parametric fairy lights with the free RailClone Lite plugin in 3ds Max
 0:14:08
Parametric Ceiling | 3ds Max Procedural Modeling & Animation Tutorial
 0:00:15
BEGINNERS 15 | 3Ds Max course
 0:08:22
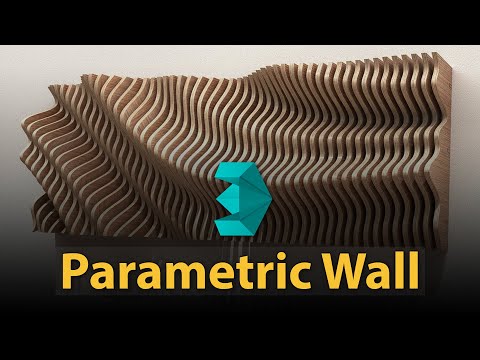
How to create Parametric Wall in 3dsMax? 3D MAX easy modeling trick
 0:00:19
Parametric Light Mix Corona Render #coronarender #lightroom #parametricdesign #shorts
 0:05:00
The Easy Way to create Parametric Structure in 3dsMax
 0:05:28
Parametric Design in 3DsMax Tutorials: Parametric Boomerang Lamp Modeling Step by Step
 0:03:09
3Ds Max Dynamically control a perforated mesh tutorial
 0:07:01
3ds Max Modeling Tutorial: Parametric Pendant Light
 0:08:34
How To Make Parametric Elements On 3dsMax
 0:01:01
Path array in 3ds max🔥mini tutorial #vizacademy #3ds #vray #lumion #sketchup
 0:07:26
V-Ray Next for 3ds Max – How to light an exterior day scene
 0:03:16
How To Create a Parametric Structure in 3ds Max
 0:08:58
The LIGHTING trick that gives you MORE CONTROL!
 0:00:12
Which is the fastest 3D Rendering Software?
 0:03:46
How to create Parametric Wall in 3dsMax?
 0:00:26
Enscape vs V-ray Users
 0:09:28
How to create Parametric models in 3ds max
 0:31:28
3Ds Max and Rail Clone Tutorial | How to create a parametric Lights System.
 0:00:16
How To Create Parametric Facade In 3ds Max
Комментарии