filmov
tv
Octoprint Raspberry Pi Touch Screen Install - Touch UI - Chris's Basement

Показать описание
In this one we install a touch screen hat on a Raspberry Pi that can be used with the Touch UI plugin.
00:00 Intro
00:45 Hardware & Assembly
03:33 Firmware
08:40 Touch UI for OctoPi
13:58 Conclusion
These are affiliate links and take you to Amazon.
------------------------------------------------------
Raspberry Pi kit:
Screen:
------------------------------------------------------
Putty tool:
Touch UI github:
Touch UI boot to browser:
Video command guide:
SUPPORT THE CHANNEL BY CLICKING THESE LINKS!
OpenBuilds - Great CNC and 3D Printer Parts (aff)
Slice Engineering - Mosquito Hotends (aff)
Wham Bam Systems Flexible Beds (aff)
Amazon (aff) [US DE GB CA IT ES FR JP]:
Buy me a coffee to keep me going!
You can support my work on Patreon
One Time Tips, You Can PayPal Me:
----------------------------------------------
Find Me Over On Twitter!
----------------------------------------------
FTC Disclaimer: A percentage of sales is made through Affiliate links
As an Amazon Associate I earn from qualifying purchases.
 0:17:35
OctoScreen - Octoprint Raspberry Pi -Touch Screen Plugin - Chris's Basement
 0:02:09
Raspberry Pi OctoPrint Touch UI: Quick look
 0:03:55
Octoscreen new TFT touchscreen UI for octoprint raspberry Pi official 7'
 0:13:02
BIGTREETECH PI TFT50 Octoprint Touchscreen Install & First Look
 0:14:53
Octoprint Raspberry Pi Touch Screen Install - Touch UI - Chris's Basement
 0:19:11
OctoPrint: Control Your 3D Printer Remotely Using a Raspberry Pi!
 0:02:22
OctoPrint Raspberry Pi Rig 3.5' PiTFT Touch Display
 0:25:03
OctoDash - Octoprint Touch Screen App - Chris's Basement
 0:08:20
Octoprint Raspberry Pi 4 3.5 touchscreen configuration Raspbian Buster goodtft waveshare XPT2046
 0:12:49
12 MUST-HAVE Octoprint Plugins for Happier 3D Printing
 0:14:46
How to Add an OctoPrint Touchscreen to Any 3D Printer (Ender 3 + Others!)
 0:18:37
Element 14 7' LCD Upgrade Raspberry 3 B+ for Octoprint Octopi Project Part 2
 0:14:36
7in Pi TFT Screen, Enclosure, OctoPrint, Printoid for 3D Remote Print Management
 0:02:12
Octopi with TouchUI and Pi 7 on Mk3 Prusa.
 0:09:34
Under $50 Octoprint 5Inch LED Touch Screen Assembly and Touch UI Setup
 0:11:27
Using cheap car parts to easily power your 3D printer's Raspberry Pi
 0:12:00
A Screen for your Octoprint! How to set up Octodash with Pimoroni Hyperpixel (+other screens)
 0:19:23
BIGTREETECH PI TFT50 Touch Display - Installation Guide & Review
 0:04:16
Octoscreen raspberry Pi 4 official 7' touchscreen LCD installation on Octoprint
 0:13:51
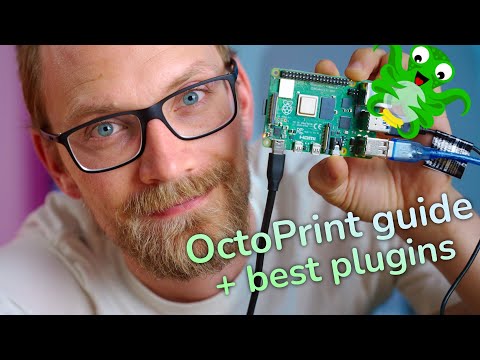
How to setup OctoPrint! (+ best plugin recommendations)
 0:09:53
Touchscreen Control Panel for my 3D Printer! (OctoPrint w/ OctoDash on a RasPad 3)
 0:16:20
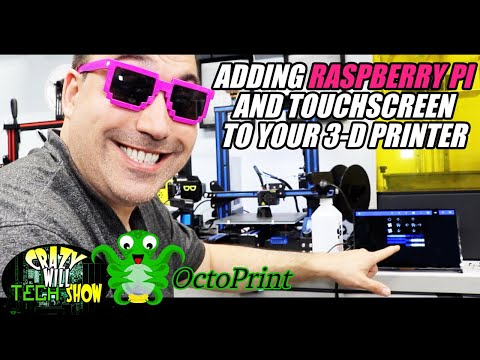
Adding Raspberry Pi and touchscreen to your 3-D printer
 0:02:35
Prusa MK3 - 5' Capacitive Touch Screen Upgrade, Octoprint, and SD Slot Move
 0:27:01
How to install OctoPrint on Raspberry Pi Jessie #3DPrinting
Комментарии