filmov
tv
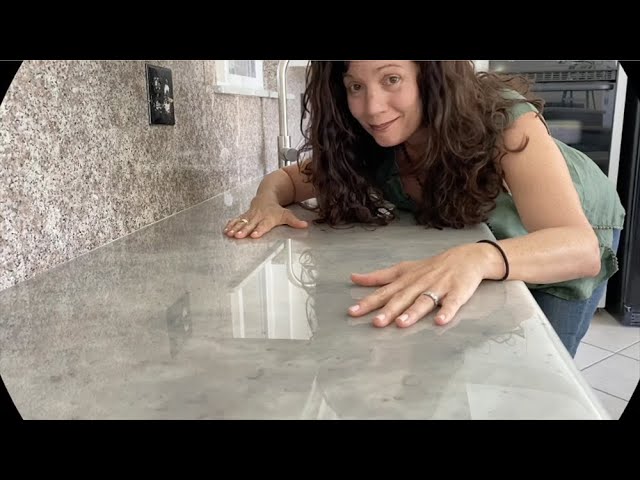
How to: Epoxy over outdated granite countertops - detailed process
Показать описание
*Please subscribe as more HOW-TO videos will be posted soon! *
We bought a new house we absolutely love, but weren’t crazy about its 1990s vibe...
So we decided to update our kitchen first. But our budget didn’t allow a full remodel so we decided to try and work with the existing features.
That’s how we discovered the epoxy option for our outdated granite countertops, and after reading about it and watching several videos, I decided to tackle the project. And I documented my process to (hopefully) help those interested in giving it a try.
I am definitely not a professional; that was a first for me. So please keep that in mind.
It was a long and messy process, but we’re super happy with the result. And yes, I would totally do it again. Actually, I’ll be doing it on our bathroom countertops very soon!
Happy epoxy-ing!
*Since a few people asked, here's the link to the epoxy I used (purchased on Amazon; comes in different sizes):
Other products used:
 0:34:39
How to: Epoxy over outdated granite countertops - detailed process
 0:36:45
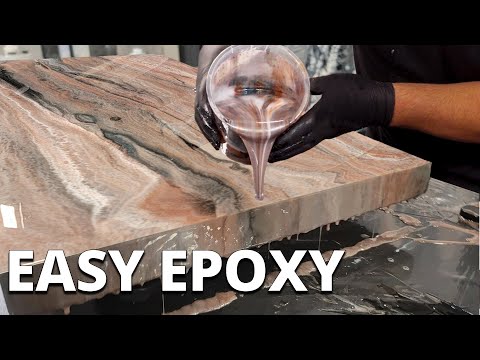
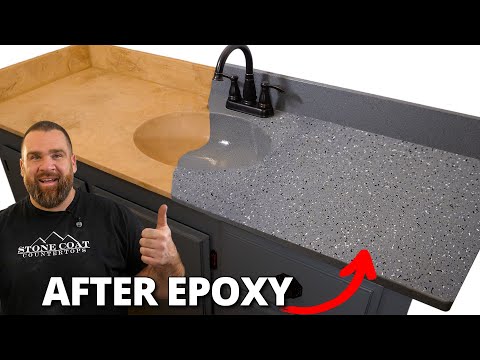
How To Install Epoxy Over Old Countertops Ultimate Guide | Stone Coat Countertops
 0:06:52
How to Epoxy over ANY Existing surface | Stone Coat Epoxy
 0:05:21
ONE YEAR LATER: Epoxy over outdated granite countertop. See how it held up!
 0:17:51
How To Epoxy Over Old Tile Countertops | The Best Way!
 0:26:36
How to Epoxy over Old Tile Floors | Stone Coat Epoxy
 0:23:18
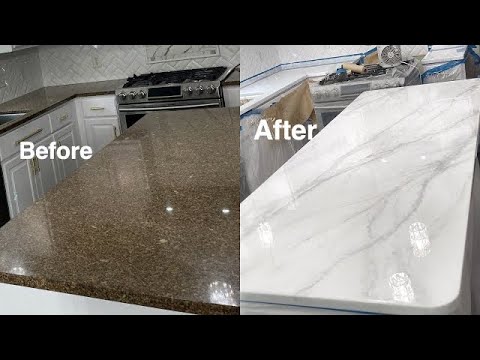
DIY Marble epoxy over old granite countertops! How to do Epoxy marble over old granite countertops
 0:03:49
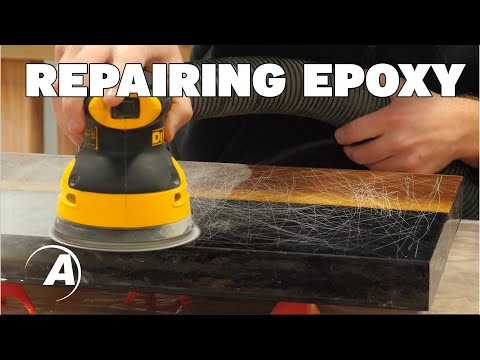
How To Repair An Epoxy Resin Project | Alumilite
 0:17:29
Why You Should NOT Do Epoxy Resin Countertops [Do THIS Instead]
 0:18:43
Pour Epoxy Over Tile & Grout - Step By Step Tutorial
 0:17:07
How to Epoxy Countertops with Backsplash and no Demolition
 0:12:32
Epoxy Counters after 3 years.
 0:04:31
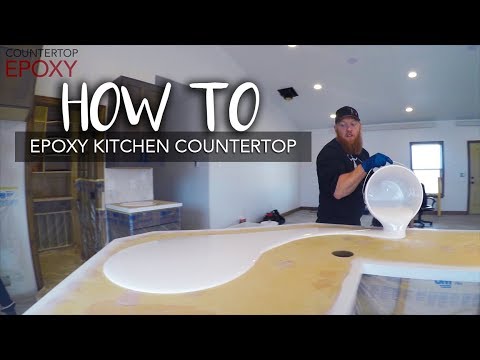
HOW TO - Epoxy Kitchen Countertop - Countertop Epoxy - White Marble Countertop - Kitchen Countertop
 0:12:07
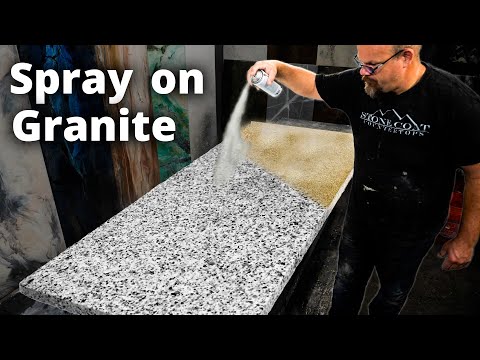
Spray on Countertops | Stone Coat Epoxy
 0:13:46
How to Apply a New Garage Floor Epoxy Coating Over Old Epoxy
 0:31:19
How to Epoxy Over a Cultured Marble Sink and Vanity Full Tutorial | Stone Coat Epoxy
 0:00:31
Easy Epoxy Countertop Transformation #diy #shorts #youtubeshorts
 0:27:42
Epoxy Countertops over laminate
 0:05:39
Re-epoxy Old Epoxy Floor (Armorseal + Rexthane)
 0:19:52
DIY Kitchen Countertop Makeover
 0:06:12
HOW I TRANSFORMED MY KITCHEN WITH EPOXY COUNTERTOPS STEP BY STEP #epoxycountertops #epoxyresin
 0:04:42
How to epoxy over old epoxy.
 0:14:25
Epoxy over laminate AKA formica PREP.
 1:09:24
EPOXY OVER EPOXY- HOW TO DO IT
Комментарии