filmov
tv
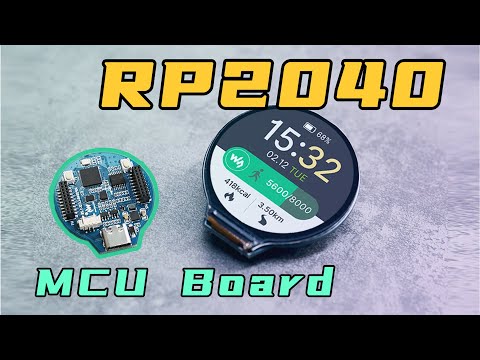
Waveshare Raspberry Pi Pico Clock Kit (#137)

Показать описание
Nice big display clock kit that I bought from Pi-Hut. It uses the Raspberry Pi Pico as its main processor, and has open source software so that you can modify and experiment with it.
I show how to install the Pico and load the software/firmware into it. I'm using the standard firmware from the Waveshare site; more videos to follow with me customizing the software.
I show how to install the Pico and load the software/firmware into it. I'm using the standard firmware from the Waveshare site; more videos to follow with me customizing the software.
Waveshare Raspberry Pi Pico Clock Kit (#137)
 0:01:00
Waveshare Electronic Clock for Raspberry Pi Pico, Accurate RTC, Multi Functions, LED Digits
 0:01:09
Waveshare Small LCD/Expander/Sensor/UPS/Digital Clock/RS485/LoRa Node Module for Raspberry Pi Pico
 0:01:01
Waveshare 3.7inch E-Paper E-Ink Display Module for Raspberry Pi Pico, Black/White, 480×280 Pixels
 0:00:54
Waveshare RP2040 MCU Board, With 1.28inch LCD, Accelerometer And Gyroscope Sensor
 0:01:38
RP2040 Raspberry PI PICO - Network Clock with Waveshare PICO-ESP8266 and World Time API
 0:00:11
Raspberry Pi Pico Real Time Clock
 0:06:49
Quickstart guide for Waveshare DS3231 Real-time clock in Hopper environment
 0:01:31
Digital Clock (Made using a Pico W)
 0:00:40
I made an alarm clock with Raspberry Pi Pico
 0:00:10
Arduino_GFX Waveshare Pico LCD 1.3
 0:03:42
The E-ink Desk Accessory I've Always Wanted.
 0:00:42
Node.js Waveshare e-paper 7.8' Raspberry PI 4 gnzzz/IT8951 Clock Example
 0:22:01
Add a Realtime Clock to your PICO for Enhanced Capability
 0:09:33
PiicoDev Real Time Clock (RTC) RV-3028 | Guide for Raspberry Pi Pico
 0:00:24
Digital clock with Raspberry Pi pico and microPython with RTC DS1307 #shorts
 0:01:13
LED Matrix Clock
 0:04:11
Raspberry Pi Pico Tutorial - DS1302 Real-time Clock
 0:05:16
Raspberry Pi Pico - Alarm Clock Project
 0:21:34
Waveshare Dual Extender and TFT LCD For RasPi Pico
 0:04:44
Raspberry pi pico Clock - RTC + OLED
 0:00:33
Check Comments: Raspberry Pi Pico Alarm Clock
 0:12:01
Waveshare PiPico 1.3 Screen porting some PicoExplorer triangle code
 0:00:23
Waveshare 1.3' LCD Module with Raspberry Pi Pico and Rust
Комментарии