filmov
tv
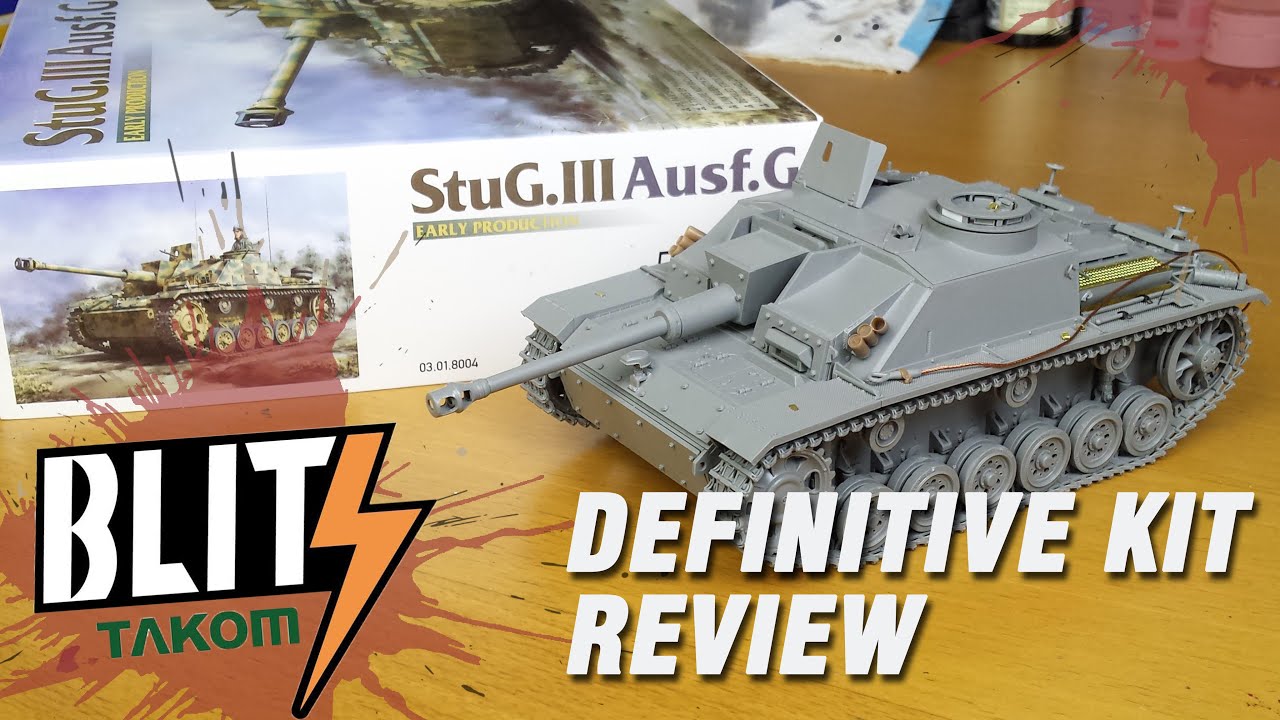
Panzermeister's 'Definitive Review' of TAKOM StuG III Ausf.G Early Production (BLITZ line #8004)
Показать описание
Today will be my long-awaited review of Takom's recent release -- the StuG III Ausf.G Early Production (kit no. Takom 8004).
SUMMARY:
As part of their Blitz line, this kit is meant for simplified assembly that can be done in a weekend, maybe even by a beginner. That is true for this kit, without sacrificing much detail (apart from the tool clamps looking a little weak). The link-and-length tracks and minimal PE also support this quick build idea. However, the kit includes 5 small PE parts which are tricky to fold, especially for beginners...but you could always just leave them off :)
The kit has great weld detail, crisp bolts and rivets, a one-piece barrel, and the included PE vents and copper tow cable are excellent. Fit is overall perfect, with the exception of the wheels (7:29) and gun barrel (26:31) having some interference that is easy to solve with a little sanding or trimming.
A few points in the instructions show putting on parts in an order that I would not recommend. For example, in Steps 4-5 I would recommend assembling the rear armour (M33, M17, M13) in Step 5 first, then mounting the PE vent (TP1), and then putting on the parts shown in the bottom half of Step 4. And in Step 8, when mounting the tow cable, do it AFTER putting on the S-hooks (M9+M10) and fender supports (M58, M35).
I have a few other tips, like the front half of the loader's hatch should prop open the loader's MG shield, and in the last step, it's much handier to glue part N11 onto the roof, not onto the superstructure, as gluing it onto the roof makes it removable so painting the gun is easier.
In terms of historical accuracy, the kit is on par with Dragon 6320 as it is overall quite good, but gets a few minor things wrong. These include the wrong type of rear light, underscale smoke launcher barrels, a missing tow point on the rear hull, and a slightly incorrect cupola (as historically, these early vehicles had the cupola assembled wrong in early 1943). These are minor, so you don't have to worry about them as the kit builds up into a beautiful early StuG III G!
On my build, I fixed the historical errors, added some detail by replacing the kit tool clamps with 3D-printed MJ and plastic ModelKasten clamps, and I also added some small PE chains. In addition, to model a battle-damaged vehicle, I added a resin damaged wheel and dragon empty spare wheel holders.
-------------------------------------------------------------------------
Follow me on Instagram:
My Facebook Page:
Support me and my videos on Patreon!
Listen to the Plastic Model Mojo Podcast while you build:
DISCLAIMER: I am not paid to promote any specific products or brands; I just use the products I find work best for me through my experiences. There is no reason for me to promote a bad product, as then I would not enjoy using it, not like the result on my model, and not be proud of publicizing it in a video. There's also no point in me doing this to keep up relations with a company if the only benefit would be getting more of the same products that I didn't like. I have not used every product out there, but from what I have used, I keep using the products I like, and that's why I use them in my videos. You can use whatever other products you would like to and you can feel that they are better - that is your opinion, and is perfectly fine by me, thus I hope that feeling is reciprocated.
 0:36:34
Panzermeister's 'Definitive Review' of TAKOM StuG III Ausf.G Early Production (BLITZ ...
 0:23:40
Tank Model Kit with Everything in the box for under £40! Takom 1/35 BLITZ Stug III F8 Late Review
 0:18:27
MJ Miniatures 3D Printed Tool Clamps
 0:26:48
When 'Dragon' = 'Frustrating' -- Post-Build Review: Pz.Kpfw.I Ausf.B mit Abwurfv...
 0:30:21
The Ugly Jagdpanzer -- Post-Build Review: Pz.Kpfw.IV L/70 (A) Final Production (Dragon 6784)
 0:18:43
Let's Blitz Build a 1/35 Dragon King Tiger in a Weekend!
 0:23:38
Takom Blitz Panzer III Ausf M mit schurzen Complete Build Part 3 Decals, Tools and Chipping
 0:37:33
In-box Review: Dragon 6713 s.IG.33 auf Fgst. Pz.Kpfw.III (Sfl.)
 0:12:17
Takom 1/35 Panzer I A and Panzer I B ( 2 kits one box) model kit preview
 0:24:24
MBK packt aus #623 - 1:35 Ersatz M7 2in1 (Takom 8007)
 0:16:51
The ULTIMATE Takom Jagdpanzer 38t Hetzer Model Kit review!
 0:32:35
1/35 TAKOM StuG III Ausf.G 【Full Build Video】TANK MODEL #howtopaint #scalemodel
 0:13:50
Pz.Kpfw.III Ausf.M mit Schürzen building (1/35 Takom)
 0:19:33
MQ&A Episode 2 - deciding what techniques to use, reference photos, and how I learn techniques
 0:25:45
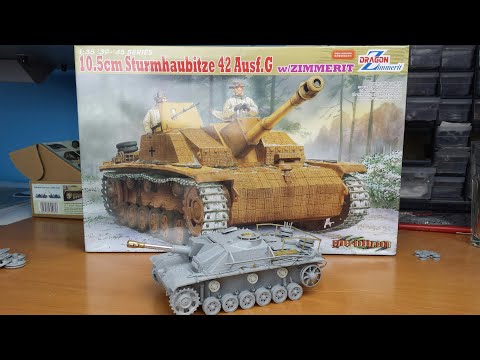
Post-build Review: Dragon/Cyber-Hobby 6454 10.5cm Sturmhaubitze 42 Ausf.G w/ Zimmerit
 0:31:42
TAKOM 1/35 Panzer III N Type w/Winterketten (Unboxing)
 0:17:11
Completing the Tank Build | Takom Blitz Jagdtiger Part 6 | Boss Builds 37
 0:39:50
Paint & Weather Afrika Korps Pz.III Ausf.H | Standard Weathering Procedure Ep.5 (For Model Tank...
 0:09:28
1/72 Takom Chieftain Mk.10 + Mk.11 unboxing
 0:14:23
Stug 3 - Takom Unboxing
 0:08:16
Flak Towers, Zeppelins, and Sea Monsters | Takom's Incredibly Unique New Model Kits
 0:13:47
How to Paint Partial StuG Interiors - PRE-WAR and EARLY-WAR
 0:17:39
MiniArt 1/35 StuG III 0-Series - Unboxing & Review #35210
 0:20:21
Dragon 1/35 StuG.III Ausf.E with German Sturmartillerie Crew #9106
Комментарии