filmov
tv
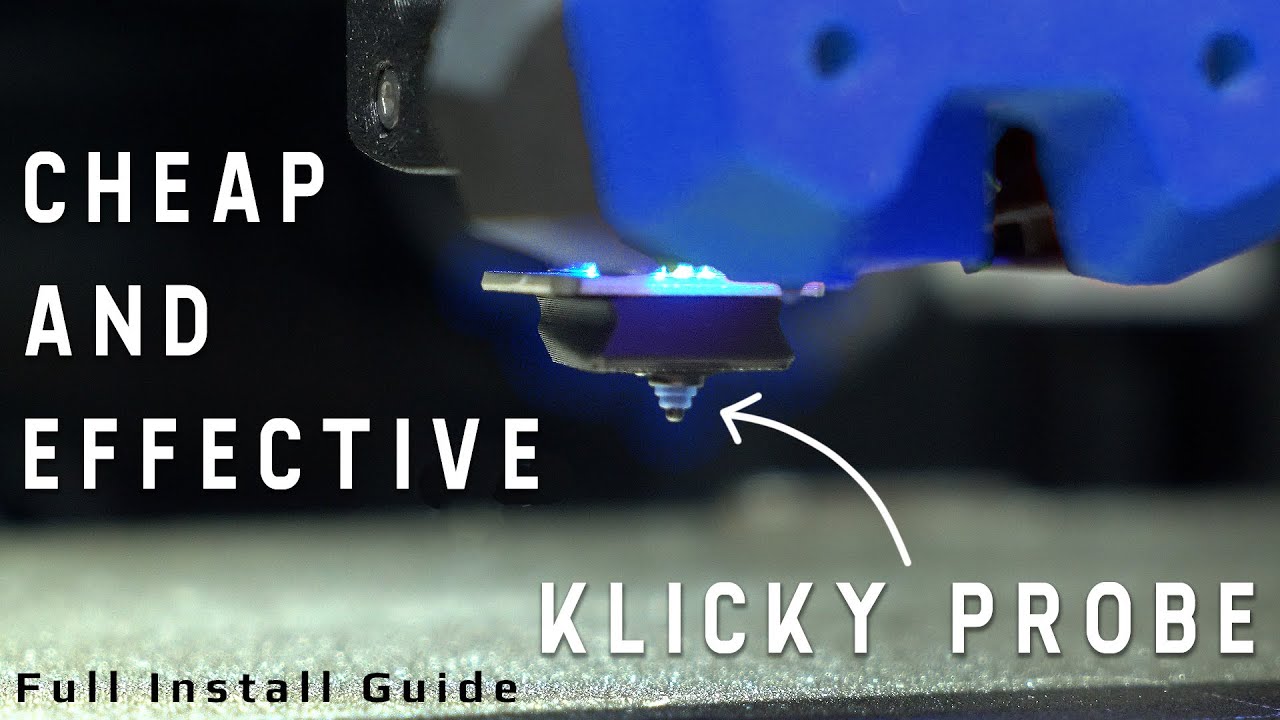
Could The CHEAPEST 3D Printer Bed Probe Also Be The BEST? Everything You Need To Know About Klicky
Показать описание
Is it possible that one probe could be both the best performing and the most economical? The Klicky probe might just be! In this video I examine this novel stow-and-go bed probe and provide a full walkthrough on assembly and firmware configuration, using the Troodon 2.0 3D printer as a test case.
Copy & Paste Snippets:
Klipper Klicky Install:
cd ~/klipper_config/
Klipper Klicky AutoZ:
cd ~
Copy & Paste Snippets:
Klipper Klicky Install:
cd ~/klipper_config/
Klipper Klicky AutoZ:
cd ~
 0:12:32
I Bought the 5 Cheapest 3D Printers on Amazon
 0:04:20
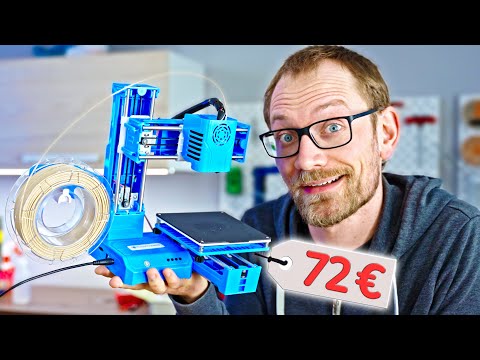
How bad is a $69 3D Printer?
 0:22:42
I bought the cheapest 3D printer on AliExpress!
 0:08:10
How bad is a $95 3D Printer??
 0:14:46
Honest 3D printer buyer’s guide: Find the best machine for you!
 0:00:46
I bought the cheapest 3D printer on AliExpress
 0:05:25
How bad is the cheapest 3D Printer from Amazon? (not what I expected)
 0:09:22
The Cheapest 3D Printer Yet - EasyThreed X1
 0:02:23
How did Bambu Lab Become the Game Changer of 3D Printing?
 0:12:56
The 3D Printer I'd buy if I started over
 0:21:53
The Cheapest BIG 3D Printer Out There - Is It Any Good? (Longer LK5 Pro Review)
 0:16:02
$99 Resin 3D Printer - Does it work? Lite3DP
 0:17:02
Which 3D Printer Should You Get? A COMPLETE Beginner's Guide
 0:11:03
The $500 Makerspace Part 1 - Budget 3D Printers
 0:08:15
Finding the best cheap 3D printer for cosplay
 0:08:55
Best CHEAP Resin 3D Printer?! Voxelab Polaris Review
 0:08:54
The $99.99 STARTT 3D Printer is the Cheapest Kit you can buy. But is it any good?
 0:10:14
How Easy is 3D Printing ACTUALLY? (Ender 3 S1 Review)
 0:16:27
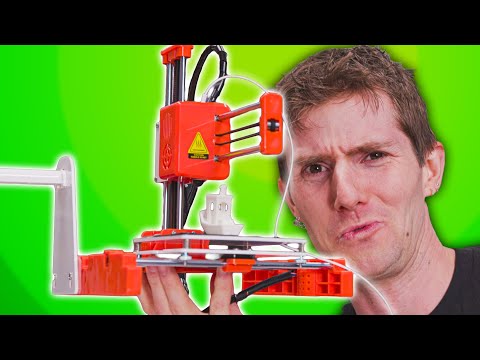
The Smallest 3D Printer I've ever seen...
 0:21:14
How far can I upgrade this toy 3D printer?
 0:05:29
10 Best Cheap 3D Printers for Beginners To Print Anything
 0:09:47
Budget 3D printers might cost you more overall: How much YOU should spend!
 0:06:38
Beginners Guide To 3D Printers In 2023
 0:36:51
We bought THE CHEAPEST 3D PRINTER for beginners, so you don't have to
Комментарии