filmov
tv
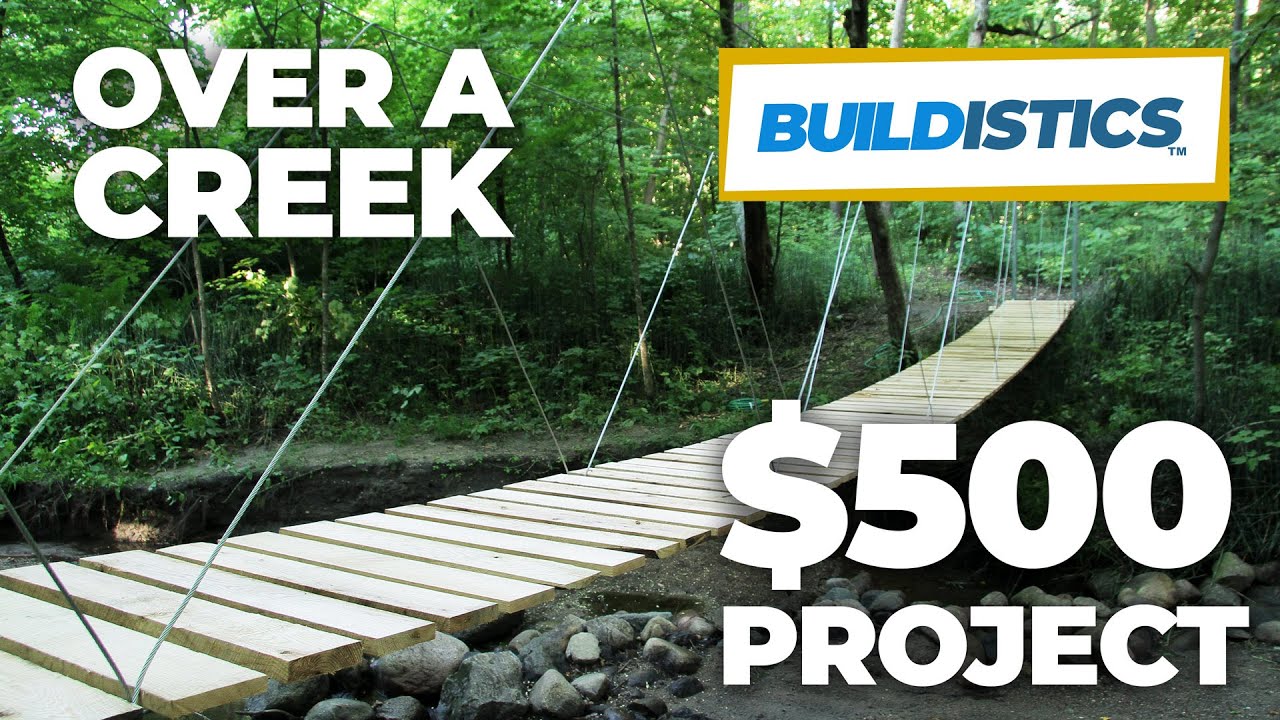
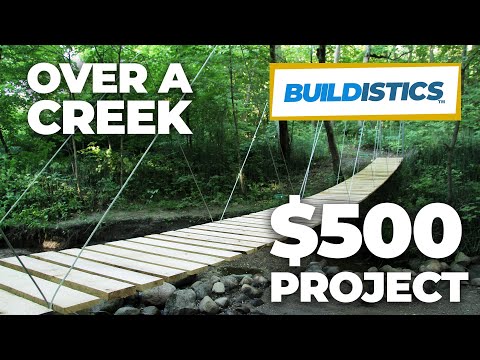
DIY Suspension Bridge - 54' Span
Показать описание
How to build a suspension bridge. Cost: approx. $500. Time to complete: 40 hours. Built across a creek in the woods by one person.
- a complete Materials List for a 54' DIY Suspension Bridge with quantities and image references,
- How To Determine If Your Location Will Work,
- and a BONUS section on how I spent only $500 building my own 54' suspension bridge.
DISCLAIMER: This video and description contains affiliate links, which means that if you click on one of the product links, we’ll receive a small commission WITH NO ADDITIONAL CHARGE TO YOU. This helps support our channel and allows us to continue making awesome videos like this. Thank you for the support!
 0:06:49
DIY Suspension Bridge - 54' Span
 0:08:56
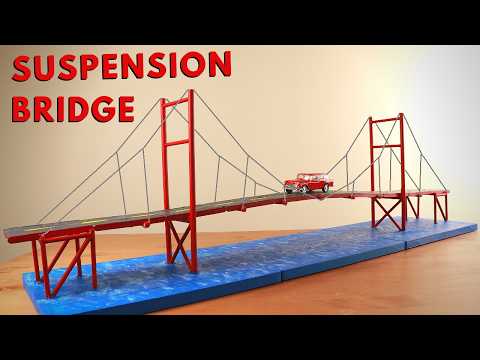
Making a Suspension Bridge Model! 🌉
 0:03:09
DIY Suspension Bridge Duct Tape & Sticks Edition!
 0:05:07
How to build a 50’ suspension bridge
 0:23:24
DIY Rope Bridge at EJS Farm Part 2
 0:04:49
Bushcraft swing bridge.
 0:00:20
diy bridge 🤔👏
 0:03:03
ENG10003 DIY Suspension Bridge
 0:00:24
Very resourceful GIRL 🤯 #camping #survival #bushcraft #outdoors
 0:02:47
The tomato suspension bridge is complete!
 0:00:09
Hanging Bridge #mateogtv #backyardgardening #manilaoceanpark #backyardfarming #solarenergy #diy
 0:00:07
indians Jones Bridge progress #treehouse #indianajones #diy
 0:07:18
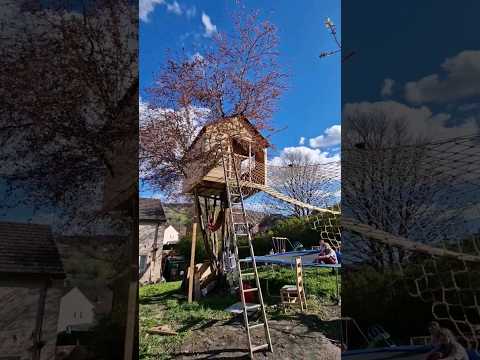
The Treehouse Tour 🌳 | DIY Suspension Bridge 🌉
 0:02:50
Backyard Suspension Bridge - COOLEST THING I'VE EVER MADE: EP6
 0:00:20
Create Your Own CRAZY Party Poppers at Home!🥳#diy
 0:00:48
New and improved rope bridge
 0:00:08
Rope Ladder and Rope Bridge
 0:09:47
build a model suspension bridge 1
 0:00:16
How to install a groundscrew for a cable bridge 👍🏼 #innovation #groundscrews #timelapse
 0:00:22
Suspension Bridge #suspension #bridge #heights #river #crossing #montana
 0:00:54
Do You Know How to Make a Strong Bridge by Chopsticks🥢?
 3:37:42
Build A Bridge Over The Stream To Avoid Floods - start to finish | New Peaceful Life
 0:00:21
Burning electric car
 0:06:54
Golden Gate Bridge Cardboard Model | How to Make Golden Gate Bridge for a School Project
Комментарии