filmov
tv
How to Uninstall Java Control Panel on Windows? (2024 updated)
Показать описание
Mission: Uninstall Java Control Panel
Uninstalling the Java Control Panel on Windows can be done through several methods. Here's a list of ways to do it:
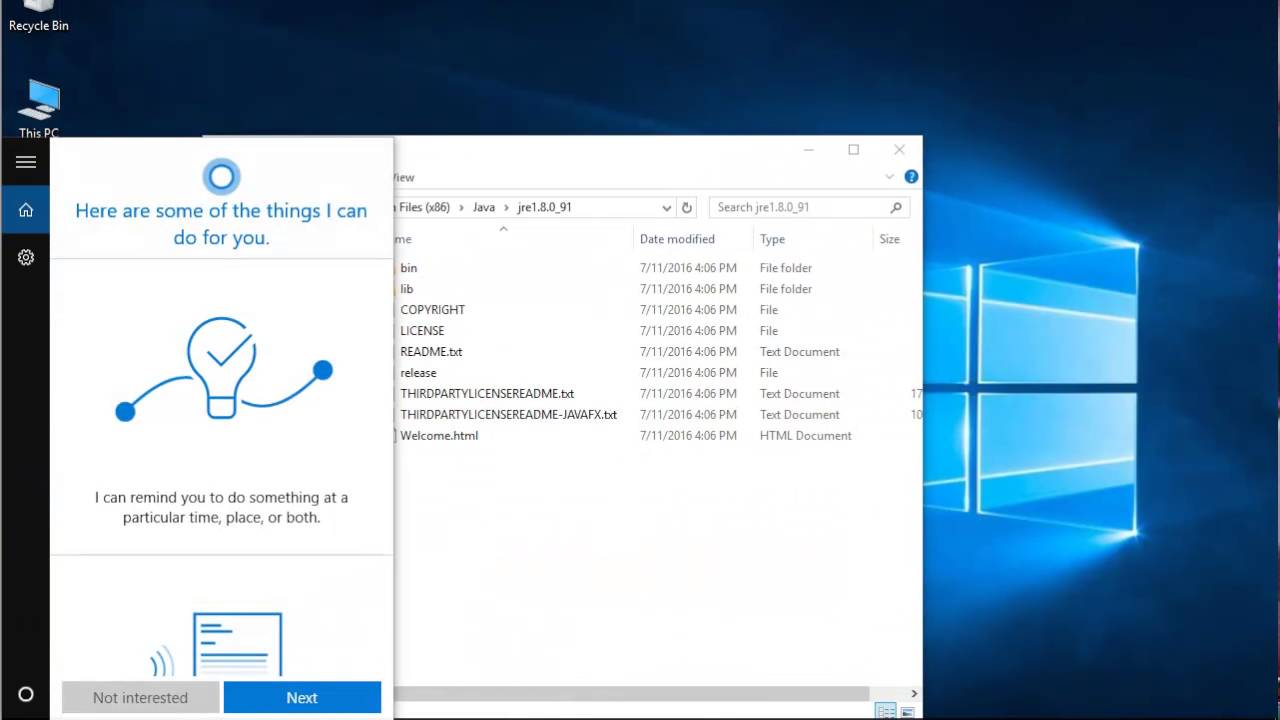
1. **Via Control Panel**
- Click on the **Start** menu.
- Go to **Settings** and then **Control Panel**.
- Select **Programs** and click on **Programs and Features**.
- Find Java in the list of installed programs and select it.
- Click on the **Uninstall** button and follow the prompts to complete the process.
2. **Using the Java Uninstall Tool**
- Visit the official Java website and download the **Java Uninstall Tool**.
- Run the tool and it will check for old versions of Java and remove them.
3. **Manual Uninstallation**
- Older versions of Java may appear as **J2SE**, **Java 2**, **Java SE**, or **Java Runtime Environment** in the list of programs.
- Follow the same steps as in the Control Panel method to manually uninstall these versions.
4. **Command Prompt**
- Open the **Command Prompt** with administrative privileges.
- Type `wmic` and press Enter.
- Then, type `product where "name like 'Java%'" call uninstall` and press Enter.
- Follow the prompts to complete the uninstallation.
5. **Safe Mode**
- Restart your computer in **Safe Mode** and repeat the steps from the Control Panel method. This can help if the Java Control Panel is difficult to remove under normal conditions.
Remember, after uninstalling Java, some applications that rely on it may no longer function properly. Ensure that you have an alternative or update those applications to work with the latest version of Java if necessary. Always create a restore point before making changes to your system's software. If you encounter any issues, you can use the Microsoft utility to repair corrupted files and registry keys that prevent programs from being completely uninstalled.
Uninstalling the Java Control Panel on Windows can be done through several methods. Here's a list of ways to do it:
1. **Via Control Panel**
- Click on the **Start** menu.
- Go to **Settings** and then **Control Panel**.
- Select **Programs** and click on **Programs and Features**.
- Find Java in the list of installed programs and select it.
- Click on the **Uninstall** button and follow the prompts to complete the process.
2. **Using the Java Uninstall Tool**
- Visit the official Java website and download the **Java Uninstall Tool**.
- Run the tool and it will check for old versions of Java and remove them.
3. **Manual Uninstallation**
- Older versions of Java may appear as **J2SE**, **Java 2**, **Java SE**, or **Java Runtime Environment** in the list of programs.
- Follow the same steps as in the Control Panel method to manually uninstall these versions.
4. **Command Prompt**
- Open the **Command Prompt** with administrative privileges.
- Type `wmic` and press Enter.
- Then, type `product where "name like 'Java%'" call uninstall` and press Enter.
- Follow the prompts to complete the uninstallation.
5. **Safe Mode**
- Restart your computer in **Safe Mode** and repeat the steps from the Control Panel method. This can help if the Java Control Panel is difficult to remove under normal conditions.
Remember, after uninstalling Java, some applications that rely on it may no longer function properly. Ensure that you have an alternative or update those applications to work with the latest version of Java if necessary. Always create a restore point before making changes to your system's software. If you encounter any issues, you can use the Microsoft utility to repair corrupted files and registry keys that prevent programs from being completely uninstalled.
 0:03:28
How to Uninstall Java from Windows 11
 0:01:56
How to UNINSTALL DELETE REMOVE JAVA JDK in Windows 11
 0:02:27
Uninstall Java Control Panel on Windows 10
 0:03:34
How to UNINSTALL DELETE REMOVE JAVA JDK on Windows 10 | Step by step
 0:02:51
How to Uninstall Java Control Panel on Windows? (2024 updated)
 0:05:29
How to Uninstall Java on Mac | Removing Java from macOS
 0:01:27
Uninstall Java 17! Easy Uninstall Guide for Windows 11
 0:02:00
How To Uninstall Java On Windows 10
 0:01:06
How to UNINSTALL DELETE REMOVE JAVA JDK on WINDOWS 10 2024 | Uninstall Java on Windows 10
 0:04:46
How to uninstall Java Silently on a remote computer | How to uninstall Java using Powershell
 0:01:49
How to Uninstall Java (JDK) on Windows 10
 0:02:02
How To: Full uninstall Java in Windows 10
 0:03:37
How to Completely Uninstall JAVA JDK 22 from Windows 11
 0:01:41
How to uninstall Java on Windows 10
 0:01:35
How to Uninstall Java on windows 11 and Windows 10
 0:02:46
How to Completely Uninstall Java JDK 19 from Windows 10 with JAVA_HOME
 0:01:37
❌ Uninstall JAVA JDK Windows 11 | COMPLETELY
 0:05:06
How to uninstall Java on Mac | Remove Java (JDK) completely from MacOS in 5 mins [2022 Edition]
 0:00:44
How to remove Java Windows 7
 0:04:35
How to Uninstall Java from Windows 11 10:8:XP and Verify the Uninstallation
 0:00:34
Uninstall Java Components JRE 1.6.0.43 from your computer or laptop
 0:03:34
How to Completely Uninstall, Delete or Remove JAVA JDK 22 from Windows 10 with JAVA_HOME
 0:02:50
How to Completely Uninstall or Remove Java from Windows 10
 0:02:56
How To Uninstall Java From Windows Operating System
Комментарии