filmov
tv
Creating Elevations in Layout from Your SketchUp Model

Показать описание
In today’s video, we’re going to talk about some tips and tricks for creating exterior elevation plans in Layout from your SketchUp models. Learn tips about using fog to create depth, how to handle terrain with your elevations, setting scale in your documents, and more!
Want to Support the SketchUp Essentials?
MORE LAYOUT RESOURCES AND TUTORIALS
BUILDING BUNDLE SAMPLE MODELS
FULL BUILDING BUNDLE DOWNLOAD (Affiliate Link)
GREAT SKETCHUP LAYOUT BOOKS
MY YOUTUBE SETUP
(Affiliate Links)
SKETCHUP BOOKS AND RESOURCES
MY CURRENT FAVORITE SKETCHUP PLUGINS AND EXTENSIONS
PLEASE LIKE AND SUBSCRIBE
Check Us Out On -
Before I get started, I want to thank my supporters on Patreon.
So I want to talk a bit in this video about some tips for modeling for exteriors in SketchUp, then creating your exterior elevation plans in Layout.
To start off, you can start fairly simple, just by modeling your building. If you have some terrain or something like that to begin from, that’s usually a good thing to have in your model as well. If not, don’t worry about it for now.
In this case, I’m using a model from the building bundle from Mindsight Studios – you can actually download this model from the sample file, which I’ll link to in the notes down below, as well as sharing a link of the whole bundle.
First thing – once you have your building modeled, you’re going to want to set up some scenes.
If you remember from some of my previous Layout tutorials, the way that you can create your views in Layout is to create various scenes within SketchUp, then you can import from those scenes in order to generate your pages in Layout.
To start off, let’s create a front elevation. To do this in most models, you’re going to start by clicking on the front camera view, then set your camera to parallel projection.
Picking a style – Black and white? Colored?
Depth indication – fog
Once scene is set up, save your tab using animation, add scene
Now we’re going to go over into layout. Select a template – if you have your own, great, if not, just pick one of the SketchUp templates
Disclaimers: all opinions are my own, sponsors are acknowledged. Product Links in the description are typically affiliate links that let you help support the channel at no extra cost.
 0:26:22
Creating Elevations in Layout from Your SketchUp Model
 0:15:47
Creating ELEVATION DRAWINGS in Layout 2020 from your SketchUp Model - Layout 2020 Part 2
 0:21:38
Interior Elevations in Layout from Your SketchUp Model - Interior Design Modeling for Layout #7
 0:00:30
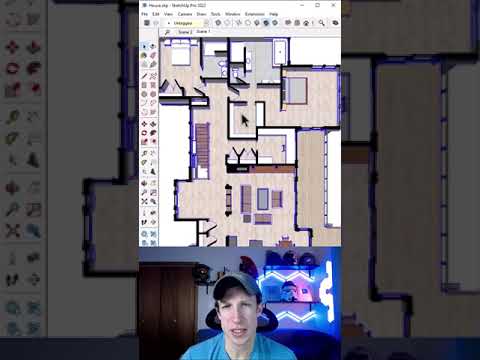
How to make ELEVATION in SketchUp #shorts #sketchup #sketchuptutorial #houseelevation
 0:00:43
True FLOOR PLANS and ELEVATIONS in SketchUp with Parallel Projection
 0:07:50
Sketchup Layout For Interior Designers | The Basics
 0:03:43
HOW TO CREATE ELEVATIONS FROM SKETCHUP
 0:13:49
Create Elevations in Rhino Layouts - 1 of 3
 0:48:34
From Concept to Reality! G+3 40' Front Elevation | Complete Elevation Design Process Explained
 0:00:17
draw all elevations for any rooms with one click in autocad
 0:00:43
SketchUp Layouts #shorts #sketchup #sketchuptutorial #layout
 0:07:30
Elevations and RCPs
 0:12:44
SketchUp Layout – How to Use LayOut for SketchUp Pro (tutorial updated for 2022)
 0:00:28
how to draw an elevation sketch by hand #interiordesignstudent #interiordesign #elevationdrawing
 0:13:03
Take your Sections & Elevations from 3D to 2D
 0:04:19
31 Placing Elevations on Layout
 0:00:10
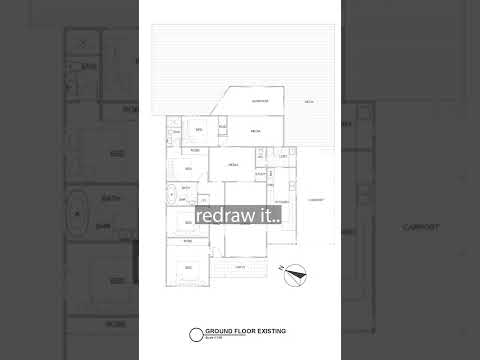
Drawing floor plans - the different stages
 0:00:19
This App Turns Floor Plans into 3D Models in Seconds!
 0:00:12
House Plan Elevation Design idea, Home plan with portico #porch #portico #Naksha #homeplans #design
 0:08:41
SketchUp for Construction Documentation: Layout Elevation Template
 0:00:35
'Create 4-Side Elevations Instantly in AutoCAD | YQArch Plugin Tutorial #CADConcepts'
 0:00:15
YQArch Plugin - Fast Automatic AutoCAD Plan Dimensions #AutoCAD #Tutorial #architect
 0:00:17
Plan and elevation
 0:04:11
Make Automatic Elevation AutoCAD Best Tutorial YQArch Plugin
Комментарии