filmov
tv
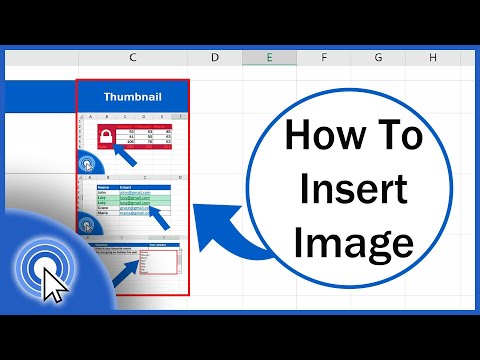
How to Insert Image in Excel Cell

Показать описание
*How to Insert Image in Excel Cell*
Inserting an image into an Excel cell can be a useful way to enhance your spreadsheets with visual content. Here's a step-by-step tutorial on how to insert an image in an Excel cell.
If you want to learn more about inserting images in excel you can check these tutorials:
*Step 1: Open Excel*
Open Microsoft Excel on your computer and create a new or open an existing workbook where you want to insert the image.
*Step 2: Insert Tab*
Go to the "Insert" tab in the Excel ribbon. This tab contains various options for inserting different types of objects into your spreadsheet. In the "Illustrations" group within the "Insert" tab, you will find the "Picture" option. Click on the "Picture" button. This will open a file dialog box.
*Step 3: Choose Image*
Navigate to the location on your computer where the image is saved. Select the image file you want to insert and click the "Insert" button.
*Step 4: Adjust Image Size*
After inserting the image into the cell, you might want to resize it. Click on the image to select it, and you will see handles around the edges of the image. Click and drag these handles to adjust the size of the image as needed. Make sure there is a gap between the cell gridline and the image.
*Step 5: Format Image*
You can apply formatting options to the image by right-clicking on it and selecting "Format Picture." This will open a sidebar where you can adjust various formatting settings, such as brightness, contrast, borders, and more. By right-clicking on the image and selecting "Size and Properties," you can access more advanced properties. Here, you can define properties like image position, alignment, and other layout options. Make sure you select “Move and size with cells” option from the Properties option.
That's it! You've successfully inserted an image into an Excel cell. Keep in mind that while this method allows you to place images within cells, the image might not resize perfectly if you adjust the row height or column width. It's recommended to test the appearance of the image when printing or sharing the spreadsheet. But if you follow this technique, you’ll be able to sort, filter, hide, unhide, insert column or data and your image will also act accordingly.
#excel #insert #image
Thanks for watching.
----------------------------------------------------------------------------------------
Support the channel with as low as $5
----------------------------------------------------------------------------------------
Please subscribe to #excel10tutorial
Here goes the most recent video of the channel:
Playlists:
Social media:

How to insert image in excel cell
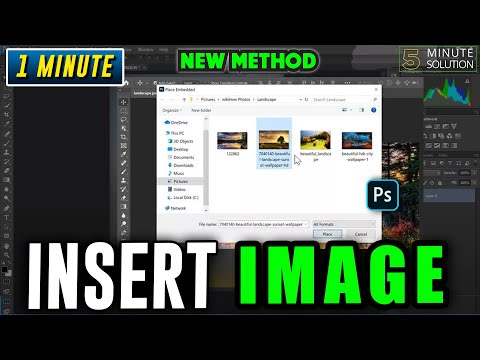
How to insert an image in photoshop 2024

How to insert pictures in Microsoft Word

15: How to Insert Images Using HTML and CSS | Learn HTML and CSS | Full Course For Beginners

MS Word - Insert Pictures

🖼️ How to Insert Picture in Excel Cell

9 | HOW TO INSERT IMAGES INTO YOUR WEBSITE | 2023 | Learn HTML and CSS Full Course for Beginners
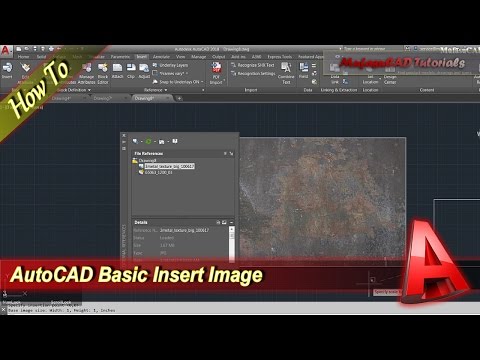
AutoCAD How To Insert Image

How to insert image in a perspective shape in powerpoint

How to Insert an Image in InDesign

How to Insert Images into Shapes in Microsoft Word (PC & Mac)

Insert Image Into Shape Photoshop Tutorial 2024 | Easiest Way To Insert Image Into Shape

How to Insert and Modify Images in Microsoft Word

How to insert image into another image using Microsoft word 2023

How to Insert an Image in HTML using Notepad

How to insert picture into table in word

How to Insert Image in Excel Cell (Correctly)
How to Insert Image in Excel Cell (Correctly)

How to Insert Images in Figma

Insert image in HTML | Html Image Tag #html

How to insert an image in word with perfect dimensions | Microsoft Word Tutorials

How to Insert Multiple Images in MS Word
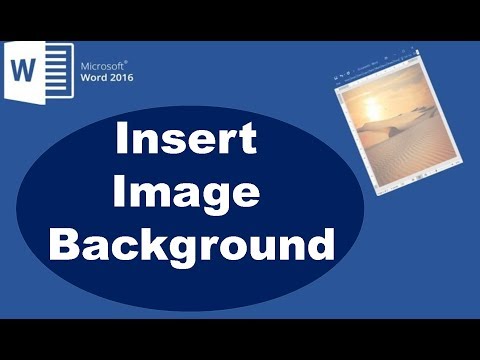
How to Insert a Background Image in Word 2016

How to Insert Image Letterhead in word document
Комментарии