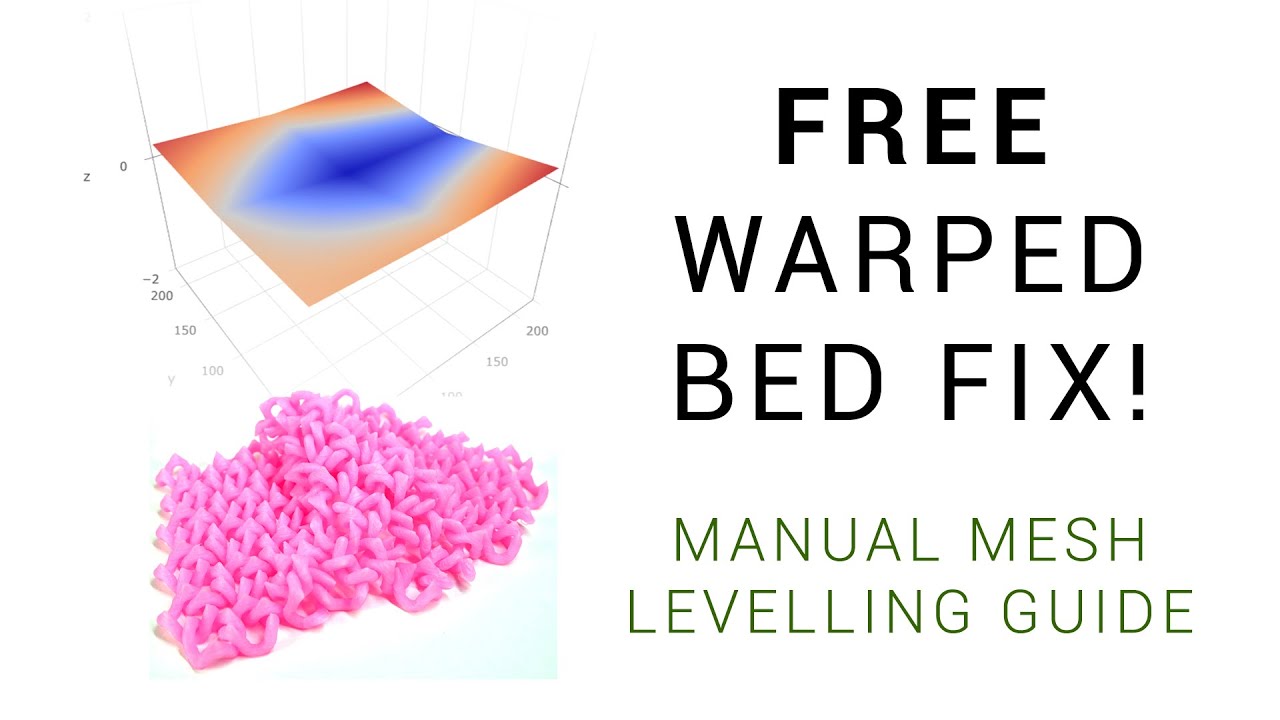
Manual Mesh Bed Levelling - Free warped bed solution

preview_player
Показать описание
Automatic mesh bed levelling is a great addition to 3D printers. It makes the first layer repeatable and convenient, especially with a warped bed. Sometimes it's not the best solution, however, owing to cost or added weight and complexity to the print head. Manual mesh bed levelling is a firmware only solution that can achieves great results for free!

In this video, the need for mesh bed levelling is explained and then a step by step guide is supplied to enable and calibrate the feature on your Marlin based 3D printed. This was a perfect fit for my Seckit SK-GO, where I wanted to keep everything as light as possible.

Take a look around and if you like what you see, please subscribe.

Рекомендации по теме
Комментарии
Автор

Really helpful and extremely informative. I have recently purchased my 6th printer a Creality Ender 3 V2 I installed a CR touch and in almost 3 weeks did not achieve one print. To be honest it has been a total nightmare, I have an Ender 5 plus with BL Touch and it worked out of the box (after assembly) the 5 has been modded tinkered and hammered and prints almost non stop. I am now limiting myself to 3 more days with the 3 after which it is going back to the seller. The Y axis stepper motor gets incredibly hot, in fact so hot I blistered a finger after touching it. I have flashed new firmware which linked me to your video and tonight will be adjusting the end stop position and watching your video a few more times before creating a mesh. I so want to like this machine but my experience has been poor to say the least. Thanks for a video which is easy to understand and informative, keep up the excellent work ;-)

raspberrypiploy
Автор

It's just crazy 😍. I will add manual mesh bed leveling on my CR-10S. Thank you very much for your help and this great video and the very precise explanations.

LaurentSOUDRON
Автор

Wow! Best investment in time spent with my printer to date. Followed these amazingly simple instructions and after updating the correct firmware (Creality's Ender 3 4.2.2 boards are not easy to find the right config.h files for), and adding the gcode to my slicer after running the mesh bed level and was experiencing 1st layer porn. Thanks so much for sharing your knowledge. This is exactly what was needed.

rizzocow
Автор

God what an improvement. I could only print straight lines and way too close to the bed at the outside just to have it stick at the center.

remic
Автор

I appreciate this video. I had no idea I could do a manual leveling before this.

zombiesplat
Автор

Loves you videos..just wanted to note something general.
After probing people will inspect how warped is the bed.. the prob is measuring the distance between it and the bed but who says it moves in a streight line.. the beam it slides on also got tolerances that can be even larger then the bed

joelevi
Автор

The best explanation so far for manual mesh bed leveling! Thanks.

ober
Автор

Useful and informative video.
I like this method better than the auto-levelling with bltouch. This allows me to actually know and see that the vertical distances are accurate since i am doing them I know and can check my settings with m48 v. I think this is more of a main reason at least for me. I dont know why cost and bulkiness would be the main reasons. The bltouch i had installed seemed to be giving me alot of issues. First i did not know if it was actually recording proper vertical distances. Second, my prints were ugly with so much bleeding around the edges signifying an unlevel bed. Almost looked like it messed up the mesh and vertical distances were all over the place. And most importantly i did not even know if those distances were accurate.

Quality of prints and reliability should be first amd foremost.

coolu
Автор

Thank you so much for this! I just got my first 3D printer a few days ago and have had nothing but trouble with the bed, and have only been able to print on the corners. It's glass but has a significant dip in the middle, and I will definitely be using this technique until I get a replacement bed. You're a lifesaver!

UnfoundMusic
Автор

Don't stop love your work, hope my son who is going into teaching will reach you heights.

allrcflyingisfun
Автор

I needed this topic explained so bad. Thanks.

Odyseja
Автор

Ill never understand why people use a single layer of paper to check nozzle gap resistance. its only 0.1mm thick yet your layer height is usually between 0.12 and 0.2 sometimes 0.16 or even 0.3. I had "OK" results with single layer but once i started folding it over Ive gotten very consistent, very uniform no [bottom side] layer lines on my first layer.

mrphysics
Автор

May I suggest that in addition to this you go one step further. Blue painter's tape is about 0.12mm thick. It works wonders for evening out a warped plate. Just put it under the build surface and recheck the mesh. I got mine under 0.2mm from high to lowest point last time. I need to go over it again for a better result.
I'm running a 9x9 mesh w/ a BLTouch. It's really a tradeoff. There's the time required to manually run a mesh vs the cost and space needed for the automatic options. I needed a granular mesh due to my OEM mat having a "lumpy" surface. 81 pts manually would have been maddening to repeat w/ the tape.

OldCurmudgeonDP
Автор

You also forgot to set RESTORE_LEVELING_AFTER_G28 in config.h :-)

gotj
Автор

You are the man! No joke you have taught me much! I wouldn't have gotten far on my ender 3 without you!

kennethszommer
Автор

Hi this a very informative video u made and this exactly discribe all the area i needed i just want to know what is fade height and what it actually did, , , , reply is appreciated, , , and thanks u very much for this video

siddharthshekhawat
Автор

If the grounding area is as small as the chainmail, glue is highly recommended to make it a little too sticky to ensure success. Can't be easier to remove the glue by water. ^^

seckitdp
Автор

Michael, I think you made a mistake in the video at 4:40 putting GRID_MAX_POINTS_X 5 under AUTO_BED_LEVELING instead of under the MESH_BED_LEVELING section? Thanks

jonztube
Автор

After much struggling with a constant bed level I bought new springs. i Even with glass bed my bed was too low. My level screws were only effective for about half there range then they would be loose and vibration would change my bed level. I replaced them there was a noticeable difference in height and stiffness. Of course i cut the little tab on the Z axes level just minutes before the new spring showed up :}

daviddelorme
Автор

Thank you , thank you so much. Please keep making videos.

robinsontyrone