filmov
tv
How to Enable Secure Boot in Windows 11?

Показать описание
How to Turn on Secure Boot?
In this video, we'll provide you with a step-by-step guide on how to enable secure boot in Windows 11. We'll walk you through the process by highlighting important settings. Whether you're a beginner or an experienced user, this video is designed to empower you to take control of your system's security.
First check the status of the secure boot in Windows 11. To do that, search for ‘System Information’ and look for ‘Secure Boot’. In this case, it was ‘Off’ means ‘Disabled.’ So, let me Enable it.
To Enable Secure Boot in Windows 11, tap on the Windows icon then choose ‘Settings’
Go to ‘Windows Update’ then choose ‘Advanced Options’
Select ‘Recovery’ and tap on ‘Restart now’ next to Advanced startup.
Now the system will restart in recovery mode.
In Recovery mode, choose ‘Troubleshoot’ then ‘Advanced options’ then tap on ‘UEFI Firmware Settings’ to change settings in your PC’s UEFI firmware.
Choose ‘Restart’ to enter into BIOS settings.
In the BIOS settings, you need to go to the Boot tab. Mine is an ASUS motherboard, I need to choose ‘Advanced Mode’ to change the boot options.
Now in the Boot tab, find ‘Secure Boot’. Here you can see that the Secure Boot is Disabled.
To Enable it, select ‘Key Management’ and tap on ‘Load Secure Boot keys’ and confirm it by choosing Yes.
There you can see the Secure Boot state is now Enabled.
Save the change by pressing F10 key in my case.
Now, see the system information. Here you can see that the secure boot is showing On which means Enabled.
In any case, if you need to disable secure boot in Windows 11, be sure to check this tutorial right here:
Stay Connected with Sai Praveen
 0:03:40
How To Enable Secure Boot In Windows 11 - Full Guide
 0:01:04
How to Enable Secure Boot on Windows 11 (Easiest Way)
 0:01:06
How to enable Secure Boot in GIGABYTE B450m Motherboard
 0:03:14
How To Fix Secure Boot & TPM 2.0 Error In Valorant (Enable) - Full Guide
 0:00:31
How to enable TPM & Secure boot in Asrock A320M / B450 motherboards
 0:02:13
How to enable secure boot Windows 10
 0:04:38
How to Enable Secure Boot in Bios or UEFI Settings on Windows 10 PC Easily 2022
 0:12:04
How To Enable Secure Boot For Windows 11
 0:23:41
Based on Past Interview Experiences: Spring Boot Interview Questions and Answers 2024 | Scenario Q&a...
 0:05:55
🛠️ How to Enable Secure Boot in 5 Minutes! | ASUS Motherboards (Intel)
 0:04:43
Secure Boot Enabled but NOT Active in BIOS - Easy Fix!
 0:02:15
Gigabyte Secure Boot Enable | Rambo Tech |
 0:03:07
How to Enable Secure Boot | Faceit - AntiCheat | Windows 11
 0:01:03
Enable Secure Boot Settings in ASUS Bios Utility
 0:04:03
How To Enable Secure Boot In HP Laptop / PC Windows 10/11 || How To Enable Secure Boot For HP Laptop
 0:02:38
Valorant - How to enable SECURE BOOT in BIOS Settings | Vanguard requires TPM 2.0 Fix
 0:05:37
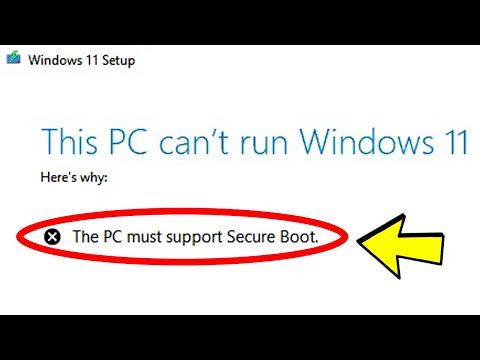
Fix: This PC can't run Windows 11 - The PC must support Secure Boot (Legacy BIOS Mode to UEFI)
 0:01:16
Valorant Windows 11 TPM 2.0 and Secure Boot Error Fix GIGABYTE B450m motherBoard
 0:00:30
Disable and Enable Secure Boot in BIOS | Lenovo Support Quick Tips
 0:03:40
How To Enable Secure Boot On MSI BIOS - Full Guide
 0:00:37
ASUS BIOS Secure Boot Disable
 0:02:52
Не включается Faceit AC на Windows 11 Secure boot Enable
 0:04:27
How To Enable fTPM & Secure Boot - ASUS UEFI BIOS
 0:04:03
How to Fix Secure Boot option grayed out in BIOS, Disable Secure Boot UEFI Windows 7/10
Комментарии