filmov
tv
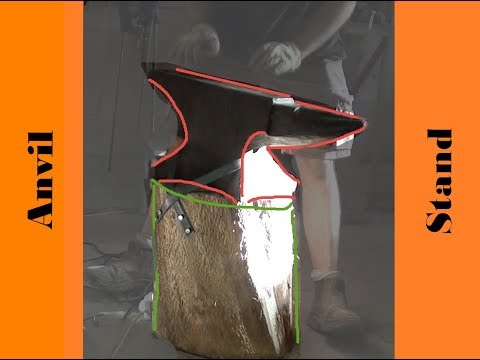
100-year-old Oak Anvil Stand

Показать описание
Shop HIPA chainsaw products and accessories:
#hipaparts #hipasawchains
5% Discount on Vevor products: VVSALE5
#vevor
00:00 intro
03:21 square edge
05:46 holes and rod
09:24 glue up
11:13 cut to length
13:48 hole drama
17:09 steel bar
19:47 glue up 2
22:39 oil
23:19 anvil
29:12 beginner blacksmith...
#hipaparts #hipasawchains
5% Discount on Vevor products: VVSALE5
#vevor
00:00 intro
03:21 square edge
05:46 holes and rod
09:24 glue up
11:13 cut to length
13:48 hole drama
17:09 steel bar
19:47 glue up 2
22:39 oil
23:19 anvil
29:12 beginner blacksmith...
 0:33:50
100-year-old Oak Anvil Stand
 0:23:17
Awesome Blacksmithing Anvil Stand from Oak Log
 0:03:57
Build A Cheap DIY Anvil Stand For The Vevor 130lb Anvil
 0:09:04
ANVIL STAND - DIY, homemade from steel
 0:00:28
Restoring a 122 year old Fisher anvil
 0:00:14
homemade anvil from railroad track for forging
 0:10:01
✔ The Best Wood Anvil Stand Possible 2/2
 0:13:13
Making a stand for my anvil from an oak stump
 0:00:35
Anvil Stand 05 - Anvil Strap
 0:20:47
Making a anvil stand!
 0:13:17
Awesome Anvil Stand Tool Tray
 0:06:38
How to Mount an Anvil
 0:08:56
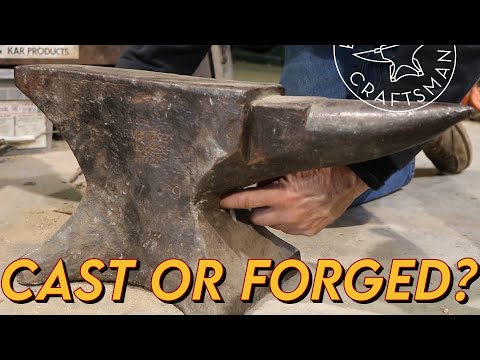
How to Identify a Forged Anvil
 0:09:20
Brand New Anvil stand
 0:00:15
I started my anvil tree early this year #anvil #forge #blacksmith
 0:12:48
100lb Trenton Anvil - 'Light' Restoration and Clean Up
 0:11:04
How to build a quick and sturdy anvil stand
 0:09:40
Anvil Stand Build
 0:00:15
Simple question 👀
 0:00:25
The Fastest and Cheapest Way to Build a Deck or Patio in 2023!
 0:05:08
anvil stand part 2
 0:05:30
Hay Budden Anvil - 448lb
 0:14:30
Best Blacksmith Anvil Stand + 2
 0:04:26
Finished my anvil log project
Комментарии