filmov
tv
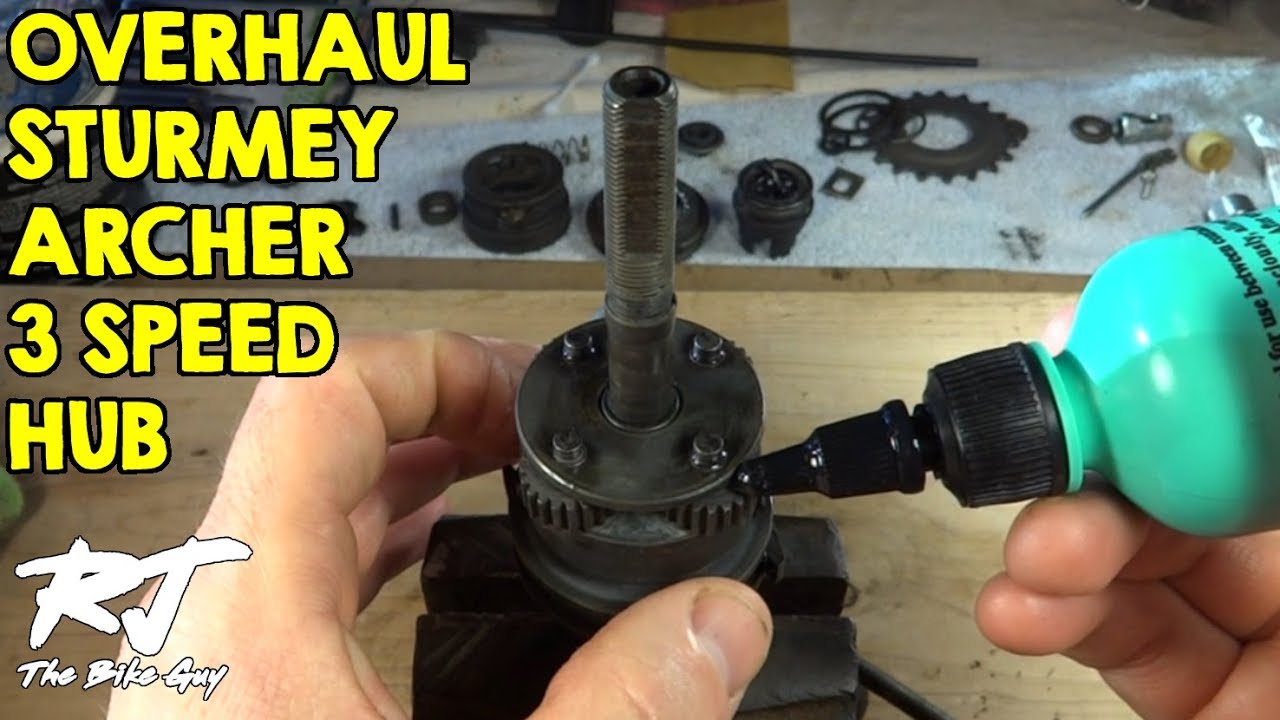
How To Overhaul/Clean/Lube Sturmey-Archer 3 Speed Hub - AW type
Показать описание
I disassemble, clean, degrease, replace bearings, lubricate and re-assemble a 3 speed Sturmey Archer AW type bike hub. A basic teardown/rebuild. This hub is date stamped 74 (1974). Sturmey Archer hubs vary over time, but the basic procedures are the same. These made in England hubs are really cool. These hubs are often found on Raleigh or other English bikes. This particular hub was from a Huffy. My Raleigh Tourist has an almost identical hub.
👍 And please give my video a thumbs up 👍
▶FACEBOOK.com/RJTheBikeGuy
▶TOOLS
▶SHIRTS
▶WEBPAGE
👍 And please give my video a thumbs up 👍
▶FACEBOOK.com/RJTheBikeGuy
▶TOOLS
▶SHIRTS
▶WEBPAGE
 0:31:58
How To Overhaul/Clean/Lube Sturmey-Archer 3 Speed Hub - AW type
 0:25:54
HOW TO LUBRICATE STURMEY ARCHER HUB // Servicing 3-speed Hub bearings // Bike Restoration
 0:07:02
STURMEY - ARCHER 3 SPEED TROUBLE SHOOTING
 0:17:12
Sturmey Archer AW 3 Speed Hub - Bearing Service / Overhaul - Vintage Bicycle
 0:38:28
Overhaul Sturmey Archer TCW III 3 Speed Hub w/ Coaster Brake
 0:36:48
Overhauling 60 Year Old Sturmey Archer 3 Speed Hub
 0:04:37
STURMEY ARCHER RESTORATION S3 CLEANING PARTS
 0:30:09
Sturmey Archer AW 3 Speed Hub - Full Strip & Rebuild Of A Seized Hub
 0:16:07
Disassembling a 1980 Sturmey Archer 3 speed hub with drum brake
 0:23:13
Looking inside of a Sturmey Archer AW 3 Speed Internal Gear Hub
 0:03:58
STURMEY ARCHER RESTORATION S2 EVALUATION
 0:27:09
Sturmey Archer tricks and tips
 0:27:26
Rebuilding a hub using grease and gearbox oil for lubrication
 0:19:58
Sturmey Archer Front Wheel Dynohub Overhaul (60+ years old)
 0:19:10
Sturmey Archer 3 speed AW gearhub. How it works.
 0:33:55
Hercules 'B' 3 Speed Hub - Strip & Rebuild - Watch Out For The Spring - Vintage Bicycl...
 0:15:24
How To Overhaul Sturmey Archer SC Coaster Brake Hub
 0:01:40
HOW TO FIGURE OUT HOW OLD YOUR RALEIGH 3-SPEED BIKE (or any bike with a STURMEY-ARCHER HUB) IS!
 0:16:13
Sturmey Archer SW 3 Speed Hub Rebuild - 1954-1960 - Vintage Bicycle Restoration
 0:42:49
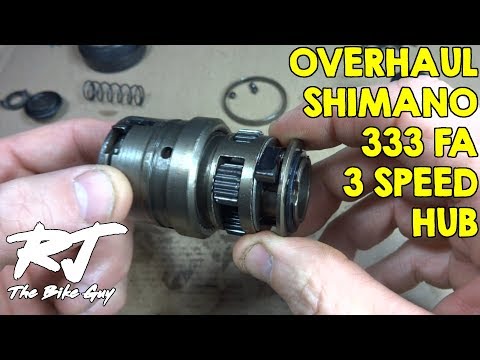
How To Overhaul Shimano 333 FA 3-Speed Hub
 0:01:20
Vintage 3 Speed
 0:13:27
sturmey archer shifter repair and restore
 0:11:08
The Sturmey Archer 3 Speed Dynohub Vs Rust - Will It Rebuild?
 0:30:57
BSA 3 speed hub How it works
Комментарии